Leaking Bleeder Cap on Shut Off Valve? Your Instant Fix Guide
You notice a persistent drip from a small, unassuming cap on the side of a water shut-off valve. It seems minor, but the constant plink-plonk sound hints at a bigger problem. Ignoring it could lead to water waste, potential water damage, and a nagging worry that a small drip could become a sudden spray.
This tiny component, the bleeder cap on a shut-off valve, plays a crucial role in your plumbing system’s maintenance and protection. Understanding its function is the first step toward resolving the leak and securing your home against preventable plumbing emergencies.
You'll Learn About
What is a Bleeder Cap and Why is it on My Shut-Off Valve?
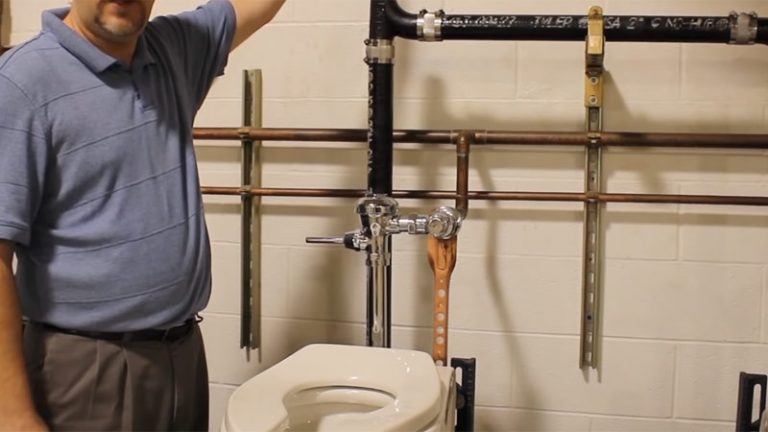
At its core, a shut-off valve gives you control over the water flow in your pipes. The bleeder, sometimes called a drain or waste valve, is an added feature that enhances this control. It’s a small port, sealed by the bleeder cap, that serves several key purposes.
The primary function is to allow for the safe and complete draining of a water line after the main valve is closed. This is essential for repairs, maintenance, or winterizing pipes to prevent them from freezing and bursting. When you shut off the valve, water remains trapped in the pipe; opening the bleeder allows air to enter, breaking the vacuum and letting the water drain out completely.
The Vital Role of the Bleeder Valve
Think of the bleeder as a strategic pressure-release point. Its functions include:
- Winterization: For outdoor faucets or pipes in unheated areas, the bleeder is critical. After closing the shut-off valve, opening the bleeder allows every last drop of water to drain from the line, preventing catastrophic damage from frozen and burst pipes.
- Maintenance and Repairs: Before working on a section of plumbing, you must first shut off the water supply. The bleeder then allows you to drain the remaining water from the line, ensuring a dry and manageable work area.
- Pressure Release: In some systems, the bleeder can be used to safely release built-up pressure, which is a necessary step before undertaking certain plumbing tasks.
Without this simple feature, maintaining and protecting your plumbing, especially in colder climates, would be significantly more difficult and risky.
Diagnosing the Drip: Why Your Bleeder Cap is Leaking
A leaking bleeder cap is a common plumbing annoyance, but it’s one that signals a specific failure. The leak almost always originates from one of a few key culprits, most of which are simple to address. The cap itself is designed to create a watertight seal over the bleeder port.
When this seal is compromised, water will find its way out. The problem is rarely the valve body itself but rather the small, replaceable components that make up the bleeder assembly.
Common Causes of a Leaking Bleeder Cap
The most frequent reason for a leak is the degradation of the small rubber washer or gasket inside the cap. Over time, this rubber component can become brittle, cracked, or compressed, losing its ability to form a proper seal. This is especially common on older valves that haven’t been operated in a while.
Other potential causes include:
- Loose Cap: The simplest problem to fix. The cap may have been loosened over time due to vibrations or was not tightened sufficiently after its last use.
- Damaged Threads: The threads on the bleeder port or inside the cap can become stripped or damaged from over-tightening or cross-threading. A damaged thread prevents the cap from seating correctly to create a seal.
- Sediment or Debris: Small particles of sediment or mineral buildup from the water can get lodged in the threads or on the washer, preventing a tight seal.
Your Step-by-Step Guide to Fixing the Leaking Bleeder Cap
Fixing a leaking bleeder cap is a straightforward DIY task that typically requires minimal tools and time. Before you begin, it’s crucial to understand that even though the leak seems small, you are dealing with your home’s pressurized water system. Always take the proper preliminary steps to avoid turning a small drip into a major flood.
Tools and Materials You’ll Need
- Adjustable wrench or pliers
- A new bleeder cap (it’s wise to buy a replacement beforehand)
- Rag or small bucket
- Thread seal tape (Teflon tape)
- A small wire brush
Step 1: Shut Off the Water Supply
This is the most critical step. Locate the main shut-off valve for your house and turn it off completely. This will depressurize the pipes you are about to work on.
After shutting off the main valve, open a faucet at the lowest level of your home (like a basement sink) and the highest level (like an upstairs bathroom) to drain the remaining water from the system.
Step 2: Remove the Old Bleeder Cap
Place a rag or small bucket underneath the leaking valve to catch any residual water. Use your wrench or pliers to turn the bleeder cap counter-clockwise to loosen and remove it. Be prepared for a small amount of water to spill out as the cap comes off.
Step 3: Inspect the Components
Once the cap is off, inspect it closely. You will likely find a worn-out rubber washer inside. Also, check the threads on both the valve’s bleeder port and the inside of the cap for any signs of damage, corrosion, or debris.
Use a small wire brush to gently clean the threads on the valve port to remove any sediment or mineral buildup that could interfere with the new cap’s seal.
Step 4: Install the New Cap
While often not strictly necessary for the cap’s seal (which comes from the washer), applying a couple of wraps of thread seal tape around the bleeder port’s threads can provide extra security against leaks. Wrap the tape clockwise.
Take your new bleeder cap, ensure the rubber washer is properly seated inside, and screw it onto the port by hand. Hand-tightening should be sufficient to create a seal. If you must use a wrench, give it only a gentle quarter-turn past hand-tight. Over-tightening can damage the new washer or the threads.
Step 5: Restore Water and Check for Leaks
Close the faucets you opened earlier. Go back to your main shut-off valve and turn it on slowly. You may hear some sputtering from the pipes as they refill with water and air is pushed out.
Return to the repaired valve and inspect your work. Check for any signs of dripping from the new bleeder cap. If it remains dry, you have successfully solved the problem.
Beyond the Cap: When the Bleeder Valve Itself Is the Problem
In some cases, the leak isn’t from the cap but from the bleeder valve’s internal mechanism, or the valve body itself has a hairline crack. This is a more complex issue. If a new cap doesn’t stop the leak, it is a strong indicator that the entire shut-off valve assembly needs to be replaced.
Replacing a shut-off valve, especially one that is soldered onto copper pipes, is a job best left to a professional plumber unless you have significant plumbing experience. Attempting this repair without the proper skills and tools can lead to major water damage.
Preventative Maintenance for Your Shut-Off Valves
The best way to avoid future leaks is through preventative maintenance. Once or twice a year, gently turn each shut-off valve in your home off and on a few times. This prevents the internal mechanisms from seizing up due to mineral deposits and keeps the washers and seals pliable.
This simple action ensures that when you truly need the valve in an emergency, it will operate as intended. For valves with bleeders, this is also a good time to check that the bleeder caps are snug.
Understanding Different Valve Types
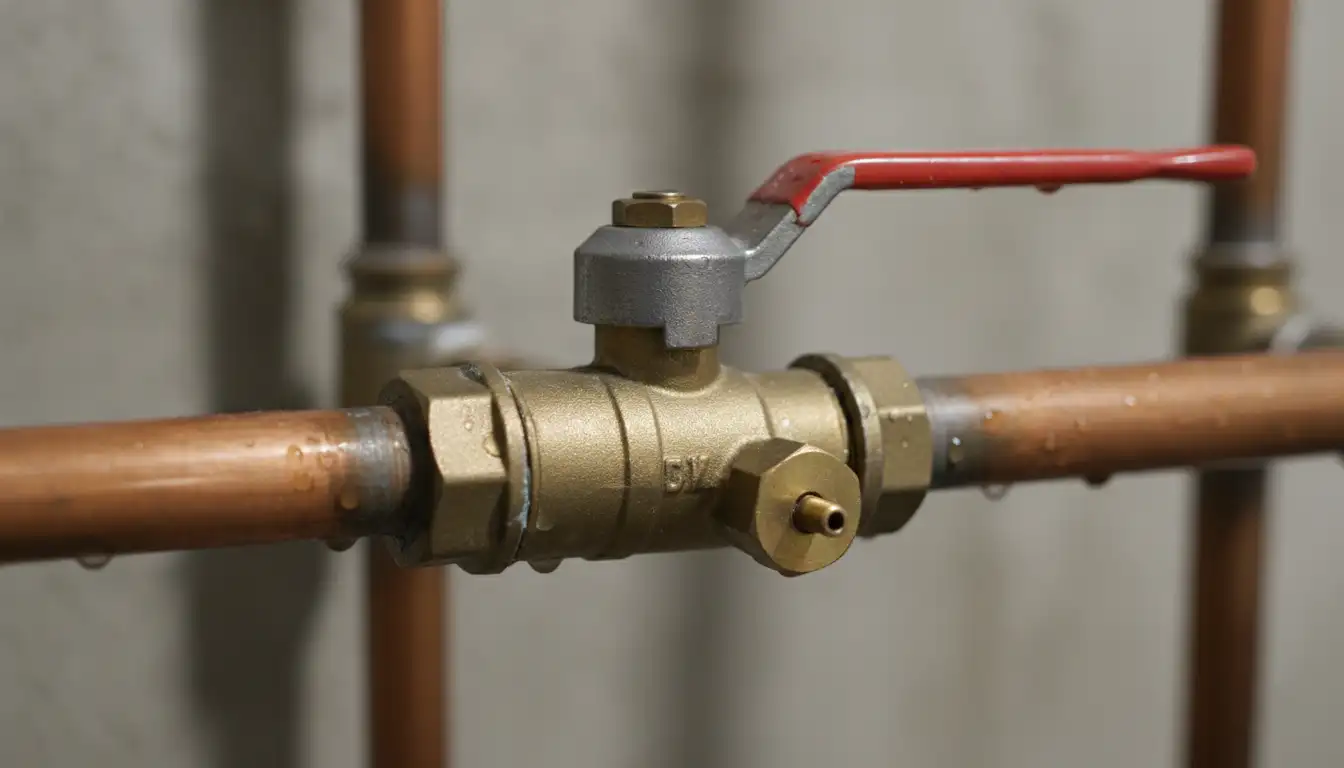
Not all shut-off valves are created equal. The most common types you’ll find in a residential setting are gate valves and ball valves. Knowing which type you have can be helpful.
Gate valves use a wheel-like handle and operate by lowering a metal “gate” to block the water flow. They are prone to failure over time as the internal gate and stem can corrode. Ball valves use a lever handle and control water flow with a rotating ball with a hole through it. They are generally more reliable and less likely to seize or leak than gate valves.
Many modern plumbing systems, particularly those in homes with hydronic heating systems, utilize ball valves with integrated bleeders. If you are considering an upgrade, you might want to look into the pros and cons; for example, if you were to buy a house with baseboard heating, you’d find many of these valves throughout the system.
Troubleshooting Common Bleeder Cap Issues
Here is a quick reference table for diagnosing and solving common problems you might encounter with your bleeder cap.
| Symptom | Likely Cause | Solution |
|---|---|---|
| Slow, constant drip from the cap | Worn or degraded rubber washer inside the cap | Replace the bleeder cap with a new one. |
| Water sprays from the cap when tightened | Cracked or damaged bleeder cap | Immediately shut off the water and replace the cap. |
| Cap spins but won’t tighten | Stripped threads on the cap or valve port | Replace the cap. If the port threads are stripped, the entire valve may need replacement. |
| Leak continues after replacing the cap | Debris on the valve seat or a faulty valve | Shut off water, remove the cap, clean the port threads thoroughly. If it still leaks, call a plumber. |
A leaking bleeder cap on a shut-off valve is more than just a minor nuisance; it’s a warning sign from your plumbing system. By addressing it promptly and correctly, you not only fix the immediate issue but also reinforce the integrity of your home’s water control system, ensuring peace of mind for years to come.