Black Gunk in Washing Machine Seal? Here’s the Icky Truth & Your Fix
You'll Learn About
That Gross Black Stuff: Unmasking the Culprit in Your Washer
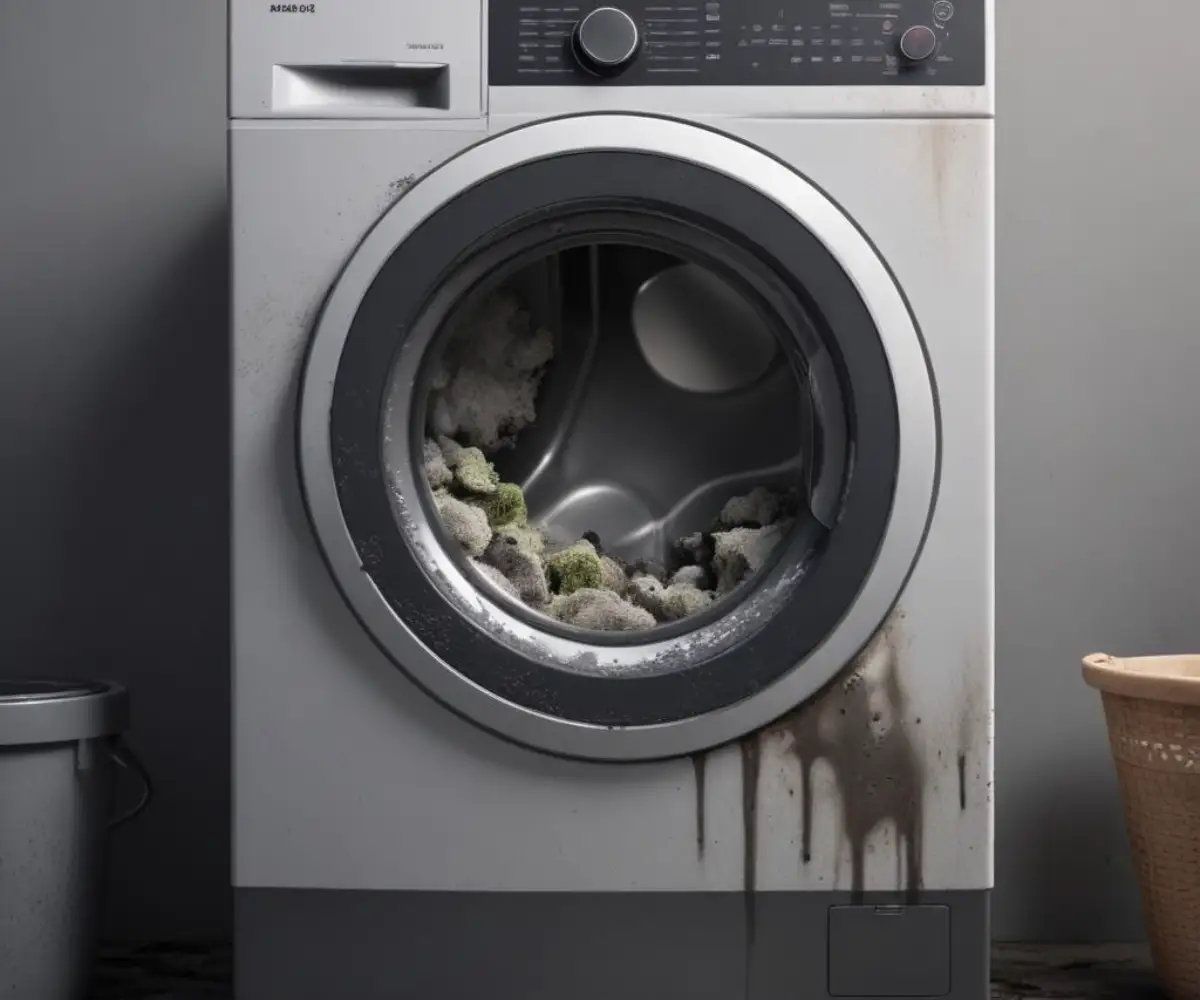
You open your washing machine, ready to start a load of laundry, and there it is. A dark, slimy, black gunk lurking within the gray rubber seal of the door. It’s an unwelcome discovery that leaves you questioning the cleanliness of the machine meant to clean your clothes.
This buildup is more than just an unsightly mess; it’s a thriving ecosystem. The black gunk is typically a biofilm composed of mold, mildew, and bacteria, all feeding on a combination of soap scum, fabric softener residue, and trapped lint. It’s a clear sign that the warm, damp, and dark environment of your washer seal has become a perfect breeding ground.
Decoding the Gunk: What Are You Really Looking At?
Understanding what causes this black residue is the first step toward eliminating it for good. The conditions inside a washing machine, especially a front-loader, are ideal for microbial growth. Consistent moisture, warmth from heated cycles, and a food source from laundry soils and detergents create this persistent problem.
The Unholy Trinity: Mold, Mildew, and Bacteria
The primary offenders are mold and mildew, fungi that flourish in damp environments with limited airflow. Species like Aspergillus and Penicillium are common culprits. They produce spores that can contribute to the musty smell you might notice on your “clean” clothes.
This fungal growth is often mixed with bacteria and soap scum, which acts like a glue, helping the gunk adhere to the rubber gasket. Front-loading machines are particularly susceptible because their airtight doors trap moisture inside the drum and seal after a cycle is complete.
The Fuel for the Gunk: Detergent and Fabric Softener Residue
Using too much detergent or fabric softener can exacerbate the problem significantly. Modern high-efficiency (HE) washers require very little soap. Excess product doesn’t get fully rinsed away, leaving a sticky film that traps dirt and provides a nutrient-rich feast for mold and mildew.
Over time, this residue combines with lint and body oils washed from clothes, creating a stubborn, dark sludge. It’s a problem that builds on itself, getting worse with every wash until it’s properly addressed. If you notice persistent residue, it might be related to other issues, and you may wonder if there’s dirt in the bottom of your washing machine contributing to the cycle of grime.
Is It Just Gross, or Is It a Health Hazard?
While the sight of black gunk is enough to cause concern, the implications go beyond aesthetics. This buildup can affect your laundry, your machine’s longevity, and even your health.
Effects on Your Laundry and Washing Machine
The most immediate impact is on your clothes. The mold and mildew can transfer to fabrics during the wash cycle, leaving them with a persistent musty or sour odor. You might also find dark flakes or stains on your laundry.
Furthermore, the biofilm can degrade the rubber seal itself over time, causing it to become brittle and cracked, which could lead to leaks. The gunk can also contribute to blockages in the machine’s drainage system, impacting its overall performance.
Potential Health Concerns
For most healthy individuals, the black gunk is a low-level risk. However, for those with allergies, asthma, or compromised immune systems, exposure to mold spores can trigger allergic reactions. Symptoms might include sneezing, coughing, skin irritation, or worsening of asthma.
Breathing in the microbial volatile organic compounds (MVOCs)—the gases produced by mold—can also lead to headaches and irritation. Taking prompt action to remove the gunk is crucial for maintaining a healthy home environment.
Your 5-Step Battle Plan to Annihilate the Black Gunk
Reclaiming your washing machine from this grimy invader requires a thorough deep clean. Follow these steps methodically to safely and effectively remove the black gunk and sanitize your appliance.
Step 1: Gear Up and Ventilate
Before you begin, protect yourself. Wear rubber gloves to shield your hands from cleaning agents and mold, and consider safety glasses to prevent splashes. Ensure the room is well-ventilated by opening a window or turning on an exhaust fan.
Step 2: The Preliminary Wipe-Down
Start with a dry paper towel or a microfiber cloth to wipe away any loose debris and surface-level gunk from the seal. Gently pull back the folds of the rubber gasket to access the hidden areas where moisture and grime collect. This initial pass removes the bulk of the problem.
Step 3: Select Your Cleaning Weapon
You have several options for cleaning agents, ranging from household staples to commercial products. The best choice depends on the severity of the buildup and your personal preferences. Avoid mixing different cleaners, especially bleach and vinegar, as this can create toxic gas.
| Cleaning Agent | Mixture/Application | Pros | Cons |
|---|---|---|---|
| White Vinegar | Mix 1 part water, 1 part vinegar in a spray bottle. | Natural, effective at killing mold spores, deodorizes. | Strong smell; may not remove deep-set stains. |
| Hydrogen Peroxide (3%) | Apply directly or mix with baking soda to form a paste. | Kills mold and bacteria, lightens stains. | Can degrade rubber with prolonged, frequent use. |
| Chlorine Bleach | Mix 1 part bleach to 4 parts water. | Highly effective at killing germs and removing stains. | Harsh chemical, requires good ventilation, can damage rubber over time. |
| Commercial Washer Cleaner | Follow product instructions (e.g., Affresh, OxiClean). | Specifically formulated for washers, easy to use. | Can be more expensive, may contain harsh chemicals. |
Step 4: The Deep Scrub and Soak
Apply your chosen cleaning solution liberally to the entire rubber seal. Use an old toothbrush or a small scrub brush to work the cleaner into every crevice and fold. For stubborn stains, you can soak paper towels in your cleaning solution (like vinegar or a bleach mixture) and tuck them into the gasket, letting them sit for 30-60 minutes.
This extended contact time allows the cleaner to break down the resilient biofilm. After the soak, give the area one final, thorough scrub to dislodge any remaining residue.
Step 5: The Final Rinse and Sanitize Cycle
Wipe the entire seal with a clean cloth dampened with water to remove all traces of the cleaning solution. To complete the process, run an empty wash cycle on the hottest setting. Add one to two cups of white vinegar directly into the drum or detergent dispenser to sanitize the entire machine and flush out any loosened gunk.
Preventing the Return of the Slime: Your New Laundry Routine
Cleaning is only half the battle; prevention is the key to long-term success. A few simple adjustments to your laundry habits can keep the black gunk from making a comeback.
The Post-Wash Ritual: Wipe, Dry, and Breathe
Wipe the seal dry after every single wash day. Use a dedicated microfiber cloth to dry the gasket, including the interior folds. This is the single most effective habit for preventing mold growth.
Next, leave the washer door ajar when not in use. This allows air to circulate, drying out the drum and seal and creating an environment where mold cannot thrive. Also, pull out the detergent dispenser drawer slightly to let it air out as well.
Rethink Your Detergent and Softener
Use only high-efficiency (HE) detergent in an HE machine, and strictly follow the dosage instructions. Using less detergent is often better. Consider switching to a powdered HE detergent, as some experts find it leaves behind less residue than liquid versions.
Minimize or eliminate the use of liquid fabric softener, which is notorious for creating residue that feeds mold. Wool dryer balls are an excellent, residue-free alternative for softening clothes.
Embrace the Monthly Maintenance Clean
Once a month, run an empty “tub clean” cycle or a hot water cycle with a washing machine cleaner or two cups of vinegar. This regular maintenance helps dissolve any budding soap scum and mineral deposits before they can become a food source for mold.
A properly functioning drain is also critical. If water drains too slowly, it leaves excess moisture behind. Slow draining could be a sign of a blockage or an issue with a washing machine check valve, which is designed to prevent dirty water from flowing back into the machine.
When the Gunk Won’t Go: Advanced Troubleshooting
Sometimes, despite your best efforts, the black gunk persists. This may indicate a deeper issue or that the seal has reached the end of its life.
Deep Stains vs. Active Growth
After a thorough cleaning, you might notice that some black discoloration remains. This can be staining that has permanently permeated the porous rubber. While unsightly, if it has been properly sanitized with bleach or hydrogen peroxide, it is no longer a threat of active mold growth.
When to Consider Replacing the Seal
If the rubber seal is cracked, warped, torn, or feels excessively brittle or sticky, it’s time for a replacement. A damaged seal can no longer create a proper watertight barrier, leading to leaks and providing even more hiding places for gunk. Seal replacement is a common repair that can significantly extend the life of your machine.
If you suspect deeper drainage problems are contributing to the moisture issue, it’s wise to investigate further. A problem like a washing machine drain pipe leaking in the wall could create a host of issues beyond just gunk in the seal. Addressing such problems is essential for the health of both your appliance and your home.
A Cleaner Machine for Cleaner Clothes
Dealing with black gunk in your washing machine seal is a common but solvable problem. By understanding its causes, committing to a deep clean, and adopting simple preventative habits, you can ensure your machine remains a tool for cleanliness, not a source of grime.
A consistent routine of wiping, airing, and monthly maintenance will keep the mold at bay. This ensures your laundry comes out fresh, your appliance runs efficiently, and your home stays healthy.