Best Paint Brush for Polycrylic? Your Secret to a Flawless Finish
You’ve spent hours, maybe even days, perfecting your project. The paint is flawless, the stain is rich, and now only one step remains: the protective topcoat. You reach for a can of Polycrylic, but the moment you start applying it, disaster strikes—streaks, bubbles, and visible brush marks ruin your hard work. This frustrating experience is the number one problem DIYers and homeowners face when using this popular water-based finish, and the culprit is almost always the same: the wrong paintbrush.
Using an unsuitable brush with Polycrylic isn’t just a minor error; it’s a recipe for a flawed finish. The fast-drying, water-based nature of this product demands a very specific tool. Choosing incorrectly leads to a surface that looks amateurish and feels rough, forcing you to sand it all down and start again.
You'll Learn About
Why Your Brush Choice Is Crucial for a Glass-Like Surface
Polycrylic is a water-based protective finish, which is fundamentally different from traditional oil-based polyurethanes. This distinction is the single most important factor in selecting your brush. The key issue lies in how different types of brush bristles react with water.
Many people grab a natural bristle brush, often called a “china bristle” brush, thinking its softness is ideal. However, natural bristles are made from animal hair, which absorbs water. When you dip a natural bristle brush into water-based Polycrylic, the bristles soak up the water, become limp, and lose their shape, making a smooth application impossible. This is what causes those dreaded clumps and streaks.
The Science of Bristles: Natural vs. Synthetic
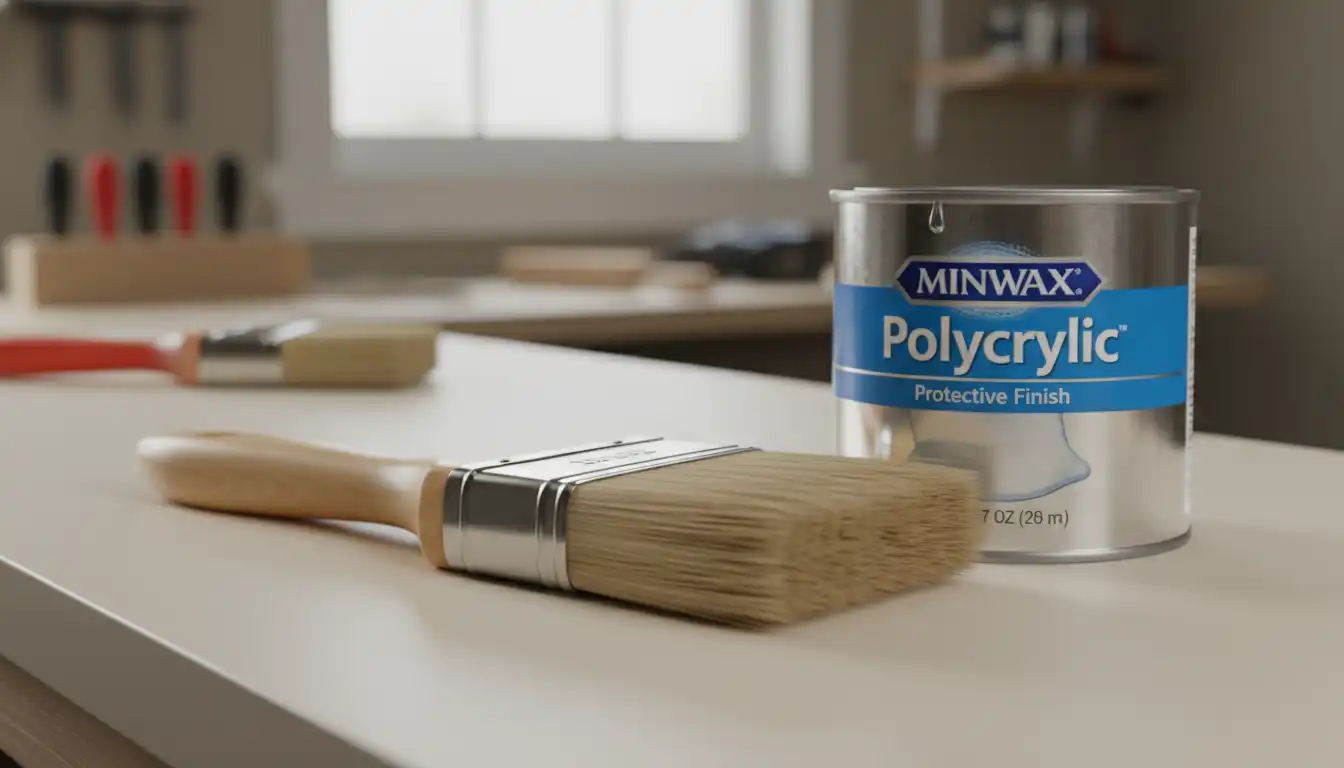
The solution is straightforward and backed by product manufacturers like Minwax: you must use a high-quality synthetic bristle brush. Synthetic bristles are typically made from materials like nylon and polyester, which do not absorb water. This allows them to maintain their stiffness and shape, giving you the control needed to lay down a thin, even coat of Polycrylic.
Beyond simply being synthetic, the quality of the bristles matters immensely. High-end synthetic brushes feature bristles with “flagged” or split ends. These tiny splits hold more finish and release it smoothly and evenly, significantly reducing the appearance of brush marks and creating that coveted, glass-like surface. The alternative, a cheap brush with coarse, unflagged bristles, will leave a trail of streaks no matter how skilled your technique is.
Decoding the Best Brush: Key Features to Look For
When you’re at the hardware store, it’s easy to get overwhelmed by the wall of brushes. To simplify your choice, focus on a few critical features that are non-negotiable for applying Polycrylic successfully. Look for brushes specifically labeled for water-based finishes or latex paints.
A good brush will have soft, flexible, and finely tipped bristles. Run your fingers through them; they should feel soft, not coarse. An angled sash brush is often a great choice as it provides excellent control for cutting into corners and edges, which is particularly useful for projects like cabinetry or furniture. For larger, flat surfaces, a quality flat brush will work well.
Beyond the Bristles: Construction Matters
The construction of the brush itself is also a sign of quality. Look for a wooden handle that feels comfortable and balanced in your hand. Check the ferrule—the metal band that holds the bristles to the handle. A high-quality brush will have a stainless steel or copper ferrule that resists rust and is firmly attached, preventing bristle loss that can ruin your finish.
Investing a few extra dollars in a premium brush is one of the smartest decisions you can make. A great brush not only delivers a superior finish but, with proper care, will last for many projects, making it a cost-effective choice in the long run. Many professionals find that a quality tool makes all the difference, whether they’re working on a major project like finishing cabinets after a Lowes cabinets sale or a smaller decorative piece.
Comparing Applicators for Polycrylic
While a synthetic brush is the top recommendation, other applicators can be used, each with its own set of pros and cons. Understanding these can help you choose the right tool for your specific project.
| Applicator Type | Pros | Cons | Best For |
|---|---|---|---|
| High-Quality Synthetic Brush | Excellent control, smooth finish, reusable, minimal bubbles. | Higher initial cost, requires proper technique. | Furniture, cabinets, trim, detailed projects. |
| Foam Brush | Inexpensive, disposable, can produce a smooth finish. | Can introduce bubbles if overworked, less durable, not ideal for large surfaces. | Small, flat projects; touch-ups; craft items. |
| Paint Pad | Fast application on large, flat surfaces. | Difficult to use on detailed areas, can leave edge marks. | Tabletops, shelves, large panels. |
| Rag or Cloth | Good for wipe-on applications, creating thin coats. | Difficult with water-based finishes which dry fast, can leave lint. | Applying very thin, hand-rubbed style finishes. |
Mastering the Technique: How to Apply Polycrylic Like a Pro
Having the best brush is only half the battle; proper technique is essential to avoid common pitfalls like streaks and bubbles. Following a few key steps will ensure your project gets the professional-quality finish it deserves.
First, never shake the can of Polycrylic. Shaking introduces air into the liquid, which creates micro-bubbles that will appear on your surface as it dries. Instead, stir the contents gently but thoroughly with a stir stick, making sure to scrape the bottom of the can.
The Application Process
Load only the tip of your synthetic brush (about the first third) with Polycrylic. Apply it in long, smooth, even strokes, moving in the direction of the wood grain. The goal is to apply a thin, consistent coat. Do not over-brush an area once you’ve applied the finish. Polycrylic begins to dry very quickly, and going back over a semi-dry area will cause dragging and streaks.
To achieve a truly professional finish, plan on applying at least three coats. Between each coat, allow the Polycrylic to dry completely (typically about 2 hours). Then, lightly sand the surface with very fine-grit sandpaper (220-grit is ideal) to knock down any dust nibs and create a smooth base for the next coat. After sanding, be sure to wipe the surface clean with a tack cloth to remove all dust before applying the next coat. Proper application can be just as crucial as repairing surface damage, such as when you’re dealing with issues like toilet seat paint coming off, where durability is key.
Troubleshooting Common Polycrylic Problems
Even with the right brush and technique, issues can sometimes arise. Understanding how to fix them can save a project from being ruined.
If you notice bubbles, it could be from overworking the brush or applying the coat too thickly. Often, these bubbles will pop and level out on their own if the coat is thin enough. If they dry into the finish, you’ll need to let the coat cure completely, then sand the area smooth before reapplying.
Streaks are almost always caused by going back over an area that has already started to dry or using a poor-quality brush. The only way to fix dried streaks is to sand them out and reapply a new, thin coat, always maintaining a “wet edge” by brushing from the wet area into the dry area. This same attention to detail is vital in other finishing projects, such as when you are whitewashing cedar walls to achieve a uniform look.
Caring for Your Investment
A high-quality synthetic brush is a tool worth caring for. Since Polycrylic is water-based, cleanup is simple. Immediately after use, wash the brush thoroughly with soap and warm water until all traces of the finish are gone. Reshape the bristles and hang the brush to dry or lay it flat. Proper cleaning ensures your brush will be ready for your next project and will provide a flawless finish for years to come.
Frequently Asked Questions
What is the best kind of paint brush to use for Polycrylic?
The best and recommended brush for applying Polycrylic is a high-quality synthetic bristle brush. Polycrylic is a water-based product, and synthetic bristles, made of nylon or polyester, do not absorb water, which allows them to maintain their shape and ensure a smooth application.
Can I use a natural bristle brush with Polycrylic?
It is not recommended to use a natural bristle brush with water-based finishes like Polycrylic. Natural bristles are made from animal hair which absorbs water, causing the brush to become limp and lose its shape, making a smooth application difficult.
Are foam brushes suitable for applying Polycrylic?
Using a foam brush for Polycrylic is generally not advised. Foam brushes tend to hold too much product, which can result in an uneven application or puddles if too much pressure is applied. While some have tried it, a synthetic bristle brush provides better control.
How can I avoid leaving brush strokes?
To avoid brush strokes, use a quality synthetic bristle brush and apply thin, even coats of Polycrylic. Use long, directional strokes and try to maintain a “wet edge,” overlapping your strokes so you are always brushing from a wet area into a dry one.
Do I need to sand between coats of Polycrylic?
Yes, for the smoothest finish, you should lightly sand between each coat of Polycrylic. After a coat has dried for about two hours, use 220-grit sandpaper to sand it lightly before applying the next coat, but do not sand the final coat.
What is the proper way to clean a brush after using Polycrylic?
Since Polycrylic is a water-based product, you can clean your brush using just warm water. If the Polycrylic has started to dry on the brush, you may need to use denatured alcohol to remove it effectively.