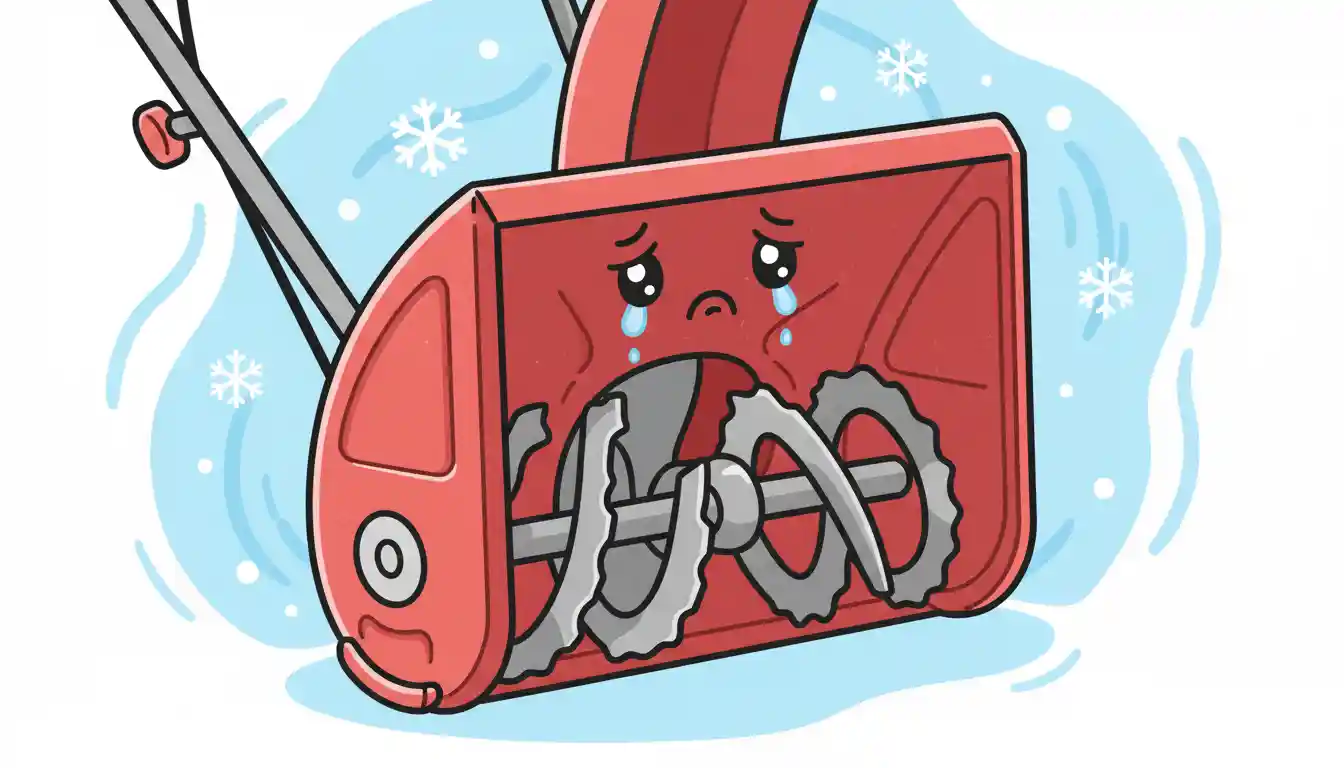
Bent Snowblower Housing? Don’t Replace It Yet! Here’s the Fix
It is a sound every snowblower owner dreads. That sudden, violent crunch of metal striking something unmovable, followed by a shudder and a stall. A hidden curb, a frozen newspaper, or a chunk of ice can instantly turn your powerful snow-clearing machine into a frustrating project.
A bent snowblower housing is far more than just a cosmetic flaw. It cripples your machine’s performance, potentially leading to more severe damage. This guide will provide a comprehensive walkthrough to assess the damage, perform effective repairs, and prevent it from happening again.
You'll Learn About
Why a Bent Housing Is a Critical Problem
The auger housing, the large metal scoop at the front, is engineered with precise tolerances. Its curved shape is designed to efficiently funnel snow toward the high-speed impeller in the back. When this shape is compromised, a cascade of problems begins.
Even a minor bend disrupts the delicate balance of your machine. Understanding these consequences is the first step toward a successful repair. You will see how a simple dent can cause significant operational failures.
Reduced Clearing Efficiency
The gap between the spinning auger blades and the housing wall is critical. A dent or bend increases this gap, allowing snow to be squeezed out and left behind. This results in unsightly trails of uncleared snow and requires multiple passes to do the job of one.
Your snowblower loses its ability to scrape cleanly down to the pavement. This not only looks messy but can also leave a slick, hazardous layer of snow that can quickly turn to ice.
Risk of Auger and Shear Pin Damage
This is the most severe mechanical risk. If the housing is bent inward, the spinning auger blades can strike the metal wall. This creates a horrible grinding noise and puts immense stress on the entire auger assembly and drivetrain.
This repeated impact will cause shear pins to break constantly, as they are designed to do to protect the gearbox. If you ignore this and use a harder bolt instead of a proper shear pin, you risk catastrophic failure of the expensive auger gearbox.
Impeller Starvation and Clogging
A bent housing disrupts the smooth flow of snow to the impeller. This disruption can cause snow to build up in the housing instead of being thrown out the chute. The result is a frequently clogged chute, forcing you to stop and clear it constantly.
This “impeller starvation” dramatically reduces throwing distance. Your machine will struggle to move even light powder, turning a simple job into a lengthy ordeal.
Common Causes: How Did This Happen?
Understanding the cause of the bend is crucial for preventing future incidents. While accidental impacts are the primary culprit, other factors can contribute to housing damage. Awareness is your best defense against a repeat repair.
From hidden yard hazards to simple operator errors, these common causes can lead to a frustrating and costly repair. Knowing them helps you operate your machine more safely and effectively.
Impact with Foreign Objects
This is the most frequent cause. Objects hidden beneath the snow are the primary enemy. These include landscape edging, large rocks, children’s toys, and frozen newspapers or door mats.
Hitting a solid curb is another common way to cause significant damage. The forward momentum of the self-propelled wheels drives the housing into the object with tremendous force.
Improper Transport or Storage
Dropping the snowblower, even from a short height, can bend the housing. This often happens when loading it onto a truck or trailer without using proper ramps. The weight of the machine is enough to deform the sheet metal upon impact.
Storing heavy items on top of the snowblower housing can also cause it to bend over time. The housing is strong against snow but not designed to be a weight-bearing shelf.
Metal Fatigue and Build Quality
Over many seasons of use, the metal can experience fatigue from vibrations and minor impacts. This is more common in lower-end models that use thinner gauge, stamped steel instead of heavier, fabricated steel.
While less common, a manufacturing defect could create a weak point in the housing. However, damage is almost always traced back to an external impact.
Initial Damage Assessment: To Repair or Replace?
Before grabbing any tools, a thorough and safe inspection is necessary. This assessment will determine if a DIY repair is feasible or if you need to seek professional help or a replacement part. The key is to evaluate the severity of the bend and check for collateral damage.
Making the right call here saves time, money, and frustration. A rushed repair on a severely damaged housing can be ineffective and unsafe. Take your time to make an informed decision.
Step 1: Safety First – Disconnect Power
This is not optional. Before performing any inspection or work, you must disconnect the spark plug wire and secure it away from the spark plug. This prevents any possibility of an accidental engine start, which could cause serious injury.
For electric models, ensure the machine is completely unplugged from the power source. Having a well-lit and organized space, like a garage, is ideal for this kind of work. If you’re setting up a new workshop, considering the cost to run electricity to your garage is a worthwhile investment for these projects.
Step 2: Visual Inspection
Carefully examine the entire auger housing. Look for the location and depth of the bend. Is it a shallow dent on the outer edge, or is the entire side pushed in? Check for any cracks or tears in the metal, especially around bolts and seams.
Paint flaking off is a common sign of a bend, as the paint is not as flexible as the steel. Pay close attention to the bottom edge of the housing, known as the scraper bar area, as this is a very common point of impact.
Step 3: Check Auger Clearance
With the power safely disconnected, use your hands to slowly rotate the augers. Feel for any point where the blades make contact with or scrape against the housing. The clearance should be consistent all the way around.
If the auger scrapes, the machine is not safe or effective to use until repaired. If the auger is completely jammed against the housing, the bend is severe and will require significant force to correct.
The Repair vs. Replace Checklist
Use this table to guide your decision. It outlines common scenarios and provides a recommendation based on the severity of the damage, the tools required, and the general feasibility of a DIY repair.
| Condition | Repair Feasibility | Required Tools | Recommendation |
|---|---|---|---|
| Minor dent, no auger contact | High | Hammer, Wood Block | DIY Repair |
| Major bend, auger scrapes | Medium | Sledgehammer, Clamps, Pry Bar | DIY Repair (with caution) |
| Cracked or torn metal | Low | Welding Equipment | Professional Repair or Replace Housing |
| Housing severely deformed | Very Low | Specialized Tools | Replace Housing |
The Ultimate DIY Guide to Fixing a Bent Snowblower Housing
For most common dents and bends, a DIY repair is entirely possible with some basic tools and patience. The goal is not perfection, but to restore the correct clearance for the auger and improve the flow of snow. Always wear safety glasses and heavy gloves during this process.
Work slowly and check your progress often. It is easier to make several small adjustments than to try and fix an overcorrection. The techniques below cover the most common types of housing damage.
Gather Your Tools
Having the right tools ready will make the job much smoother. You will likely need a combination of the following: a heavy hammer or a small sledgehammer, a solid block of wood (a 4×4 section works well), large C-clamps, a pry bar, safety glasses, and gloves.
A dead blow hammer is an excellent alternative to a metal hammer, as it minimizes the chance of further denting or marring the paint. An adjustable wrench can also be useful for bending back smaller curled edges.
The Block and Hammer Technique
This method is best for bends that are pushed inward, toward the auger. The principle is to use the wood block to support the housing from the inside while striking the outside to move the metal back into place.
Place the block of wood firmly against the inside of the bent area. With the sledgehammer, deliver firm, controlled strikes to the outside of the housing, directly opposite the wood block. After a few taps, remove the block and re-check the auger clearance by hand.
The Clamp and Pry Bar Method
For bends that are flared outward, clamps can be used to slowly and carefully press the metal back into shape. This method offers more control than hammering. Place a block of wood on the outside of the housing over the bent area to distribute the pressure.
Use one or more large C-clamps to squeeze the bent section against the inner wall or another block of wood placed inside. For stubborn sections, a pry bar can be used for added leverage, but be extremely careful not to slip and cause new damage or injury.
Applying Heat (Advanced Technique)
For very stubborn bends, gently applying heat with a propane torch can make the metal more pliable. This technique should be used with extreme caution. Heat the bent area evenly, moving the torch constantly. Do not get the metal red hot, as this can weaken it.
Be aware that this will almost certainly damage the paint and creates a significant fire hazard. Never perform this near the fuel tank or carburetor, and always have a fire extinguisher nearby. For most users, this step is best avoided.
Beyond the Bend: Inspecting for Collateral Damage
A forceful impact strong enough to bend the steel housing rarely happens in isolation. The shock can be transferred to other critical components of the snowblower. A thorough post-repair inspection is vital to ensure you have caught all the resulting problems.
Ignoring this step can lead to a false sense of security. You might fix the housing only to have another part fail soon after. Check these key areas before putting your machine back into service.
Checking the Auger and Shaft
Visually inspect the auger blades themselves for any bends, cracks, or twists. Manually rotate the assembly and watch its path. A bent auger will wobble as it spins, which can cause severe vibrations and put stress on the gearbox bearings.
Also, check the main auger shaft that runs through the gearbox. While it is much stronger than the housing, a truly massive impact could potentially bend it, which is often a repair that requires full replacement of the auger assembly.
Inspecting the Gearbox
The auger gearbox is the heart of the snow-clearing system. An impact can transfer a damaging shock directly to the gears inside. With the spark plug still disconnected, turn the augers and listen for any grinding or clicking sounds coming from the gearbox.
Check for any play or looseness where the auger shaft enters the gearbox. If you suspect damage, it may be necessary to drain the gear oil and inspect it for metal shavings, which is a clear sign of internal damage.
Shear Pins: The Unsung Heroes
Shear pins are your primary defense against gearbox damage. They are designed to break when the auger hits an immovable object. If you find a broken shear pin after an impact, it did its job perfectly.
Always replace shear pins with the exact Original Equipment Manufacturer (OEM) part. Never use a standard bolt, as it will be too strong and will not break, transferring the full force of the impact directly to your gearbox and potentially causing hundreds of dollars in damage. Control issues can sometimes cause repeated impacts, similar to how misalignments can cause Toro Quick Stick problems; it’s a small issue causing a big symptom.
Scraper Bar Alignment
The scraper bar is the replaceable blade bolted to the very bottom of the housing. Its job is to scrape the last layer of snow off the pavement. An impact that bends the housing will almost certainly knock the scraper bar out of alignment or damage it.
Ensure the scraper bar is straight and sits flat against the ground when the skid shoes are properly adjusted. A bent or worn scraper bar will leave trails of snow and should be replaced for optimal performance.
Prevention: The Best Fix is Avoiding the Problem
Repairing your snowblower is satisfying, but not having to repair it in the first place is even better. Adopting a few simple habits can dramatically reduce your risk of bending the housing again. Proactive prevention is the key to a long and reliable service life for your machine.
These strategies are simple, effective, and will save you from future headaches. A few minutes of preparation before the snow flies can save you hours of repair work in a cold garage.
Pre-Season Area Walkthrough
Before the first snowfall is even in the forecast, walk the entire area you plan to clear. Remove any rocks, branches, garden hoses, or toys. Make a mental note of any fixed objects like decorative stones or low-lying landscape fixtures.
Use reflective driveway markers to clearly mark the edges of your driveway and any known hazards like curbs or culvert pipes. This is the single most effective preventive measure you can take.
The First Pass Strategy
For the first snowfall of the season, be extra cautious. Set your skid shoes slightly higher than normal. This will leave a thin layer of snow but will allow the housing to ride up and over any obstacles you may have missed in your walkthrough.
Go slower than you normally would and pay close attention to how the machine feels and sounds. Once you have safely cleared the area once, you can readjust your skid shoes to their normal height for subsequent snowfalls.
Understanding Your Machine’s Limits
Do not try to force the snowblower through snow that is deeper than the top of its housing in a single pass. Instead, take a smaller bite, clearing only half the width of the machine at a time. This reduces the strain on the engine, belts, and housing.
For heavy, wet snow or the hard-packed pile left by the city plow at the end of your driveway, go slowly. Let the augers chew away at the snow; do not try to ram your way through it.
When to Call a Professional
While many housing bends are fixable at home, it is important to recognize when a problem is beyond a DIY repair. Pushing beyond your skill or tool limitations can sometimes make the problem worse or lead to an unsafe operating condition.
If you encounter any of the following situations, it is wise to stop and consult a professional small engine repair shop. They have the specialized tools and experience to handle severe damage correctly.
Severe Cracks or Torn Metal
If the impact has torn or cracked the steel housing, hammering it back into shape will not be a lasting solution. These cracks compromise the structural integrity of the housing and will likely spread over time from engine vibrations.
A professional shop can properly weld the crack, often reinforcing it to be stronger than it was originally. This is a repair that requires specialized equipment and skill to perform safely and effectively.
Suspected Gearbox or Shaft Damage
If you suspect damage to the auger gearbox or the main driveshaft after your inspection, do not run the machine. Running a snowblower with a damaged gearbox can cause the internal components to shatter, making the repair much more extensive and expensive.
A technician can disassemble the gearbox, inspect the gears and bearings, and replace only the damaged components. This is a complex job that is best left to those with experience.
A Strong Housing for a Clear Path
A bent snowblower housing can seem like a major failure, but it is often a very manageable repair. Through careful assessment, the right technique, and a bit of patience, you can restore your machine’s performance and get it back to work clearing snow.
Remember that prevention is the most powerful tool in your arsenal. By taking the time to prepare your clearing area and operating your machine with care, you can avoid the sickening crunch of metal and enjoy many seasons of trouble-free performance.