Basement Leak Around Sewer Pipe? Your Panic-Free Fix Guide
That sinking feeling hits you the moment you see it: a persistent puddle of water forming in your basement, right where the main sewer pipe enters through the foundation wall. It’s a discovery that can send any homeowner’s mind racing with visions of costly, catastrophic repairs. Before you panic, understand that a basement leak around a sewer pipe is a common issue, and with the right approach, it is entirely manageable.
This guide will walk you through identifying the true cause of the leak, provide actionable DIY solutions for minor issues, and clarify when it’s time to call in a professional. Armed with this knowledge, you can tackle the problem head-on and restore your basement to a dry, healthy space.
You'll Learn About
Why Is Water Leaking Around My Sewer Pipe? Uncovering the Root Causes
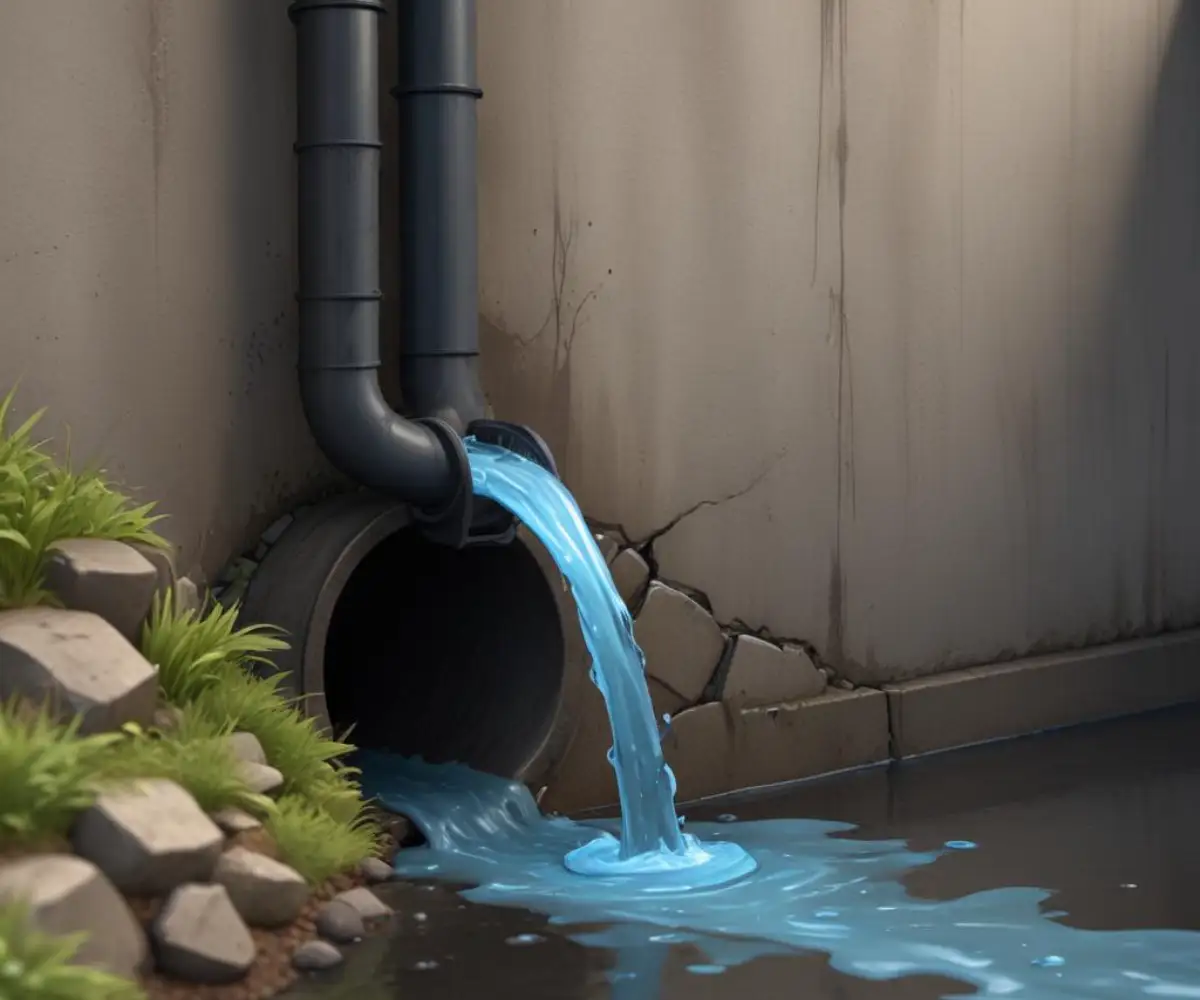
Finding the source of a water issue is the first critical step. A leak in this specific area usually points to one of two primary culprits: a problem with the pipe’s seal at the foundation wall, or an issue with the pipe itself. However, the force that drives this water into your home is almost always the same: hydrostatic pressure.
Hydrostatic pressure is the force exerted by groundwater on your basement walls and floor. After heavy rain or snowmelt, the soil around your foundation becomes saturated. This trapped water presses against the concrete, seeking any weak point to enter—and the penetration point for your sewer pipe is a prime candidate.
Common Causes for Leaks at Pipe Penetrations:
- Deteriorated Seal: When your home was built, the gap around the sewer pipe was sealed, likely with hydraulic cement or another type of mortar. Over decades, this seal can degrade, crack, and fail, creating a direct path for water.
- Foundation Cracks: The area where a pipe passes through a concrete wall can be a weak spot. Stress from the house settling or the constant force of hydrostatic pressure can cause small cracks to form around the pipe, allowing water intrusion.
- Pipe Corrosion or Damage: While less common for the leak to be *around* the pipe, the pipe itself could be the source. Older cast iron pipes can corrode and develop cracks or pinhole leaks near the foundation wall, which can be mistaken for a wall seal leak.
- The Clay Bowl Effect: When your home’s foundation was dug, the excavated soil was later used to backfill around it. This backfilled soil is looser and more absorbent than the undisturbed, dense clay beneath, creating a “bowl” that traps water directly against your foundation walls.
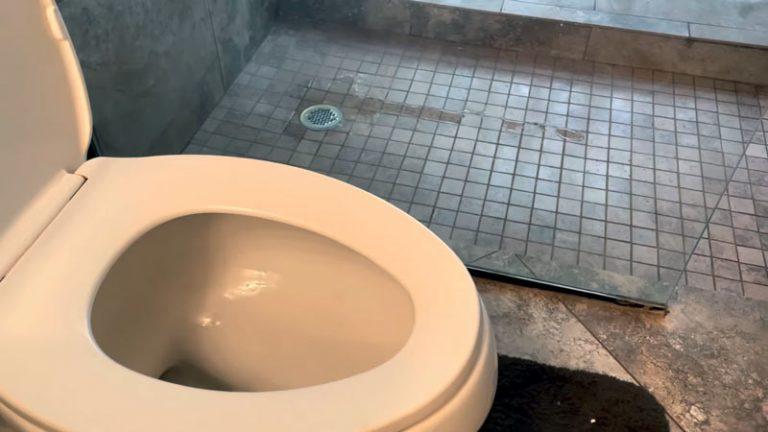
Step 1: Diagnose the Problem—Leak or Condensation?
Before you start any repairs, you must confirm you have an active leak and not just condensation. On humid days, cold sewer pipes can collect moisture from the air, which then drips onto the floor, mimicking a slow leak. This is a common and often overlooked possibility.
To check, thoroughly dry the pipe and the surrounding concrete wall with a cloth. Tape a piece of aluminum foil tightly over the suspicious area and leave it for 24 hours. When you return, if there is moisture on the outside of the foil, you have a condensation problem. If the moisture is on the inside of the foil (between the foil and the wall/pipe), you have a water leak.
Step 2: Take Immediate Safety Precautions
Once you’ve confirmed a leak, safety is your first priority, especially in a basement environment. Water and electricity are a dangerous combination. If there is standing water, be extremely cautious.
Turn off the electrical circuit to the basement area before entering any standing water. If you are unsure which breaker controls which area, shut off the main power. Additionally, if the leaking water has a foul odor, it might not be just groundwater. A potential leak in the sewer pipe itself could introduce contaminants, and you may want to investigate any unusual smells further. A strange sewer smell in the house can sometimes be related to larger plumbing issues.
Is It Groundwater or a Sewer Pipe Leak?
It’s crucial to distinguish between groundwater seeping in from the outside and a leak from the sewer pipe itself. Groundwater leaks are typically clear and odorless and often worsen after heavy rain. A leak from the sewer pipe will likely contain wastewater, have a distinct foul odor, and may occur regardless of the weather, often worsening when toilets are flushed or drains are used heavily.
Step 3: DIY Solutions for Sealing the Pipe Penetration
For minor groundwater leaks coming through the gap between the pipe and the concrete wall, a DIY repair is often possible. The goal is to create a new, waterproof seal in that gap. The two most effective products for this are hydraulic cement and polyurethane sealant.
First, you must prepare the area. Use a wire brush and a chisel to remove any old, crumbling cement, dirt, or paint from around the pipe. The new sealant needs a clean, solid surface to adhere to. Widen the gap slightly into an inverted “V” shape, with the narrowest part at the surface, to give the patching material more surface area to grip.
Method 1: Using Hydraulic Cement
Hydraulic cement is a special type of cement that expands as it cures and is designed to set extremely quickly, even in the presence of water. This makes it ideal for plugging active leaks.
- Mix the Cement: Mix a small amount of the hydraulic cement powder with water in a disposable container. Only mix what you can use in 2-3 minutes, as it hardens very rapidly. Aim for a thick, putty-like consistency.
- Apply the Cement: Using your hands (with heavy-duty rubber gloves) or a small trowel, force the cement mixture firmly into the gap around the pipe. Start at the top and work your way down, ensuring the entire void is packed tightly.
- Hold and Cure: If there is an active flow of water, you may need to hold the patch in place with firm pressure for several minutes until it hardens enough to stop the leak. The product will fully cure over the next 24 hours.
Method 2: Using Polyurethane Sealant
Polyurethane caulk or sealant is a highly adhesive and flexible waterproofing option. Its flexibility is a major advantage, as it can accommodate the slight movements and vibrations of the pipe without cracking like rigid cement might.
- Ensure the Surface is Dry: Unlike hydraulic cement, most polyurethane sealants require a dry surface for proper adhesion. If the area is actively leaking, you may need to temporarily stop the water with a hydraulic cement patch first.
- Apply the Sealant: Use a caulk gun to apply a thick bead of polyurethane sealant deep into the prepared gap around the pipe.
- Tool the Sealant: Smooth and press the sealant bead with a caulk tool or a gloved finger to ensure it makes solid contact with both the pipe and the concrete, leaving no air bubbles or gaps. Allow it to cure as directed by the manufacturer, typically 24-48 hours.
Comparing DIY Repair Methods
Choosing the right material is key to a successful repair. Both hydraulic cement and polyurethane sealant are effective, but they excel in different situations.
| Feature | Hydraulic Cement | Polyurethane Sealant |
|---|---|---|
| Best For | Plugging active leaks and filling large voids. | Sealing gaps where flexibility is needed. |
| Application | Requires fast work; sets in minutes. Can be applied to wet surfaces. | Requires a dry surface; applied with a standard caulk gun. |
| Flexibility | Rigid; can crack with pipe movement over time. | Highly flexible; accommodates vibrations and temperature changes. |
| Durability | Very strong and durable but brittle. | Excellent long-term durability and adhesion. |
When a DIY Fix Isn’t Enough: Calling the Professionals
While DIY solutions can be effective for minor seepage, certain situations demand professional expertise. Attempting to fix a major issue yourself can lead to bigger, more expensive problems down the road. Do not hesitate to call a professional basement waterproofing contractor or a plumber if you encounter any of the following:
- The Leak is from the Pipe Itself: If you’ve determined the sewer pipe is cracked, corroded, or leaking, this is a plumbing issue that requires a licensed plumber to repair or replace the damaged section.
- Major Water Flow: If water is entering your basement too quickly for a hydraulic cement patch to set, this indicates significant hydrostatic pressure that requires a more comprehensive solution.
- Visible Foundation Damage: Large, structural cracks in the foundation wall around the pipe suggest a problem beyond a simple seal failure. This requires evaluation by a foundation repair specialist.
- The DIY Fix Fails: If you’ve tried patching the leak and it continues to seep, a professional can use advanced techniques like injecting expanding polyurethane resin deep into the foundation wall, creating a permanent, flexible seal from the inside.
The Ultimate Solution: Exterior Water Management
Sealing the leak from the inside is a necessary and effective repair, but it’s fundamentally a defensive measure. It stops water that has already reached your foundation. The most robust and permanent solution is to prevent that water from accumulating against your foundation in the first place.
True long-term dryness comes from managing water on the exterior of your home. This approach addresses the root cause—hydrostatic pressure—rather than just the symptom.
Key Exterior Water Management Strategies:
- Gutter and Downspout Maintenance: Ensure your gutters are clean and that downspouts extend at least six to ten feet away from your foundation, discharging water on a downward slope.
- Proper Yard Grading: The ground around your house should slope away from the foundation—a drop of at least six inches over the first ten feet is ideal. This encourages surface water to drain away naturally.
- Exterior Waterproofing Membranes: For severe issues, professionals can excavate the soil around the foundation, apply a waterproof membrane to the exterior wall, and install an exterior drainage system (like a French drain) to collect and divert groundwater.
By combining an effective interior seal with proactive exterior water management, you create a comprehensive defense system. This not only solves the immediate leak around your sewer pipe but also protects your entire basement from future water intrusion, ensuring a dry, safe, and usable space for years to come.