Baseboard Without Shoe Molding: Achieve a Sleek, Modern Look
For decades, standard trim installation has followed a predictable pattern: install the baseboard, realize the floor isn’t perfectly flat, and nail on a strip of shoe molding or quarter round to hide the unsightly gaps. While practical, this “layer cake” look can feel cluttered and dated in contemporary homes. To successfully install baseboard without shoe molding, you must scribe the bottom edge of the board to mirror the contours of your floor, ensuring a tight, custom fit that eliminates gaps.
Achieving this seamless transition between wall and floor requires more precision than the standard “chop and drop” method, but the result is a cleaner, more architectural finish that elevates the entire room. Whether you are aiming for a minimalist Scandinavian vibe or simply hate the look of quarter round, mastering the art of the gap-free install is entirely possible with the right techniques.
You'll Learn About
The Modern Aesthetic: Why Skip the Shoe Molding?
In modern design, less is often more. The primary reason homeowners and designers are moving away from shoe molding is to achieve clean lines. Shoe molding was originally developed as a carpentry “band-aid”—a way to cover the inevitable gaps caused by uneven subfloors or hardwood that hadn’t been leveled.
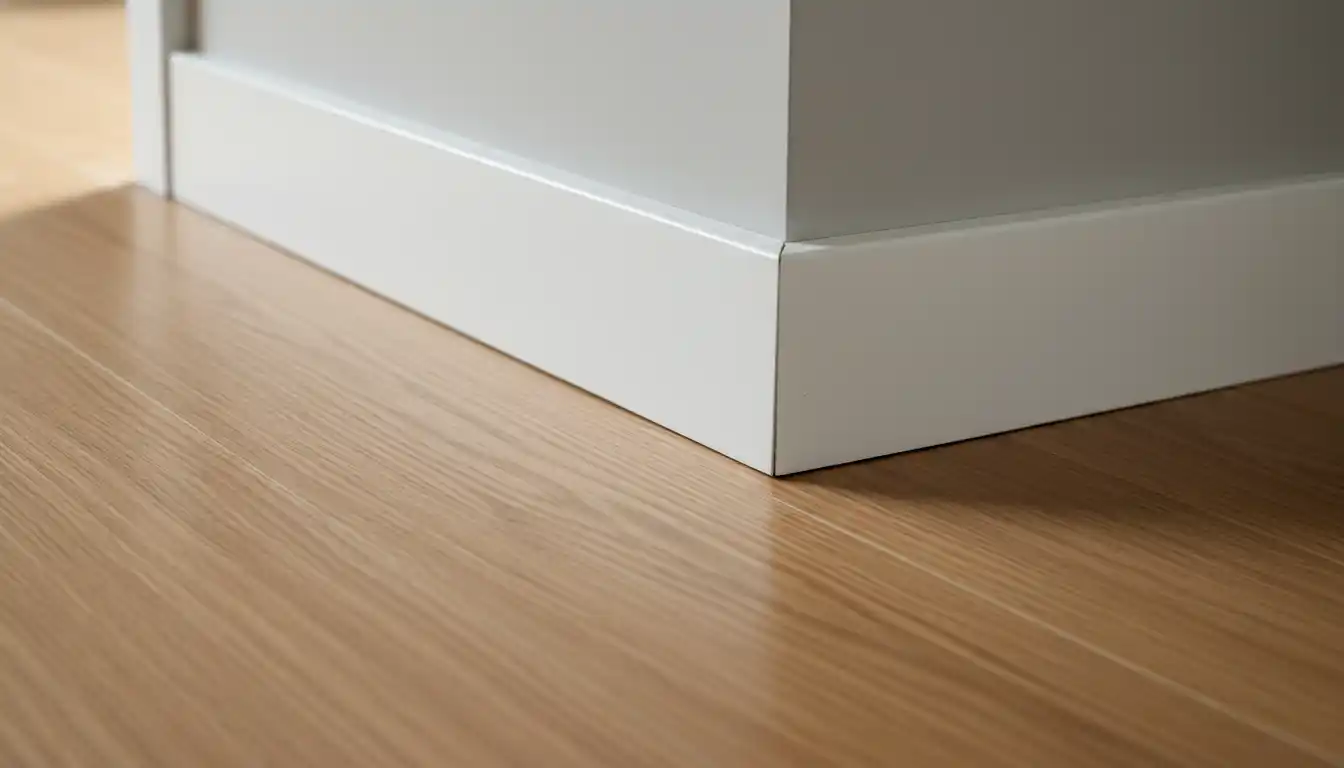
By eliminating this extra strip, you create a flush, deliberate profile that looks intentional rather than remedial. This approach highlights the height of your baseboards and allows the flooring to shine without a visual border shrinking the room’s footprint. It is particularly effective with flat-stock baseboards or simple ease-edge styles where the goal is sharp geometry.
Minimalism and Clean Lines
Removing the shoe molding reduces visual noise. In a room with complex tile patterns or wide-plank wood flooring, the extra trim piece can distract the eye. A baseboard that meets the floor directly creates a monolithic, high-end appearance often found in luxury hotels and art galleries.
Avoiding the “Cover-Up” Look
Many homeowners associate quarter round with “flipping” or quick renovations where speed was prioritized over quality. Taking the time to install baseboards without it signals craftsmanship. It shows that the installer took the time to address the floor’s imperfections rather than just nailing a flexible strip over them.
The Challenge: Dealing with Uneven Floors
Before you rip out your old trim, it is crucial to understand why shoe molding exists. Very few floors are perfectly flat. Over a 10-foot span, a subfloor might dip or rise by a fraction of an inch. If you install a straight, rigid piece of baseboard on a wavy floor, you will see dark, ugly gaps where the floor dips.
The “Gap” Problem Explained
Rigid materials like MDF or solid wood baseboards do not bend easily to follow the floor’s vertical waves. Without shoe molding to bridge the gap, these spaces can collect dust, hair, and even become entry points for pests. The solution isn’t to force the board down (which can bow it away from the wall) but to shape the board to the floor.
Floating Floors and Expansion Gaps
If you have a floating floor (like luxury vinyl plank or laminate), the flooring requires an expansion gap of roughly 1/4 to 3/8 of an inch away from the wall. Standard thin baseboards might barely cover this gap. When you skip the shoe molding, you lose that extra 3/4 inch of coverage. You must ensure your baseboard is thick enough—typically at least 5/8″ or 3/4″—to cover the flooring edge while still leaving room for the floor to expand underneath.
Method 1: The Scribing Technique (The Gold Standard)
Scribing is the professional carpenter’s secret weapon. It involves transferring the profile of the uneven floor onto the bottom of the baseboard, then cutting along that line. This allows the baseboard to “sit” into the floor’s imperfections perfectly.
Mapping the Floor’s Contours
Start by cutting your baseboard to the correct length. Set it in place against the wall. You will likely see gaps where the board doesn’t touch the floor. Take a compass (a simple school geometry tool works perfectly) and set the distance between the point and the pencil to match the widest gap you see.
Hold the metal point of the compass against the floor and the pencil against the face of the baseboard. Glide the compass along the entire length of the floor. The pencil will draw a wavy line on your baseboard that perfectly mimics the hills and valleys of your floor.
Cutting and Back-Beveling
Once you have your scribe line, use a jigsaw or a coping saw to cut along it. Here is a pro tip that adds significant value to your finish: back-bevel your cut. Angle your saw blade slightly (about 5 to 10 degrees) so you are cutting away more material from the back of the board than the front.
This creates a sharp leading edge on the front face of the baseboard. If there are minor imperfections in your cut, the thin front edge will crush slightly into the floor for a seamless seal, whereas a square cut might get hung up on a high spot behind the face.
Method 2: The Architectural Shadow Gap
For those planning a major renovation or new build, there is an even more modern alternative to standard baseboards: the shadow gap (or reglet). This aesthetic eliminates the protruding baseboard entirely.
What is a Reglet or Shadow Reveal?
A shadow gap is a recess created at the bottom of the wall, usually using a specific metal profile (like an aluminum U-channel) installed during the drywall phase. The drywall stops roughly 1/2 inch above the floor, and the metal channel creates a crisp, dark shadow line.
Installation Considerations
This method is significantly more labor-intensive than traditional trim. It requires the drywall installer to be extremely precise, as there is no trim to hide a ragged gypsum edge. However, the result is the ultimate modern look—walls that appear to “float” above the floor.
Method 3: Handling Floating Floors Without Quarter Round
If you are installing a floating floor and want to skip the shoe molding, the expansion gap is your biggest enemy. Standard “speed base” sold at big-box stores is often only 3/8″ or 1/2″ thick, which is risky if your flooring installer left a wide gap.
Managing the Expansion Gap
The best workaround is to source thicker baseboard material. Look for “true 1x” lumber or craftsman-style molding that is a full 3/4″ thick at the bottom. This gives you the confidence to cover the required expansion gap without needing a secondary molding.
Undercutting Drywall
Another “original” trick for renovations is to undercut the drywall itself. By raising the bottom edge of the drywall by an inch, you can slide the laminate or vinyl flooring slightly under the plane of the wall surface. This effectively buys you extra expansion room that is hidden behind the baseboard, allowing you to use a thinner, sleeker baseboard profile without exposing the edge of the floor.
Just as you might troubleshoot a how to stop SharkBite from spinning during a plumbing fix, managing the interaction between your drywall, baseboard, and floating floor requires understanding the mechanics of how materials move and settle over time.
Essential Tools for a Gap-Free Install
To pull this off, you need tools that prioritize precision over speed.
- Compass or Scribing Tool: Essential for transferring floor irregularities.
- Jigsaw with a Fine-Tooth Blade: For cutting the scribed line smoothly.
- Belt Sander or Block Plane: For fine-tuning the bottom edge after the cut.
- High-Quality Construction Adhesive: Helps hold the board tight to the wall if studs are not perfectly placed.
- Caulk Gun: For the top edge (against the wall), not the bottom.
Troubleshooting and Expert Tips
Even with scribing, you might face challenges. If you have a concrete subfloor that dips significantly, scribing might remove too much height from your baseboard, making it look short next to a door casing. In extreme cases, you may need to use a self-leveling compound on the subfloor before installing the floor covering.
When dealing with wet areas like bathrooms, this seamless look is excellent for hygiene, as there is no shoe molding crevice to trap water. It creates a vibe similar to a high-end spa, pairing well with fixtures like a rain shower head and regular shower head combination.
What if the Gap is Too Big?
If you have already installed the baseboard and realize there is a gap you missed, resist the urge to fill it with standard caulk, which will crack and attract dirt. Instead, use a color-matched caulk specifically designed for flooring (often siliconized acrylic) or, if the gap is very small, a “caulk and paint” approach can work if you tape off the floor perfectly.
Comparison of Installation Methods
Choosing the right method depends on your budget, your DIY skills, and the current state of your home.
| Method | Difficulty | Best For | Cost Impact |
|---|---|---|---|
| Shoe Molding (Standard) | Low | Hiding large gaps, quick renovations | Low (adds cost of molding) |
| Scribing Baseboard | High | Uneven floors, purist modern look | Medium (high labor/time) |
| Thick Baseboard (No Scribe) | Medium | Flat floors, floating floor expansion coverage | Medium (material cost) |
| Shadow Gap / Reglet | Very High | New builds, ultra-modern architecture | High (specialized labor) |
Ultimately, skipping the shoe molding is a commitment to precision. It elevates a room from “builder grade” to “custom designed.” Whether you are framing a view of a delicate Earth Angel rose in container near a patio door or simply want your hallway to look wider and cleaner, the effort of scribing and fitting your baseboards properly is an investment that pays off in visual clarity.