Baseboard Under Kitchen Cabinets: Your Guide to a Flawless Finish
That awkward, unfinished gap under your kitchen cabinets is more than just an eyesore. It’s a notorious trap for dust, crumbs, pet hair, and spilled liquids, creating a cleaning nightmare and an open invitation for pests. Leaving this area exposed not only makes a brand new kitchen look incomplete but also exposes the base of your cabinets to potential damage over time.
Finishing the space beneath your cabinets is a critical final step in any kitchen project. It elevates the entire room from functional to flawless, providing a clean, professional look that protects your investment. This guide will walk you through everything you need to know about installing baseboard under your kitchen cabinets for a durable and beautiful result.
You'll Learn About
Why That Unseen Gap is a Bigger Problem Than You Think
The narrow void between your cabinet base and the floor might seem insignificant, but it can lead to a host of issues that go beyond simple aesthetics. It’s a hidden zone where hygiene, pest control, and structural integrity are compromised.
A Superhighway for Pests and a Haven for Grime
To insects and rodents, that dark, protected gap is a perfect travel route and nesting area. It offers easy access to the hidden spaces behind and within your cabinetry. Crumbs and moisture that inevitably find their way under the cabinets create an inviting environment for pests. This can sometimes lead to mysterious signs of decay or infestation, such as unexplained piles of fine, orange dust in your house, which may indicate carpenter ant activity or wood rot.
This area also becomes a graveyard for dust bunnies, food spills, and other debris. Because it’s so difficult to reach, proper cleaning is nearly impossible. Over time, this buildup can lead to unpleasant odors and a decline in your kitchen’s overall hygiene.
The Moisture Menace and Cabinet Integrity
Kitchen floors are frequently mopped, and spills are a common occurrence. Water can easily seep into this unprotected gap, getting trapped against the raw, unfinished wood of your cabinet base. Consistent exposure to moisture is a serious threat, especially to cabinets made from materials like particle board or MDF.
When these materials absorb water, they can swell, warp, and begin to disintegrate. This can lead to significant structural problems, much like the issue of crumbling particle board under countertops, compromising the stability and longevity of your entire kitchen installation. A proper baseboard installation acts as a crucial barrier, shielding the cabinet structure from everyday moisture.
The Great Debate: Traditional Toe-Kick vs. Decorative Baseboard
Before you install any trim, it’s important to understand your options. The two primary choices for finishing the base of kitchen cabinets are the standard, recessed toe-kick and a flush, decorative baseboard. Each offers a distinct look and function.
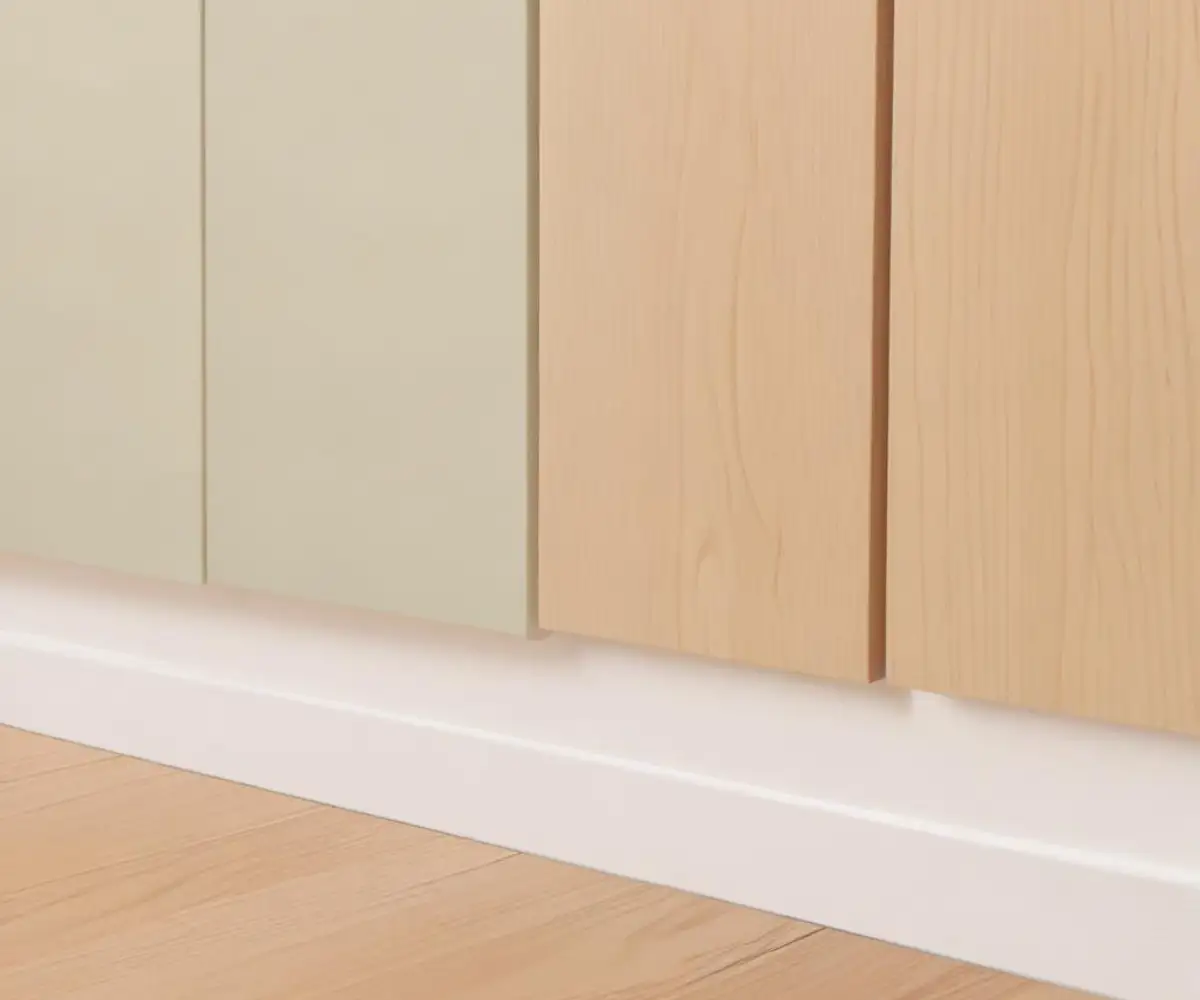
A traditional toe-kick is the recessed space—typically about 4 inches high and 3 inches deep—found at the bottom of most standard kitchen cabinets. Its main purpose is ergonomic; it allows you to stand closer to the countertop without stubbing your toes, reducing back strain. A decorative baseboard, on the other hand, is installed flush with the cabinet face, creating the look of a solid piece of furniture. This option is often used for kitchen islands, peninsulas, or in custom kitchens aiming for a high-end, built-in aesthetic.
| Feature | Traditional Toe-Kick | Decorative Baseboard | Shoe or Quarter Round Molding |
|---|---|---|---|
| Ergonomics | Excellent (provides foot space) | Poor (no foot space) | N/A (used with toe-kicks) |
| Aesthetics | Standard, functional appearance | High-end, furniture-like look | Simple, clean, minimal finish |
| Best For | Main cabinet runs, functional workspaces | Islands, peninsulas, custom designs | Covering small, uneven gaps |
| Installation | Standard component of most cabinets | Requires custom fitting and installation | Simple nail-on application |
| Cleaning | Recessed area can collect dust | Flush surface is easier to wipe down | Easy to clean |
Choosing Your Material: The Secret to a Lasting, Waterproof Finish
The kitchen is a high-moisture environment, making material choice absolutely critical for any trim work. Using the wrong material, like standard MDF, is a recipe for disaster. It will quickly absorb water, swell, and fall apart. You must choose a material that can withstand the rigors of a kitchen.
Superior Material Options
For the best performance, consider either solid wood or a synthetic option like PVC. Solid wood offers a classic, premium look but must be sealed on all sides with primer and paint before installation to protect it from moisture. It is durable and can be perfectly matched to your cabinetry.
PVC or vinyl trim is arguably the best choice for this application. It is 100% waterproof, will never rot, warp, or swell, and is impervious to insects. It cuts and installs just like wood but provides ultimate peace of mind in a wet environment. It comes pre-finished in white but is easily paintable to match any color scheme.
A lesser-known benefit of a well-installed, solid baseboard is its ability to improve kitchen acoustics. The solid barrier helps to dampen vibrations from appliances like dishwashers and can reduce the echo in rooms with hard flooring, creating a quieter and more pleasant space.
Your Step-by-Step Installation Guide
Installing a baseboard under your cabinets is a straightforward project that can be completed with basic carpentry tools. The key to a professional result lies in careful preparation and precise cuts.
Step 1: Prepare the Area and Gather Your Tools
Start by thoroughly cleaning the area under the cabinets. Vacuum all dust and debris and wipe the floor and cabinet base clean. This is your last chance to inspect for any signs of moisture damage or pests before sealing the area off.
You will need a tape measure, pencil, level, miter saw, brad nailer, construction adhesive, and a caulk gun. For a truly professional finish on uneven floors, you will also need a scribing tool or compass.
Step 2: Measure Twice, Cut Once
Measure the lengths of each cabinet run where the baseboard will be installed. For runs that meet at an outside corner (like on an island), you will need to make 45-degree miter cuts. Use your miter saw to make these cuts, ensuring they are precise so the two pieces meet to form a perfect 90-degree corner.
Step 3: The Professional Secret—Scribing for a Perfect Fit
Almost no floor is perfectly level. If you simply place a straight baseboard on an uneven floor, you will be left with unsightly gaps underneath. The professional solution is to scribe the baseboard, transferring the contours of the floor onto the wood so you can cut it for a perfect, gap-free fit.
To do this, place the baseboard against the cabinet base. Find the largest gap between the board and the floor and set a compass or scribing tool to that width. Run the point of the tool along the floor while the pencil traces a corresponding line on the face of the baseboard. This line perfectly mirrors the floor’s imperfections. Carefully cut along this line with a jigsaw to create a custom-fit bottom edge.
Step 4: Secure the Baseboard
Once your pieces are cut and scribed for a perfect dry fit, you are ready for installation. Apply a bead of strong construction adhesive to the back of the baseboard. Press it firmly into place against the cabinet base and secure it further by firing 1.5-inch brad nails through the board into the cabinet’s toe-kick structure every 12-16 inches.
Step 5: The Finishing Touches
A professional finish is all in the details. Fill all nail holes with a small amount of paintable wood filler. Apply a thin, smooth bead of waterproof, paintable caulk along the top edge where the baseboard meets the cabinet and in any corner joints. This seals all gaps, preventing water intrusion and creating a seamless, built-in look.
Once the filler and caulk are dry, lightly sand any rough spots and apply your final coats of paint. Be sure to use a durable, high-quality trim enamel that can withstand scuffs and cleaning.
Alternative Solutions for a Clean Finish
If a full baseboard feels too substantial for your design, there are other elegant ways to close the gap under your cabinets. These simpler trim pieces can provide a clean line and are often easier to install.
Shoe molding is a small, slender piece of trim that has a quarter-circle profile but is taller than it is deep. It’s an excellent choice for covering small, inconsistent gaps. Quarter round is another option, with a profile that is a perfect quarter-circle. It is often used in combination with existing baseboards but can be used alone under cabinets as well. When exploring different trim profiles, you may find that techniques for installation, like those used for a quarter round around a door frame, are also applicable in the kitchen for achieving a clean transition.
A Finished Look That Lasts
Adding a baseboard under your kitchen cabinets is more than just a cosmetic upgrade. It’s a crucial step that protects your cabinetry from moisture, eliminates hard-to-clean grime traps, and deters pests. By choosing the right waterproof materials and using professional techniques like scribing, you can achieve a flawless, custom finish.
This simple project makes a significant impact, elevating the entire look of your kitchen and providing a durable, long-lasting solution that safeguards your investment for years to come.