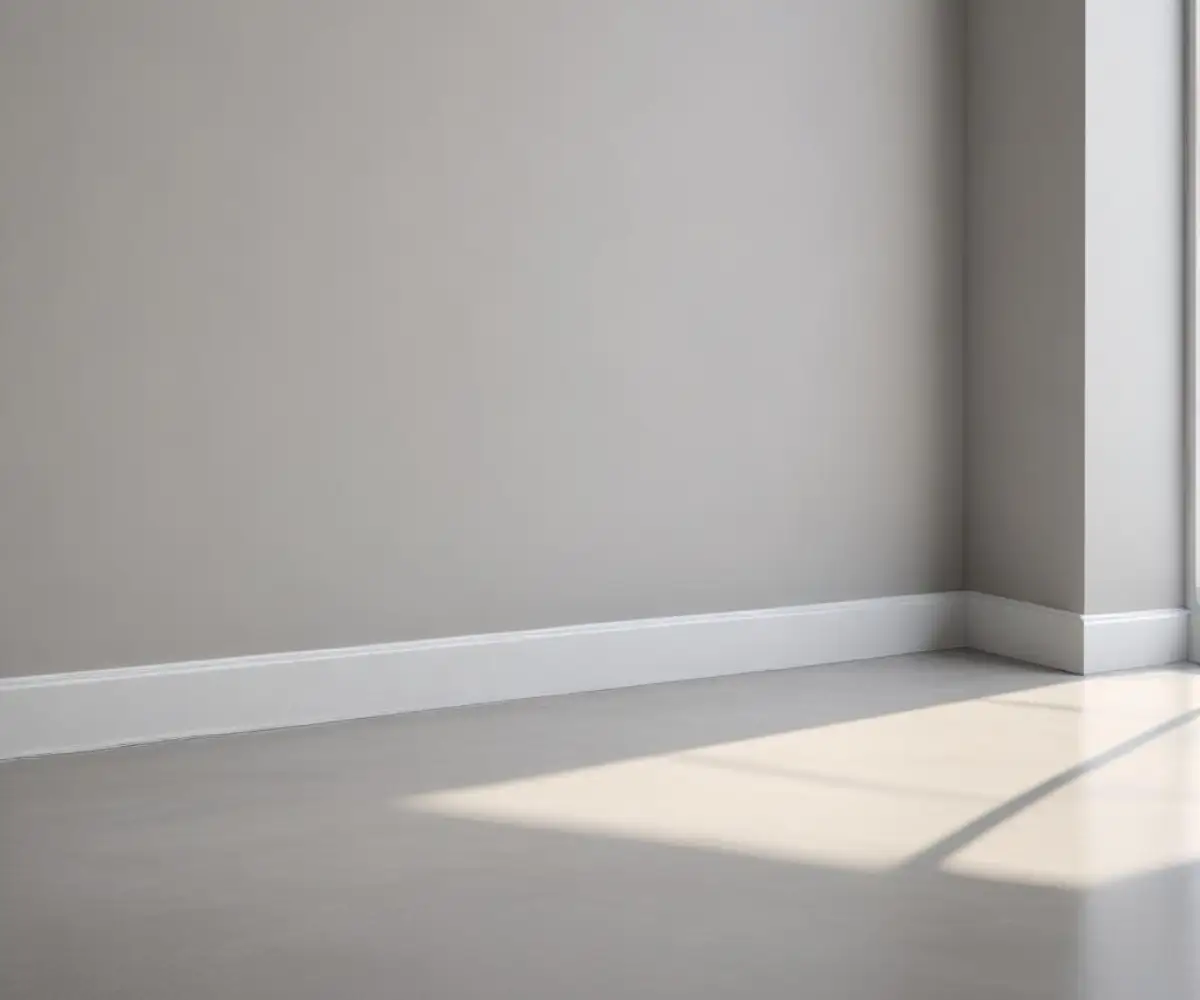
Baseboards on Concrete Floors? Your No-Fail Installation Guide
Installing baseboards on a concrete floor can feel like a recipe for disaster. Unlike forgiving drywall, concrete is rigid, uneven, and notorious for moisture issues, turning a seemingly simple upgrade into a complex challenge. Many homeowners face warped, swollen, or detached baseboards just months after installation, wondering where they went wrong.
The core of the problem lies in the inherent nature of concrete itself. It’s a porous material that can wick moisture from the ground, leading to damage in any wood-based materials it touches. This guide provides a comprehensive, step-by-step approach to ensure your baseboard installation is a lasting success, not a costly mistake.
You'll Learn About
Why Concrete Demands a Different Approach
Standard baseboard installation techniques simply don’t work on concrete. The material’s density makes nailing difficult, while its tendency to hold moisture can ruin wood and MDF baseboards. Understanding these challenges is the first step to overcoming them.
The Moisture Menace: Concrete’s #1 Enemy
Concrete slabs, especially in basements or on-grade foundations, are prone to moisture vapor transmission. This occurs when ground moisture travels up through the porous concrete, creating a damp environment at the floor line. When wood or MDF baseboards are in direct contact with this moisture, they absorb it like a sponge.
This absorption leads to swelling, warping, and eventually, rot. It can also cause paint to peel and adhesives to fail, leaving your baseboards detached from the wall. Proper moisture mitigation is not optional; it is essential for a lasting installation.
The Fastening Dilemma: Adhesives vs. Mechanical Fasteners
You can’t just nail baseboards into a concrete wall as you would with drywall. Attaching trim to such a hard surface requires specialized methods. The two primary options are construction adhesives and mechanical fasteners, each with its own set of pros and cons.
Construction adhesive offers a clean, fastener-free look but requires a perfectly flat and clean surface for a strong bond. Mechanical fasteners, like concrete screws, provide a much stronger and more immediate hold but require pre-drilling and leave visible holes that need to be filled.
Your Pre-Installation Checklist: Setting Up for Success
Proper preparation is the key to a flawless baseboard installation on concrete. Rushing this stage will almost certainly lead to problems down the road. Take the time to prepare the surface and choose the right materials for the job.
Step 1: Surface Preparation and Moisture Testing
The concrete surface must be clean, dry, and free of contaminants like dust, oil, or old adhesive residue. A thorough cleaning ensures that your chosen adhesive can form a strong bond. Never skip the moisture test, especially in below-grade areas like basements.
A simple and effective method is the plastic sheet test. Tape an 18×18 inch square of clear plastic sheeting to the concrete and leave it for 16-24 hours. If you see condensation under the plastic or the concrete has darkened, you have a moisture issue that must be addressed before proceeding.
Step 2: Choosing the Right Baseboard Material
Material choice is critical when dealing with concrete. Given the high risk of moisture, some materials are far better suited for this environment than others. Your selection will directly impact the longevity and durability of your installation.
MDF (Medium-Density Fiberboard) is a popular and inexpensive option, but it is highly susceptible to moisture damage and should be avoided for concrete floor applications. Natural wood is a better choice but requires sealing on all sides to prevent moisture absorption. For a truly worry-free solution, consider synthetic options like PVC or polyurethane, which are completely waterproof.
Step 3: Selecting the Best Fastening Method
The right fastening method depends on the condition of your concrete walls and your aesthetic preferences. For perfectly flat walls, a high-quality construction adhesive may be sufficient. However, for uneven surfaces, a combination of adhesive and mechanical fasteners is recommended.
This hybrid approach ensures the baseboard is pulled tight against the wall while the adhesive cures, bridging any minor gaps and creating a super-strong bond. For those who prefer a more traditional wood look, exploring options like Woodmark Hardwood Floors can provide inspiration for pairing with the right baseboard style.
The Definitive Installation Guide
With your preparation complete, it’s time to install the baseboards. Following these steps carefully will ensure a professional-looking and durable result. Take your time, measure twice, and cut once.
Cutting and Fitting Your Baseboards
Begin by measuring your walls and cutting the baseboard pieces to length. Use a miter saw to make precise 45-degree cuts for outside corners. For inside corners, a coped joint will provide a tighter fit, especially if your walls aren’t perfectly square.
Dry-fit all the pieces before applying any adhesive or drilling any holes. This allows you to make any necessary adjustments for a perfect fit. If you’re dealing with flooring that has issues like separation, such as with COREtec flooring separating, ensuring your baseboards are installed correctly becomes even more crucial for a finished look.
Applying Adhesive and Attaching to the Wall
If you’re using adhesive, apply a continuous wavy bead to the back of the baseboard. This pattern maximizes surface contact and allows for air circulation as the adhesive cures. Press the baseboard firmly against the wall, using painter’s tape to hold it in place if needed.
For those using mechanical fasteners, pre-drill pilot holes through the baseboard and into the concrete using a hammer drill and a masonry bit. Then, drive in the concrete screws, ensuring they are countersunk slightly below the surface. A detailed review of different flooring options, like in these Downs Life H2O Flooring Reviews, can highlight the importance of a solid baseboard installation to complement the floor.
| Fastening Method | Pros | Cons | Best For |
|---|---|---|---|
| Construction Adhesive | Clean, nail-free finish; Easy application. | Requires a flat, clean surface; Longer cure time. | Smooth, even concrete walls; PVC or polyurethane baseboards. |
| Concrete Screws (Tapcons) | Very strong, immediate hold; Great for uneven walls. | Requires pre-drilling; Holes must be filled and painted. | Wavy or irregular concrete surfaces; All baseboard materials. |
| Adhesive & Screws (Hybrid) | Maximum strength and durability; Bridges gaps effectively. | Most labor-intensive method. | The most secure, long-term installation for any situation. |
Finishing Touches for a Professional Look
Once the baseboards are securely attached, it’s time for the finishing touches. Fill any nail or screw holes with wood putty and sand smooth once dry. Caulk the top edge where the baseboard meets the wall to conceal any small gaps and create a seamless transition.
Finally, apply your desired paint or finish. Be sure to use a high-quality primer, especially if you’re painting natural wood or MDF. This final step not only enhances the appearance but also adds another layer of protection against moisture.
Advanced Solutions for Common Problems
Even with careful planning, you may encounter challenges during your installation. Concrete floors and walls are rarely perfect, but with the right techniques, you can overcome these common hurdles for a flawless finish.
Dealing with Uneven Floors
If your concrete floor is uneven, you may end up with unsightly gaps at the bottom of your baseboards. To fix this, you can scribe the baseboard to match the contour of the floor. This involves using a compass to trace the floor’s profile onto the bottom of the board, then cutting along the line for a perfect fit.
Managing High-Moisture Environments
If your moisture test revealed significant issues, you’ll need to take extra precautions. Applying a liquid moisture mitigation product to the concrete before installation can create a waterproof barrier. Pairing this with a waterproof baseboard material like PVC is the ultimate defense against moisture-related failures.
Choosing the right materials from the start can save a lot of headaches. By investing in quality, you ensure that your baseboards will stand the test of time, even in a challenging environment like a basement. This principle of quality is something to consider for all flooring components.
Frequently Asked Questions
What are the best materials for baseboards on a concrete floor?
Polyvinyl chloride (PVC) and polyurethane baseboards are excellent choices for concrete floors because they are waterproof and won’t get damaged by moisture from the concrete. While natural wood can be used, it needs to be thoroughly sealed on all sides to prevent warping from moisture absorption. Medium-density fiberboard (MDF) is generally not recommended as it can absorb moisture and swell.
How do you attach baseboards to a concrete wall?
The most common and effective method for attaching baseboards to a concrete wall is to use a strong construction adhesive. Apply the adhesive to the back of the baseboard and press it firmly against the wall. For extra security, you can also use concrete nails in addition to the adhesive.
Should baseboards touch the concrete floor?
No, it is not recommended for baseboards to directly touch a concrete floor or any type of flooring. You should leave a slight gap to allow for the installation of flooring and underlayment. This space also helps prevent the baseboard from absorbing any potential moisture from the concrete.
What should I do if there is a gap between the baseboard and the concrete floor?
If you have a gap between your baseboard and the concrete floor, one of the best solutions is to install shoe molding or quarter-round. This trim piece is flexible and can easily cover inconsistencies in the floor, giving a finished look. Another option for smaller gaps is to use a paintable latex caulk to fill the space.
Can I use MDF baseboards in a basement with a concrete floor?
Using MDF baseboards in a basement with a concrete floor is generally discouraged due to the potential for moisture. MDF is known to absorb moisture, which can cause it to swell and deteriorate over time. If you do use MDF, ensure the area is very dry and the baseboards are well-painted to provide a protective barrier.