Bad Wallpapering Job? Here’s Your Ultimate Guide to Fixing It
There is nothing more frustrating than stepping back to admire your newly wallpapered room, only to be met with bubbles, peeling seams, and mismatched patterns. A bad wallpapering job can deflate your design ambitions and turn a dream project into a visible nightmare.
This comprehensive guide will walk you through identifying the telltale signs of a flawed installation, understanding the root causes, and implementing effective, professional-level fixes. Transform your wallpaper woes into a flawless finish you can be proud of.
You'll Learn About
The Telltale Signs of a Botched Wallpaper Project
Before you can fix the problem, you need to correctly identify it. Many wallpaper issues may seem similar, but they have distinct causes and require different solutions. Knowing what to look for is the first step toward remediation.
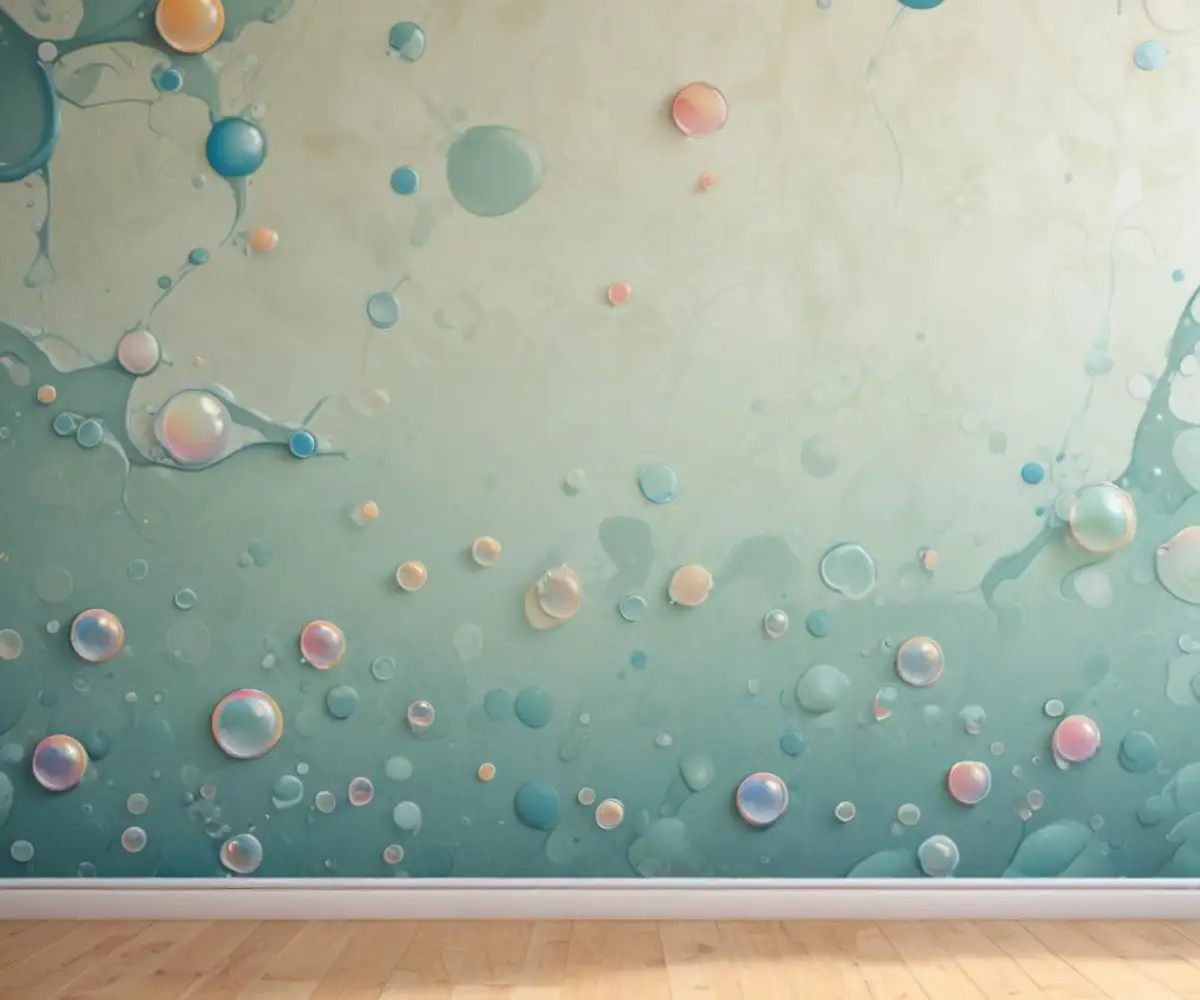
Bubbles, Blisters, and Wrinkles
These are the most common complaints and often appear as trapped pockets of air or paste under the paper’s surface. Bubbles are typically caused by air that wasn’t smoothed out during application or dirt on the wall. Blisters and wrinkles, on the other hand, often point to issues with the adhesive or improper paper handling.
Mismatched Patterns and Misaligned Seams
A perfectly seamless look is the goal of any wallpaper installation. When patterns don’t line up from one strip to the next, it’s an unmistakable sign of a poor job. This jarring mistake can disrupt the entire visual flow of the room and is often the most difficult to correct.
Peeling Edges and Lifting Seams
Wallpaper that curls or lifts at the edges and seams is a clear indicator of an adhesion problem. This can happen immediately after installation or develop over time. The primary culprits are often insufficient paste, the wrong type of adhesive, or inadequate wall preparation.
Visible Seams and Gaps
Ideally, the transition from one wallpaper strip to the next should be invisible. If you can clearly see the lines or even small gaps between each panel, it means the strips weren’t butted up against each other properly. This can be due to the paper shrinking as it dries or simple installation error.
Why Did My Wallpaper Job Go Wrong? Uncovering the Root Causes
Understanding why these issues occurred is crucial for both fixing them and preventing them in the future. Nearly all wallpaper failures can be traced back to a handful of critical errors in preparation or application.
The Critical Step Everyone Skips: Wall Preparation
The single most important factor for a successful wallpaper installation is a properly prepared wall. A surface that is dirty, greasy, uneven, or too porous will prevent the adhesive from creating a strong, lasting bond. Old paint, dust, and microscopic grime can all lead to failure.
It is essential to clean the walls thoroughly and then apply a quality primer or sealer. For walls with previous damage or imperfections, choosing the right sealer is paramount; a product comparison like Roman Pro 999 vs Gardz can help you decide on the best option to create a stable surface for your wallpaper.
Paste Problems: Too Much, Too Little, or Wrong Type
Adhesive is the literal glue holding your project together, and using it incorrectly is a recipe for disaster. Too little paste will cause peeling edges, while too much will ooze out of the seams and create a mess. Using the wrong type of adhesive for your specific wallpaper material can also lead to a weak bond or even damage the paper itself.
Rushing the Process: The Enemy of a Perfect Finish
Patience is a virtue in wallpapering. Rushing the “booking” process—letting the pasted paper rest and expand before hanging—can cause bubbles and wrinkles. Not taking the time to smooth each strip meticulously from the center outwards is another common error that traps air bubbles.
Ignoring the Environment: Humidity and Temperature
The conditions in the room play a surprisingly significant role. High humidity or extreme temperatures can affect how the adhesive dries. Wallpaper can expand in humid conditions and shrink as it dries, leading to gaps between seams if the environment isn’t controlled. It is best to work in a room with stable temperature and low humidity.
Your Action Plan: How to Fix a Bad Wallpapering Job
Now for the solutions. While some issues are more challenging than others, many common wallpaper mistakes can be fixed with the right tools and techniques. Don’t despair; a professional-looking finish may still be within reach.
Tackling Bubbles and Blisters Like a Pro
For small air bubbles, a simple pinprick is often enough. Use a straight pin or the tip of a sharp craft knife to make a tiny hole in the center of the bubble. Gently press the air out towards the hole with a clean cloth or a smoothing tool.
For larger bubbles or blisters caused by excess paste, a glue syringe is your best tool. Make a small slit along the edge of the bubble, insert the syringe, and inject a small amount of seam adhesive. Press the area flat, wiping away any excess glue with a damp sponge.
Sealing the Deal: Fixing Lifting Seams and Edges
Peeling seams are one of the most common issues and, fortunately, one of the easiest to fix. You will need a small tube of seam repair adhesive and a seam roller. Carefully apply a thin bead of the adhesive under the lifted edge, then press the paper firmly back onto the wall with the seam roller for a strong, flat bond.
The Unforgivable Sin: What to Do About Mismatched Patterns
This is the toughest problem to fix without replacing a strip entirely. For minor misalignments, you may be able to camouflage the issue with carefully applied craft paint or markers that match the wallpaper colors. In more severe cases, the only true fix is to carefully remove the misaligned panel and hang a new one, paying meticulous attention to the pattern match.
When to Call It Quits: Knowing When to Start Over
Sometimes, a wallpaper job is too flawed to salvage. If you have widespread bubbling, multiple severely mismatched panels, or extensive peeling, it may be more effective to remove the wallpaper and start fresh. It’s a difficult decision, but it’s often better than attempting countless small, frustrating repairs.
| Problem | Likely Cause | Quick Fix Solution | Pro-Level Solution |
|---|---|---|---|
| Small Air Bubbles | Trapped air | Puncture with a pin and smooth out. | Use a syringe to inject a tiny amount of adhesive after releasing air. |
| Lifting Seams | Insufficient adhesive or poor prep | Apply seam repair adhesive with a small brush and press with a seam roller. | Gently lift the seam, clean the wall behind it, apply primer, then use seam adhesive. |
| Mismatched Pattern | Installation error | For minor flaws, use artist’s paints to camouflage the mismatch. | Carefully remove and replace the entire misaligned strip. |
| Wrinkles/Creases | Improper smoothing or booking | Gently lift the paper, smooth it out, and re-adhere. May require a little steam to soften. | Cut a slit, apply paste underneath, and overlap the cut slightly, smoothing it flat. |
| Visible Gaps | Paper shrinkage or improper butting | Fill the gap with a color-matched latex caulk or paint. | Cut a thin “filler” strip from a wallpaper scrap and carefully glue it into the gap. |
Prevention is the Best Cure: A Preemptive Strike Against Bad Wallpapering
The best way to deal with a bad wallpapering job is to avoid one in the first place. By following best practices from the start, you can ensure your next project is a stunning success.
Choosing the Right Wallpaper for Your Space (and Skill Level)
Not all wallpapers are created equal. Non-woven wallpapers are generally more forgiving for beginners, while delicate materials like grasscloth require a more experienced hand. Always choose a wallpaper that is appropriate for the room’s conditions, such as a scrubbable vinyl for a high-traffic area.
The Non-Negotiable Rules of Wall Preparation
Never skip wall prep. Your walls must be clean, dry, smooth, and properly primed. For challenging surfaces, extra steps are needed. Learning how to approach unique textures is key, such as when you want to wallpaper over shiplap, which requires special preparation to hide the grooves.
Mastering the Art of Wallpaper Application
Take your time. Measure your walls and paper accurately, ensuring you have enough to account for pattern repeats. Use a level or plumb line to hang your first strip perfectly straight, as all other strips will align with it. Smooth each piece carefully to work out all air bubbles before moving on to the next.
Beyond the Basics: Advanced Considerations for a Flawless Finish
Elevating your wallpaper project from good to great involves understanding the subtle details that professionals never overlook. These insights can help you tackle unique challenges and achieve a truly seamless, integrated look.
The Hidden Impact of Wall Texture
Even minor wall textures can “telegraph” through the wallpaper, creating a subtle but unprofessional finish. While primer helps, the ultimate solution for textured walls is skim coating. Applying a thin layer of joint compound and sanding it perfectly smooth creates an ideal canvas that guarantees a flawless result.
Navigating Architectural Challenges
Wallpapering around outlets, windows, and corners requires precision and patience. Just as a space where a front door opens to a wall presents a unique spatial puzzle, these architectural features are wallpapering puzzles. Always make relief cuts and trim carefully with a sharp blade for clean, crisp edges around these obstacles.
A bad wallpapering job can be disheartening, but it’s often not the end of the road. With a clear understanding of the problems and a methodical approach to the solutions, you can correct many common mistakes. By prioritizing careful preparation and patient application, you can ensure your walls look nothing less than spectacular.