Bad Shower Tile Job: 7 Red Flags Your Remodel is a Disaster
You’ve waited for this moment. The dust has settled, the contractors are gone, and your brand-new shower is ready. But as you step back to admire the work, a sinking feeling creeps in. The lines look a bit off, a tile sits higher than its neighbor, and the whole thing just doesn’t have that clean, professional finish you dreamed of. A bad shower tile job is more than just a cosmetic issue; it’s a potential nightmare of leaks, mold, and costly repairs hiding just beneath the surface.
Understanding the warning signs is crucial. Some issues are merely annoying, while others are ticking time bombs that can compromise your home’s structure. Knowing what to look for can empower you to address the problem head-on, whether that means having a tough conversation with your contractor or planning a necessary do-over.
You'll Learn About
Red Flag #1: Uneven Tiles and Lippage
One of the most immediate and tactile signs of a poor tile installation is unevenness. Run your hand across the shower walls and floor. Do you feel the edge of one tile sitting noticeably higher than the one next to it? This issue is known in the industry as “lippage,” and it’s a significant red flag.
Lippage not only looks unprofessional but can also create problems with water drainage and cleaning. In severe cases, these uneven edges can be sharp and pose a safety hazard. According to industry standards (ANSI A108.02), allowable lippage is minimal, often around 1/32 of an inch, which is roughly the thickness of a credit card. Anything more is a sign of poor workmanship.
What Causes Lippage?
Several factors can lead to uneven tiles. The most common is an improperly prepared surface; if the wall or shower pan wasn’t perfectly flat and stable before the first tile was laid, the final result will be uneven. Another cause is inconsistent mortar application, where the installer applies more adhesive under one tile than another. Professional installers use leveling systems—clips and wedges—to ensure a perfectly flush surface as the mortar cures, a step often skipped in rushed jobs.
Red Flag #2: Inconsistent and Messy Grout Lines
Grout lines are the framework of your tile job, and they should be straight, consistent, and clean. Walk around your shower and pay close attention to the spacing between the tiles. Are the gaps uniform in width, or do they vary, looking wide in some spots and narrow in others? This is a clear sign that the installer did not use tile spacers correctly, a basic tool for ensuring a professional layout.
Beyond spacing, look at the grout itself. It should be smooth and filled to a consistent depth. Signs of a bad grout job include:
- Pits and Pinholes: Tiny holes in the grout are often caused by mixing it with too much water, which weakens the final product and makes it porous.
- Excess Grout: Hazy residue on the tile surface or grout spilling over the edges indicates a sloppy cleanup process.
- Uneven Color: Blotchy or inconsistent grout color can happen when too much water is used during the final wipe-down, pulling pigment out of the mixture.
Red Flag #3: Poor Tile Layout and Awkward Cuts
A well-planned tile layout is balanced and symmetrical. A professional will start by finding the center of the wall and working outwards, ensuring that the tiles are balanced on both sides. This planning prevents awkward, sliver-thin cuts in visible areas like corners or along the ceiling.
Look at the corners of your shower. Do you see tiny, slivered pieces of tile? This is a hallmark of poor planning. A thoughtful installer will adjust the layout to ensure that any cut tiles are at least half their original size, creating a much cleaner and more aesthetically pleasing result. The same principle applies around fixtures like your shower niche, valves, and drain.
Red Flag #4: Water Pooling on the Shower Floor
Your shower floor, also known as the shower pan, is engineered to do one thing perfectly: drain water. If you notice puddles of water remaining long after you’ve turned off the shower, you have a serious problem. Standing water is not just an annoyance; it’s a breeding ground for mold and mildew and puts constant stress on your grout joints.
The issue stems from an improperly sloped floor. Building codes and industry best practices mandate that a shower floor must have a minimum slope of 1/4 inch per foot toward the drain. This ensures that gravity efficiently pulls all water away. An installer must create this slope in the mortar bed beneath the tile. A failure to do so is a fundamental error that can often only be fixed by tearing out and rebuilding the entire shower floor.
Red Flag #5: Hollow Sounding Tiles
Gently tap on a few different tiles with your knuckle or a wooden dowel. You should hear a solid, dense sound. If you hear a hollow or empty sound instead, it’s a sign of poor mortar coverage, meaning the tile is not fully bonded to the wall or floor beneath it.
Proper installation requires a minimum of 95% mortar coverage in wet areas like a shower. Installers achieve this by spreading mortar evenly with a notched trowel. Dotting mortar on the back of the tile—a lazy shortcut known as “spot-bonding”—leaves voids and hollow spots. These unsupported tiles are weak points that can easily crack under pressure and create pockets where water can collect, leading to mold and tile failure.
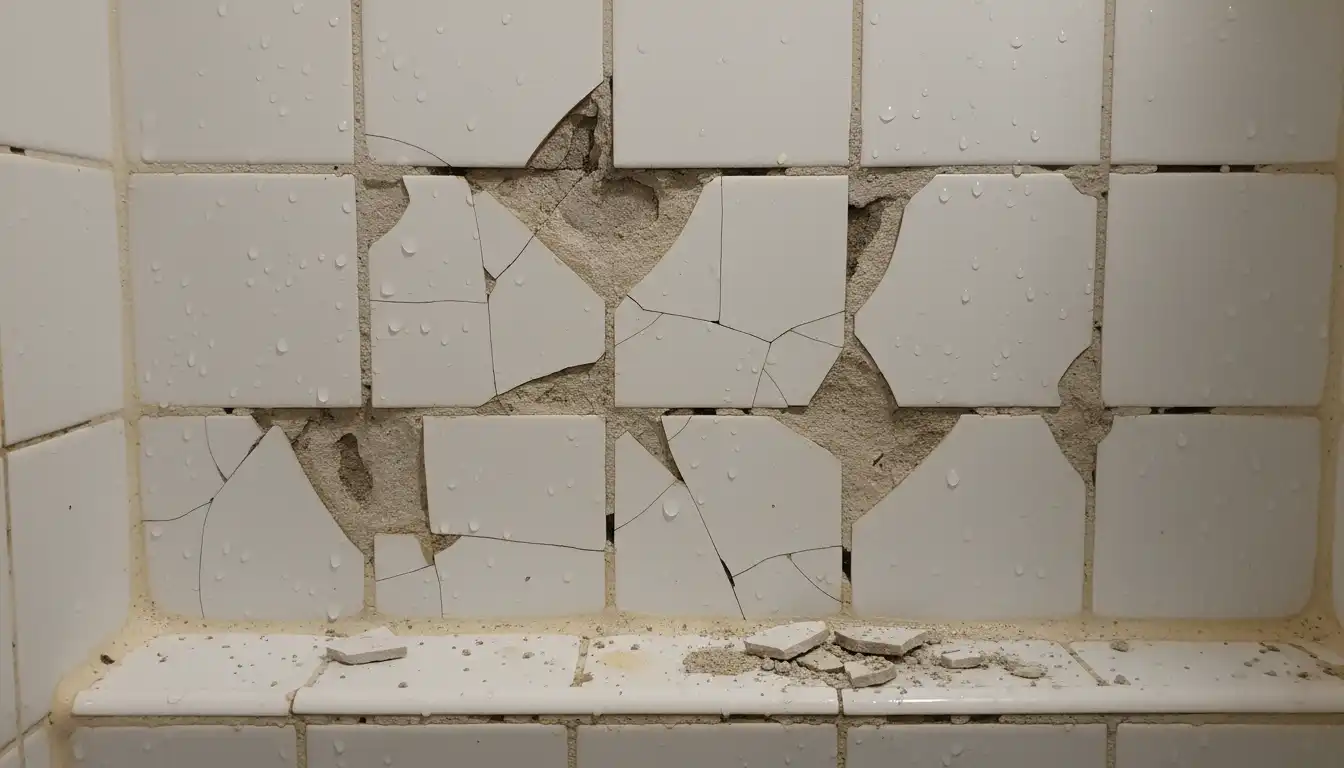
Red Flag #6: Cracked Grout and Persistent Mold
While grout can crack over time due to natural settling, cracks appearing within weeks or months of a new installation are a major concern. It often points to movement in the underlying structure. The installer may have tiled over an unstable subfloor or failed to prepare the wall substrate correctly. This movement transfers through the tile and causes the inflexible grout to crack.
These cracks are open doors for water. Once moisture gets behind the tiles, it can lead to persistent mold that seems to reappear no matter how much you clean it. This is a sign that the waterproofing system behind the tiles has been compromised or, in a worst-case scenario, was never installed correctly in the first place.
Red Flag #7: The Waterproofing Failure You Can’t See
This is the most dangerous red flag of all because you often don’t see the evidence until significant damage has been done. A shower is a constantly wet environment, and tile and grout alone are not waterproof. A critical waterproofing membrane must be installed on the walls and floor before any tile is set. This is the true barrier that protects your home’s structure from water damage.
Signs of a waterproofing failure are often subtle at first and can include a musty smell that won’t go away, peeling paint on adjacent walls, or water stains on the ceiling of the room below. Failure to properly waterproof can lead to thousands of dollars in structural repairs. This is an area where cutting corners has devastating consequences, and is a key reason why a seemingly simple tile job requires deep expertise, especially for complex designs like a flawless curbless shower transition, which demands perfect drainage and integration.
What to Do About a Bad Shower Tile Job
Discovering your new shower is a mess is disheartening, but you have options. The right path depends on the severity of the issues. Minor cosmetic flaws may be livable or fixable, while major structural errors require a complete teardown.
Step 1: Document Everything
Before you do anything else, thoroughly document all the problems. Take clear, well-lit photos and videos of every issue you’ve identified. Use a level to show uneven tiles and a tape measure to highlight inconsistent grout lines. Write down a detailed list of your concerns, referencing specific locations in the shower. This evidence will be crucial when you speak with your contractor.
Step 2: Contact Your Contractor Immediately
Reach out to the contractor who performed the work as soon as possible. Present your concerns calmly and professionally, using the documentation you’ve gathered. A reputable contractor will stand by their work and should be willing to come back to assess the situation and propose a solution. Give them a reasonable opportunity to correct their mistakes.
Step 3: Determine if it’s a Repair or a Redo
Not every problem requires a full demolition. Some issues can be repaired, while others are symptoms of a fundamentally flawed installation. Understanding the difference is key to finding the right solution. This is also where understanding specialized installations, like those involving a wood window in a shower, becomes critical as they have unique waterproofing requirements that can’t be patched easily.
| Issue | Potential DIY/Minor Repair | Requires Professional Teardown & Redo |
|---|---|---|
| Minor Grout Haze/Sloppy Cleanup | Can often be cleaned with specialized grout haze remover. Small pinholes can be filled. | Not usually necessary unless grout is crumbling everywhere. |
| One or Two Hollow/Cracked Tiles | A skilled professional may be able to carefully remove and replace individual tiles without compromising the waterproofing. | If many tiles are hollow, it indicates systemic failure of the mortar bond. |
| Uneven Grout Lines (Cosmetic) | If structurally sound, you may have to live with it or try a grout stain to make lines less noticeable. | A full redo is the only way to fix the layout. |
| Significant Lippage | Cannot be fixed without removing tiles. | The affected area (or entire surface) must be removed and re-laid on a properly flattened substrate. |
| Improper Floor Slope/Pooling Water | There is no topical fix for this. | Absolute teardown required. The entire shower floor must be removed and a new, properly sloped mortar bed must be installed. |
| Widespread Cracking Grout / Signs of Leaks | Regrouting is only a temporary band-aid that traps moisture. | Absolute teardown required. This indicates a failure of the substrate or waterproofing system, which must be addressed from the studs out. |
Step 4: Preventing a Bad Tile Job in the Future
The best way to fix a bad tile job is to avoid it in the first place. When hiring for your next project, be meticulous in your vetting process. Check licenses, insurance, and references. Ask to see a portfolio of their recent work, paying close attention to details like grout lines and cuts.
Discuss the project in detail. A true professional will talk about substrate preparation and their waterproofing method—not just the color of the tile. By investing time in finding the right professional, you’re not just buying a service; you’re investing in the longevity and safety of your home.