Bad Countertop Installation: 7 Signs Your Installer Messed Up & What to Do Next
There’s nothing quite like the excitement of new countertops. They are the centerpiece of a kitchen renovation, the surface where meals and memories are made. But that excitement can quickly turn to horror when you realize the installation is deeply flawed.
A bad countertop installation is more than just a cosmetic issue; it can affect the longevity of your investment and even the structural integrity of your cabinets. This guide will walk you through the undeniable signs of a botched job and give you an actionable plan to make it right.
You'll Learn About
Why a Flawless Countertop Installation Matters
A professional installation is critical for both function and durability. Properly installed countertops provide a safe, level surface for daily activities and are built to withstand years of use. An improper installation can lead to a host of problems, from water damage to cracks forming under stress.
Poor workmanship can also compromise adjacent elements in your kitchen. Ill-fitting slabs can put pressure on cabinets, and incorrect cutouts can prevent appliances from fitting securely. Ultimately, a perfect installation is the final, crucial step in getting the beautiful and functional kitchen you paid for.
Red Flags: 7 Telltale Signs of a Bad Countertop Installation
Once the installers leave, it’s time for a detailed inspection. Don’t be afraid to get up close and run your hands over the surfaces. Here are the seven most common red flags that point to a bad countertop installation.
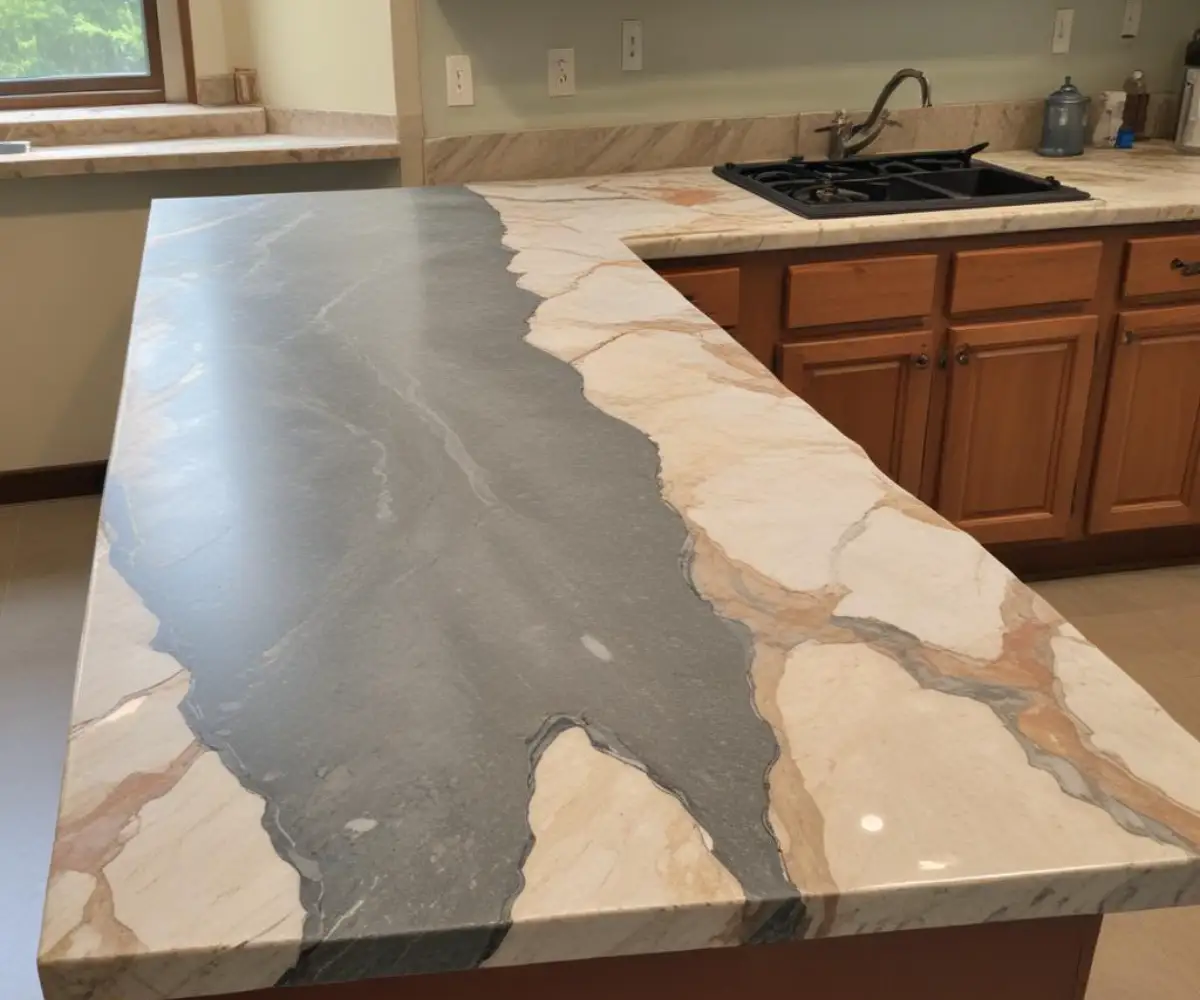
1. Highly Visible or Uneven Seams
For most kitchens, especially larger ones, countertop seams are unavoidable. However, a skilled installer can make them nearly invisible. A good seam should be smooth to the touch, less than 1/16th of an inch wide, and filled with a color-matched epoxy.
Bad seams, on the other hand, are often wide, uneven, and filled with mismatched or messy adhesive. These gaps not only look terrible but can also trap food particles and moisture, creating a hygiene issue and a weak point in the countertop. If you can easily feel a ridge or dip at the seam, it’s a clear sign of poor workmanship.
2. Unlevel Surfaces and Poor Sloping
Your countertops must be perfectly level. An unlevel surface is not just an annoyance where your apples roll away; it can cause serious issues. Water can pool in low spots, potentially leading to stains or damage over time.
You can easily check this with a standard bubble level placed in various spots across the surface. Another simple test is to place a marble on the counter; if it consistently rolls, you have a leveling problem. This is often caused by installers failing to properly shim and level the cabinets before placing the slab.
3. Gaps Against Walls or Cabinets
A professionally installed countertop should sit flush against the wall and be perfectly aligned with the top of your cabinets. While very few walls are perfectly straight, installers use a process called “scribing” to cut the stone to match the wall’s contours. Large, unsightly gaps are a sign of lazy templating or imprecise cutting.
Often, installers will try to hide these gaps with an excessive amount of caulk. While a thin, neat bead of caulk is necessary to seal the edge, a thick, messy line is just concealing a mistake. This not only looks unprofessional but can also shrink and crack over time, leaving an exposed gap.
4. Incorrect Overhang Measurements
The countertop overhang is the small lip that extends beyond the front of your cabinets. The industry standard for this overhang is typically between 1 and 1.5 inches. This protects your cabinet faces and drawers from spills and creates a finished look.
A common mistake is an inconsistent overhang. Walk the length of your countertops with a tape measure. If the overhang is 1 inch in one spot and nearly 2 inches in another, it indicates that the countertop was not measured or positioned correctly before being secured.
5. Damage to Your Property (Cabinets, Walls, Floors)
This should go without saying, but the installation process should not leave your home damaged. Stone slabs are incredibly heavy and difficult to maneuver, but a professional team is equipped to handle them carefully. Dings, scratches, or gouges on your newly installed cabinets, walls, or floors are unacceptable.
Inspect all surrounding surfaces thoroughly after the installers have left. Take note of any new damage and photograph it immediately. A reputable company will take responsibility for its mistakes, but you must be able to prove the damage occurred during the installation.
6. Improper Sink or Cooktop Cutouts
The cutouts for your sink, cooktop, and faucets must be precise. An improperly sized cutout can leave gaps where water and grime can accumulate, or it can be too tight, putting stress on the stone and the appliance. The edges of the cutout should be smooth and polished, not rough.
For undermount sinks, the countertop edge should be perfectly aligned with the sink basin, and the sink must be securely supported. A poorly executed cutout can even affect other installations, like a new appliance. Ensuring everything fits together is a key part of a successful dishwasher with top controls installation, as a misaligned counter can obstruct the door.
7. Shoddy Caulking and Sealing
The final touches of an installation often reveal the installer’s true level of professionalism. The bead of caulk between the countertop and the backsplash or wall should be clean, thin, and consistently applied. Sloppy, lumpy, or smeared caulk is a sign of a rushed and careless job.
Furthermore, for natural stone countertops like granite or marble, proper sealing is essential to prevent staining. The installers should apply a quality sealant as the final step. If you splash water on the surface and it soaks in rather than beading up, the countertop has not been properly sealed.
What Went Wrong? Common Causes of Installation Failures
Understanding why these mistakes happen can help you spot a problematic company before you hire them. The most common cause is simply a lack of experience. Countertop installation is a specialized skill that requires precision and the right tools.
Another frequent issue is poor templating. The template is the precise pattern created in your home that the fabricators use to cut the stone. If the initial measurements are wrong, the final product will never fit correctly. Rushed work and a failure to properly prepare the workspace, such as ensuring cabinets are level, also contribute significantly to bad outcomes. When considering installers, especially from large retailers, reading detailed evaluations like Lowe’s countertop installation reviews can provide insight into the quality of their subcontracted teams.
Your Action Plan: How to Handle a Bad Countertop Installation
Discovering your new countertop is poorly installed is disheartening, but you have leverage and options. It’s crucial to act quickly and professionally to get the issue resolved.
First, do not make the final payment. This is your most significant tool for negotiation. As soon as you notice the issues, document everything with clear photos and videos. Then, contact the installation company immediately, providing your photographic evidence and a calm but firm written explanation of the specific problems.
Refer to your contract, which should outline the standards of workmanship and warranty details. Give the company a reasonable opportunity to come back and correct the mistakes. If they are unresponsive or refuse to fix the issues to your satisfaction, you may need to escalate the complaint to a manager or, in a worst-case scenario, consult with a consumer protection agency or legal counsel.
Quick Fix Guide: DIY vs. Professional Repair
While the original installer should be responsible for fixing major flaws, some minor issues can be addressed later. Here’s a breakdown of common problems and how to approach them.
| Problem | Possible Cause | DIY Fix (If Applicable) | When to Call the Pro |
|---|---|---|---|
| Messy or Cracked Caulk | Rushed work, aging caulk | Carefully remove old caulk with a razor blade, clean the surface, and apply a new, clean bead of silicone caulk. | Always a good DIY starting point. |
| Wide, Unfilled Seam | Poor installation, epoxy failure | DIY epoxy kits exist but are difficult to color-match and apply smoothly. Not recommended for prominent areas. | Always. Fixing a seam is a job for a stone restoration specialist to avoid making it worse. |
| Minor Gap at Wall (< 1/4 inch) | Uneven wall, slightly off measurement | A clean bead of paintable caulk can often hide a very small, consistent gap. | If the gap is large, inconsistent, or the countertop needs to be scribed to the wall. |
| Unlevel Surface | Cabinets not leveled, insufficient shimming | This is not a DIY fix. | Immediately. The countertop must be removed and re-installed correctly by the original installer. |
| Chips or Cracks | Handling damage, stress from unlevel cabinets | Small chips can sometimes be filled with color-matched epoxy repair kits. | For any crack, or for chips larger than a pea. Cracks indicate a potential structural issue that needs professional assessment. |
The Financial Impact: Costs to Fix a Botched Job
The cost to repair a bad countertop installation can vary dramatically. A simple repair, like reapplying caulk, might only cost you a tube of silicone. However, fixing a major issue like an unlevel slab or a badly mismatched seam can be expensive if you have to hire a new company.
Professional stone restoration specialists may charge hundreds of dollars just to repair a bad seam. If the slab is cracked or cut incorrectly and needs to be replaced, you could be facing the full cost of a new slab and installation. This is why it’s so important to hold the original installer accountable. The financial burden of their mistakes should fall on them, not you. The overall investment for a kitchen is high, and even smaller projects can have surprising costs, as seen in estimates for a Lowe’s vanity installation cost, so protecting your main countertop investment is paramount.
Prevention is the Best Medicine: Choosing the Right Installer
The best way to deal with a bad countertop installation is to avoid it in the first place. Vetting your installer thoroughly is the most critical step in the entire process. Don’t simply choose the cheapest quote.
Instead, get at least three detailed quotes from reputable, local fabricators and installers. Check online reviews on multiple platforms and ask for recent references you can speak with. A professional company will be transparent about their process, from digital templating to how they manage seams. Finally, insist on a detailed contract that specifies the material, timeline, payment schedule, and warranty information before paying a deposit.
Don’t Settle for Subpar Work
Your new countertops are a significant investment in your home’s value and your daily enjoyment. You have a right to expect high-quality materials and professional workmanship. By knowing the signs of a bad installation and understanding how to address them, you can ensure you get the stunning, durable result you envisioned.
Be vigilant during the inspection, communicate clearly with your installer, and never hesitate to stand up for the quality you paid for. Your dream kitchen depends on it.