Attach Fence to House? Stop Before You Cause a Disaster
Connecting a fence directly to your house seems like a logical final step to securing your yard. It creates a seamless, uninterrupted barrier, closing off that final gap. However, this seemingly simple action hides a multitude of potential disasters that can compromise your home’s structural integrity, invite water damage, and lead to costly repairs down the line.
Many homeowners unknowingly create significant problems by improperly fastening a fence to their home’s exterior. The truth is, in most professional fencing circles, directly attaching a fence to a house is strongly discouraged and often considered a rookie mistake. Before you drill that first hole, it’s crucial to understand the risks and learn the correct methods to ensure both your fence and your home remain secure and undamaged for years to come.
You'll Learn About
Before You Begin: The Critical Pre-Installation Checklist
Proper planning is the most important phase of any home improvement project, and this is especially true when dealing with the intersection of two major structures like a fence and a house. Rushing into this task without completing your due diligence can lead to code violations, structural damage, and neighborly disputes. Taking the time to go through this checklist will save you immense trouble later.
Decoding Local Building Codes and Permits
Never assume you don’t need a permit. Before you buy any materials or dig a single hole, your first call should be to your local municipal building or planning department. Regulations regarding fences—including height, materials, and proximity to property lines and structures—vary significantly from one town to another. Failing to adhere to these codes can result in hefty fines and a legal order to remove your newly installed fence.
Ask specific questions about attaching a structure to a residential building. Some jurisdictions have explicit rules that prohibit this practice or require specific hardware and waterproofing techniques. Getting this information upfront is non-negotiable and ensures your project is legal from the start.
Understanding Your House’s Exterior
The material on the outside of your house dictates the entire attachment strategy. A method that works for a brick wall could be catastrophic for vinyl siding. You must identify what you’re working with and understand its unique properties and vulnerabilities before proceeding.
Common exteriors include brick or masonry, vinyl siding, wood clapboard, and stucco. Each requires a different approach to create a secure connection without compromising the building’s protective envelope. Drilling into vinyl siding, for instance, can instantly void its warranty and create a direct path for water to seep into your walls.
Choosing the Right Materials: Galvanized vs. Stainless Steel
The hardware you choose is just as important as the technique you use. Any metal fasteners—screws, bolts, brackets—used outdoors must be highly resistant to corrosion. Using the wrong type of metal will lead to rust, which not only looks unsightly but also weakens the connection and can stain your home’s exterior.
Your two primary choices are hot-dipped galvanized or stainless steel. Galvanized hardware is coated in a layer of zinc, offering excellent rust protection at a reasonable cost. Stainless steel provides the highest level of corrosion resistance and is the premium choice, especially in coastal areas or regions with high humidity.
The Wrong Way: Common Attachment Mistakes to Avoid
The internet is filled with advice, but not all of it is good. Several common DIY methods for attaching a fence to a house are fundamentally flawed and create more problems than they solve. Understanding these mistakes is key to avoiding them and protecting your home.
The Direct Attachment Disaster
The number one mistake is fastening a fence rail or post directly through the siding. This is a recipe for disaster. Siding, whether it’s vinyl, wood, or fiber cement, is designed as a weather-resistant skin, not a structural anchor point. Drilling through it compromises its ability to shed water and can lead to buckling, cracking, and widespread water damage behind the wall.
Furthermore, this method provides a very weak connection. A strong gust of wind pushing against the fence can easily tear the fasteners out, taking a chunk of your siding with them. This is one of the most common and costly errors a homeowner can make.
Ignoring Frost Heave and Ground Movement
Your house is built on a stable foundation, but your fence posts are set in the ground, which is subject to movement. In colder climates, frost heave is a powerful force where freezing and thawing soil can push fence posts upward with incredible power. If your fence is rigidly attached to your house, this movement transfers immense stress directly to your home’s structure.
This can lead to cracked foundations, damaged wall sheathing, and torn siding. A fence must be able to move independently of the house to accommodate for this natural ground shift. A rigid connection effectively turns your fence into a giant lever prying at your home’s wall.
Using Inadequate Hardware
Using interior-grade screws or bolts that aren’t rated for exterior use is a frequent shortcut that leads to failure. These fasteners will rust and degrade quickly when exposed to the elements. The connection will weaken over time, and the fence could detach from the house, especially during a storm.
Similarly, using fasteners that are too short or not designed for the specific wall material (e.g., using wood screws on a brick wall) will not provide a secure anchor. Always invest in high-quality, corrosion-resistant hardware appropriate for your home’s exterior.
The Right Way: Securely Attaching Your Fence to Any House
While direct attachment is risky, there are professional methods to create a secure and weatherproof transition between your fence and your home. The best method often depends on your house’s exterior material. The universally recommended approach, however, avoids a direct connection altogether.
The Floating Post Method (The Professional’s Choice)
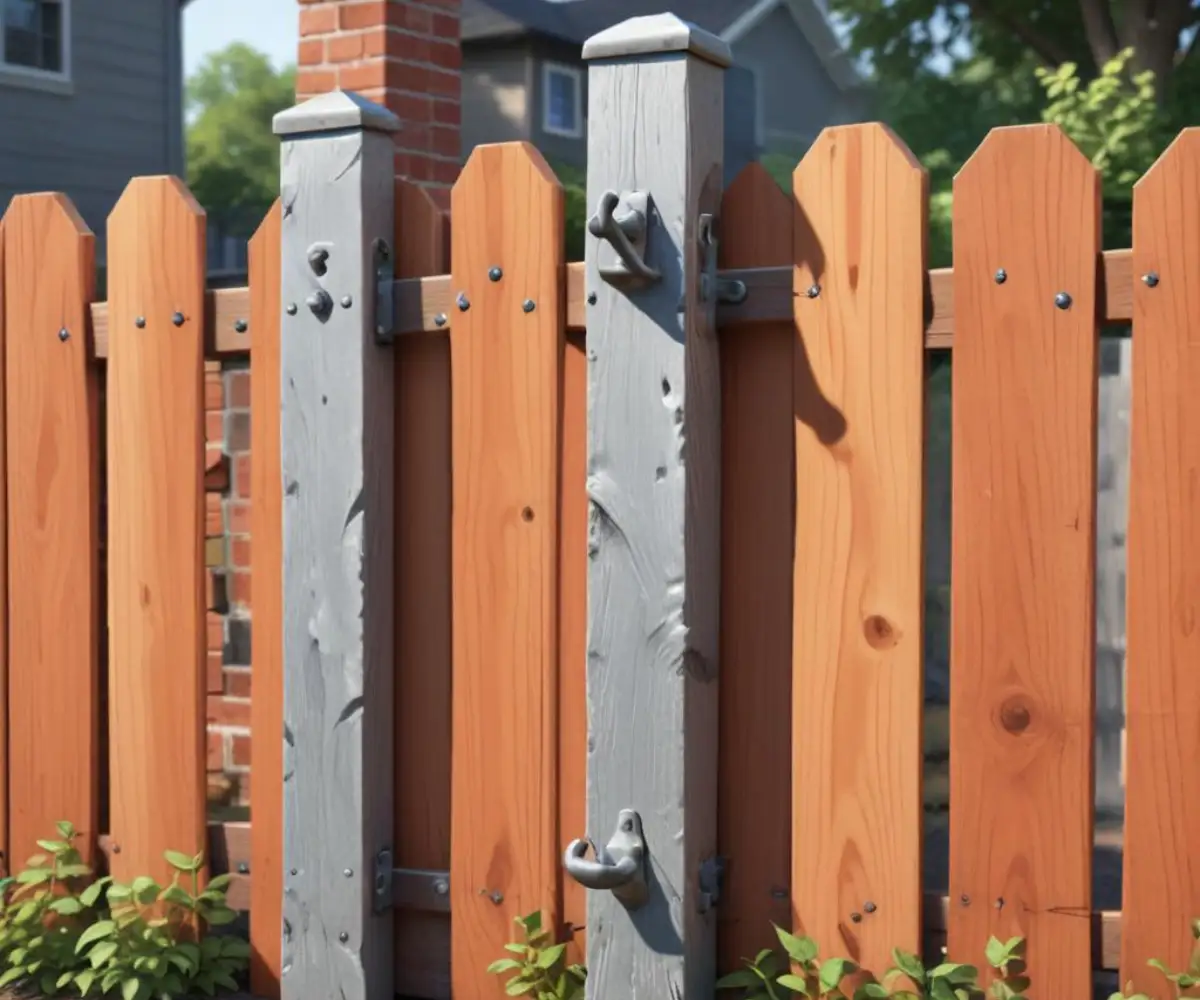
The safest and most recommended technique is to not attach the fence to the house at all. Instead, you install a final fence post as close to the house as possible—typically 6 to 12 inches away—without making contact. This post is set in concrete just like all the other posts in your fence line, providing it with independent stability.
The fence panels or rails are then run past this final post, stopping just short of the house wall, leaving a small, manageable gap. This approach allows both the house and the fence to move and settle independently, eliminating the risk of structural stress. If you’re concerned about the remaining space, you’ll find that learning how to fill gap between fence post and house is a simple finishing step that provides a clean, secure look without the risks of direct attachment.
Attaching to a Brick or Masonry Wall
If you must attach to a solid brick or concrete wall, it can be done safely with the right technique. Never drill into the mortar joints, as they are not structural. Instead, drill directly into the face of the bricks using a hammer drill and a masonry bit.
Use galvanized steel L-brackets or T-brackets to connect the fence post or rails to the wall. Secure these brackets to the brick using expansion anchors or specialized masonry screws like Tapcons. It’s crucial to fill the drilled holes with an exterior-grade silicone caulk before inserting the anchors to create a waterproof seal.
Attaching to a House with Siding (Wood or Vinyl)
This is the most complex scenario and requires careful work to avoid water damage. The proper method involves using a ledger board. A ledger board is a piece of pressure-treated lumber that is securely bolted to the house’s framing, not just the siding.
To do this, you must carefully cut and remove a section of siding to expose the wall sheathing underneath. The ledger board is then mounted and flashed properly with metal flashing that tucks under the siding above and over the ledger board below. This flashing is critical to direct water away from the wall. The fence is then attached to this solid, weatherproofed ledger board, not the siding itself.
Advanced Considerations for a Flawless Finish
Achieving a professional-level result means paying attention to the details that ensure longevity and durability. These advanced techniques protect your investment and prevent future problems.
The Ledger Board Technique Explained
A properly installed ledger board is the gold standard for attaching decks and other structures to a sided house, and the same principles apply to a fence. The board must be attached directly to the house’s rim joist or wall studs with heavy-duty lag screws or structural screws. The connection to siding or sheathing alone is not sufficient.
Proper flashing and sealing are what make this method safe. Use high-quality flashing tape and metal flashing around the ledger board to create a multi-layered barrier against water intrusion. This step cannot be skipped or done improperly, as it is the primary defense against rot and water damage to your home’s structure.
| Hardware Type | Corrosion Resistance | Best Use Case | Considerations |
|---|---|---|---|
| Electro-Galvanized | Low | Interior or dry applications only | Not suitable for fences; will rust quickly. |
| Hot-Dipped Galvanized | High | General exterior use, pressure-treated wood | Industry standard for durable outdoor construction. |
| Stainless Steel (304/305) | Very High | High-moisture environments, near saltwater | More expensive but offers maximum protection. |
| Ceramic Coated | High | Exterior wood projects, decks, and fences | Provides a durable barrier against moisture. |
Maintaining the Connection: Long-Term Inspection Tips
Even with a perfect installation, it’s wise to inspect the connection point annually. Check for any signs of water staining on the wall below the attachment point. Look for degrading caulk, rust on the fasteners, or any loosening of the brackets or ledger board.
For fences not directly attached, maintenance is simpler. Ensure the area between the last post and the house is free of debris. If you have a chain-link fence, knowing the best way to clear brush from chain link fence and other vegetation will prevent moisture from being trapped against your foundation. Proper upkeep is key to longevity.
What If You Hit Bedrock?
Sometimes, the biggest challenge isn’t the house but what lies beneath the ground. This is especially true for the “floating post” method. If you’re digging a hole for that final post near the house and hit solid rock, you have a unique challenge. Learning how to set fence post in bedrock using techniques like pinning with rebar and specialized concrete mixes will be essential to create a stable anchor for that crucial final post.
A Secure Fence and a Safe Home
While attaching a fence directly to your house might seem like the easiest way to finish the job, the potential for significant, long-term damage makes it a risky shortcut. The professional approach prioritizes the integrity of your home’s structure and weather envelope above all else.
By opting for the floating post method or, if absolutely necessary, using a properly flashed ledger board or secure masonry anchors, you can achieve a clean, secure transition. Always check your local codes, use the right materials, and never compromise on waterproofing. This thoughtful approach ensures your fence will provide security and privacy for years to come without ever threatening the safety of your home.