Ariens Drive Belt Woes? Stop It From Slipping Off For Good!
There’s nothing more frustrating than being halfway through clearing a heavy snowfall only to have your Ariens snowblower suddenly stop moving. You check the auger, you check the gas, but the wheels won’t turn. Often, the culprit is a drive belt that has decided to jump off its pulleys, leaving your powerful machine dead in its tracks.
This is a surprisingly common issue that plagues many snowblower owners. This comprehensive guide will walk you through every potential cause, from the simple to the complex, and provide actionable, step-by-step solutions to ensure your drive belt stays exactly where it belongs.
You'll Learn About
Uncovering the Root Cause: Why Your Drive Belt Jumps Ship
A drive belt that repeatedly comes off is a symptom of an underlying problem. Simply putting the belt back on without diagnosing the issue is a temporary fix at best. Below are the most frequent reasons your Ariens snowblower is shedding its drive belt.
Incorrect Belt Tension: The Number One Offender
The most common reason for a belt to come off is improper tension. A belt that is too loose will flap and easily walk off the pulleys, especially when the load changes as you move through deep or wet snow. Conversely, a belt that is too tight puts excessive strain on the bearings and the belt itself, which can also lead to failure.
A Worn, Glazed, or Damaged Belt
Over time, drive belts wear out. They can stretch, crack, fray, or develop smooth, “glazed” spots from slipping. A stretched belt will never hold proper tension, and any damage to its structure makes it prone to derailing under the stress of operation.
Pulley Misalignment or Damage
For a belt to run true, all the pulleys in the system must be perfectly aligned. If a pulley is bent, has a warped edge, or if the bearings supporting it are worn, it can introduce a wobble. This wobble is often enough to throw the belt, especially when the drive is engaged or disengaged.
The Unseen Problem: A Fatigued Tensioner Spring
The idler pulley, which applies tension to the belt, is controlled by a spring. This spring can lose its elasticity over years of use. A weak or broken tensioner spring will fail to apply the necessary pressure to keep the belt taut, leading to slippage and derailment.
Debris and Obstructions
It’s not uncommon for chunks of ice, twigs, or other debris to get lodged in the belt housing area. If a piece of debris gets caught between the belt and a pulley, it can instantly force the belt off its track. Regular cleaning of this area is crucial.
Bearing Failure: A Deeper Mechanical Issue
A less obvious but critical cause can be failing bearings on the drive shaft or the friction disc assembly. Worn bearings can introduce excessive play or wobble into the system. This movement can cause the pulleys to shift out of alignment just enough to throw the belt, a problem that often gets misdiagnosed as a simple belt issue.
The Definitive Fix: Your Step-by-Step Guide to a Secure Drive Belt
Now that we’ve identified the likely culprits, it’s time to get hands-on. Follow these steps methodically to diagnose and repair your snowblower’s drive system. This process will ensure you address the true cause of the problem.
Safety First: Crucial Preparation
Before you begin any work, safety is paramount. Disconnect the spark plug wire to prevent any accidental starting of the engine. It’s also wise to drain the fuel tank or run the machine dry to avoid spills when you need to tip the snowblower for access.
Step 1: Gaining Access to the Drive System
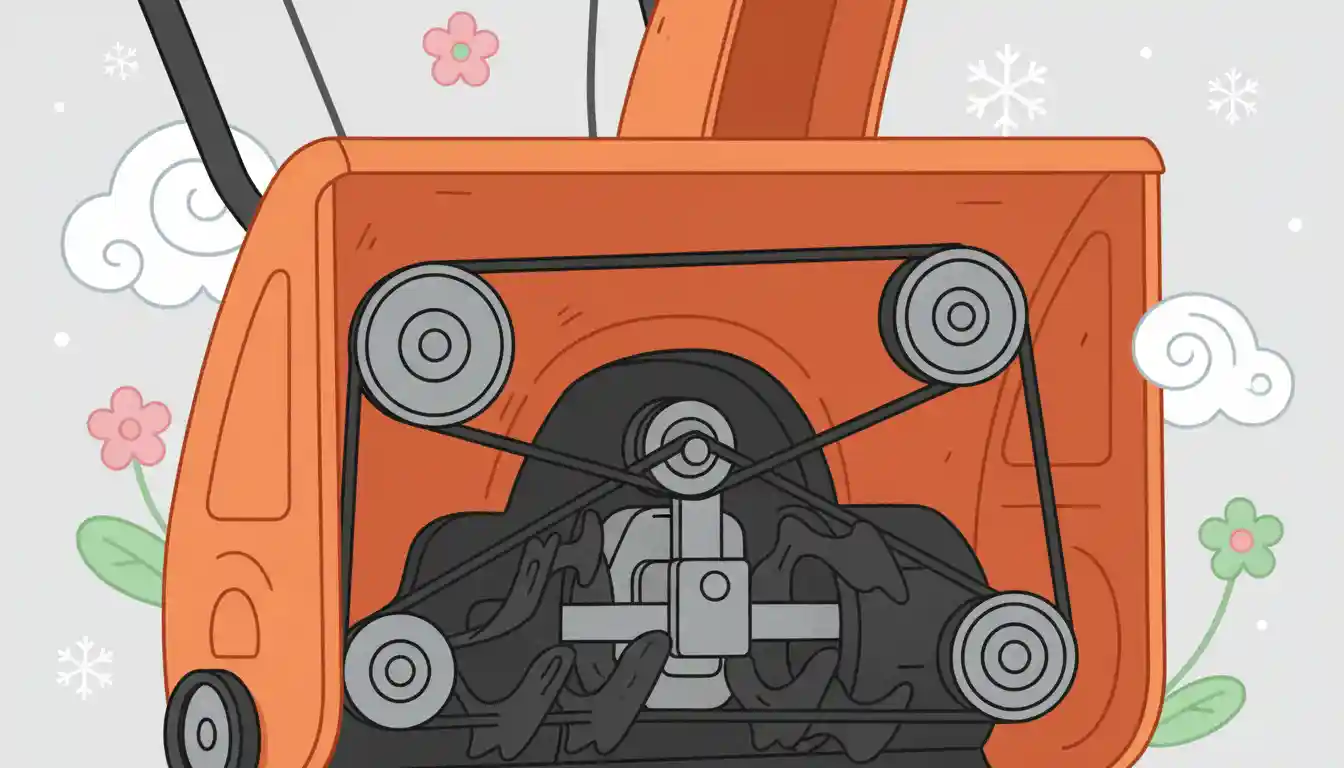
To inspect the drive belt and its components, you must remove the plastic belt cover. This is typically held on by a few screws or bolts. Once removed, you will have a clear view of the engine pulley, the larger transmission pulley, and the idler or tensioner pulley.
Step 2: A Thorough Component Inspection
With the cover off, perform a detailed visual and physical inspection. Look for obvious signs of wear on the belt itself—cracks, fraying, or glazing. Manually turn each pulley to check for smoothness; any grinding or roughness could indicate a failing bearing. Wiggle each pulley to check for excessive side-to-side play.
Step 3: Checking and Adjusting Belt Tension
Correct tension is key. When the drive is disengaged, the belt should have some slack but shouldn’t be drooping excessively. When the drive clutch is engaged, the belt should be taut with very little deflection when you press on it midway between the pulleys. If it feels loose, the tension needs to be adjusted, often via a cable adjustment near the handlebars or directly at the idler pulley assembly.
Many Ariens models have a swing plate with bushings that can wear out. If these bushings are worn, the plate can wobble, causing the belt to run off track. Check this assembly for any excessive movement.
| Symptom | Potential Cause | Recommended Action |
|---|---|---|
| Belt comes off when disengaging drive | Weak tensioner spring or excessive slack | Inspect and replace tensioner spring. Adjust clutch cable for proper tension. |
| Squealing noise followed by belt derailing | Worn/glazed belt or seized pulley bearing | Replace the drive belt. Inspect all pulleys for free rotation and replace if necessary. |
| Belt appears to wobble before coming off | Bent pulley or worn pulley/shaft bearing | Visually inspect pulleys for damage. Check all pulleys and shafts for excessive play. |
| Belt comes off intermittently in heavy snow | Stretched belt or incorrect initial tension | Replace the belt with a new OEM part. Re-verify tension adjustment. |
Step 4: The Art of Pulley Alignment
Use a straight edge, like a ruler or a yardstick, and place it across the faces of the two main pulleys (engine and transmission). The edge should sit flat against both pulleys. If there is a gap on one side of a pulley, it indicates a misalignment that must be corrected.
Some users have found that the alignment on their Ariens snowblower is off from the factory. A simple but effective fix involves adding a thin washer or lock nut behind the drive disc pulley to push it slightly forward, improving its alignment with the engine pulley and preventing the belt from walking off.
Step 5: Replacing a Worn Drive Belt (The Right Way)
If your belt is damaged, stretched, or more than a few seasons old, replace it. Always use an OEM (Original Equipment Manufacturer) belt. Aftermarket belts may be cheaper, but they are often not built to the exact specifications required for your machine, which can lead to premature failure and other drive system problems.
To replace the belt, you’ll typically need to release the tension fully, often by disconnecting the idler spring. Carefully route the new belt around the pulleys according to the diagram in your owner’s manual, then re-engage the tensioner and verify the adjustment.
Step 6: Don’t Forget the Tensioner Spring
Inspect the tensioner spring for any signs of stretching, corrosion, or breakage. These springs are inexpensive and easy to replace. If you are already replacing the belt, it is good practice to install a new spring at the same time to ensure the system has the correct tension for years to come.
Proactive Maintenance and Advanced Troubleshooting
Preventing the problem is always better than fixing it. A few regular checks can save you from a mid-storm breakdown and extend the life of your snowblower’s drive components.
The Hidden Role of the Friction Disc Assembly
The drive belt transfers power to the friction disc, which in turn drives the wheels. If the friction disc itself is worn, glazed, or out of adjustment, it can cause erratic engagement and slippage. This erratic motion can put sudden, jerky loads on the drive belt, potentially causing it to jump off.
Ensuring you have the correct Ariens friction disc adjustment is a critical, though often overlooked, step in maintaining the entire drive system’s health. A properly adjusted disc ensures smooth power transfer, reducing stress on the drive belt.
A Pre-Season Checklist for a Reliable Drive System
Before the first snowfall, take thirty minutes to perform this check. It’s the best way to ensure reliability when you need it most.
- Inspect Belts: Remove the cover and check both the auger and drive belts for any signs of cracking, fraying, or glazing.
- Check Tension: Squeeze the drive and auger clutch levers and observe the belt tensioners. They should move freely and apply firm pressure.
- Clean the Housing: Clear out any leaves, dirt, or old grass from the belt housing to prevent obstructions.
- Test Pulleys: With the spark plug disconnected, manually spin all pulleys to ensure they rotate freely and without noise or wobble.
Knowing When It’s Time for a Professional
While most drive belt issues can be resolved with basic tools and a bit of patience, some problems may require professional service. If you’ve replaced the belt, confirmed the tension and alignment, and the belt still comes off, there could be a more complex issue.
This could include a bent frame from hitting an obstruction, a failing transmission bearing, or a warped drive shaft. If you suspect any of these deeper issues, or if you simply don’t feel comfortable performing the repairs yourself, contacting an authorized Ariens service center is your best course of action.
Conclusion: Taking Control of Your Ariens Snowblower
A drive belt that keeps coming off is a fixable problem. By systematically working through the potential causes—from the belt itself to tension, alignment, and related components like the friction disc—you can restore your Ariens snowblower to its reliable, snow-clearing glory. Taking the time to properly diagnose and fix the root cause will not only solve the immediate issue but also prevent future breakdowns, ensuring you’re always ready to tackle whatever winter throws your way.