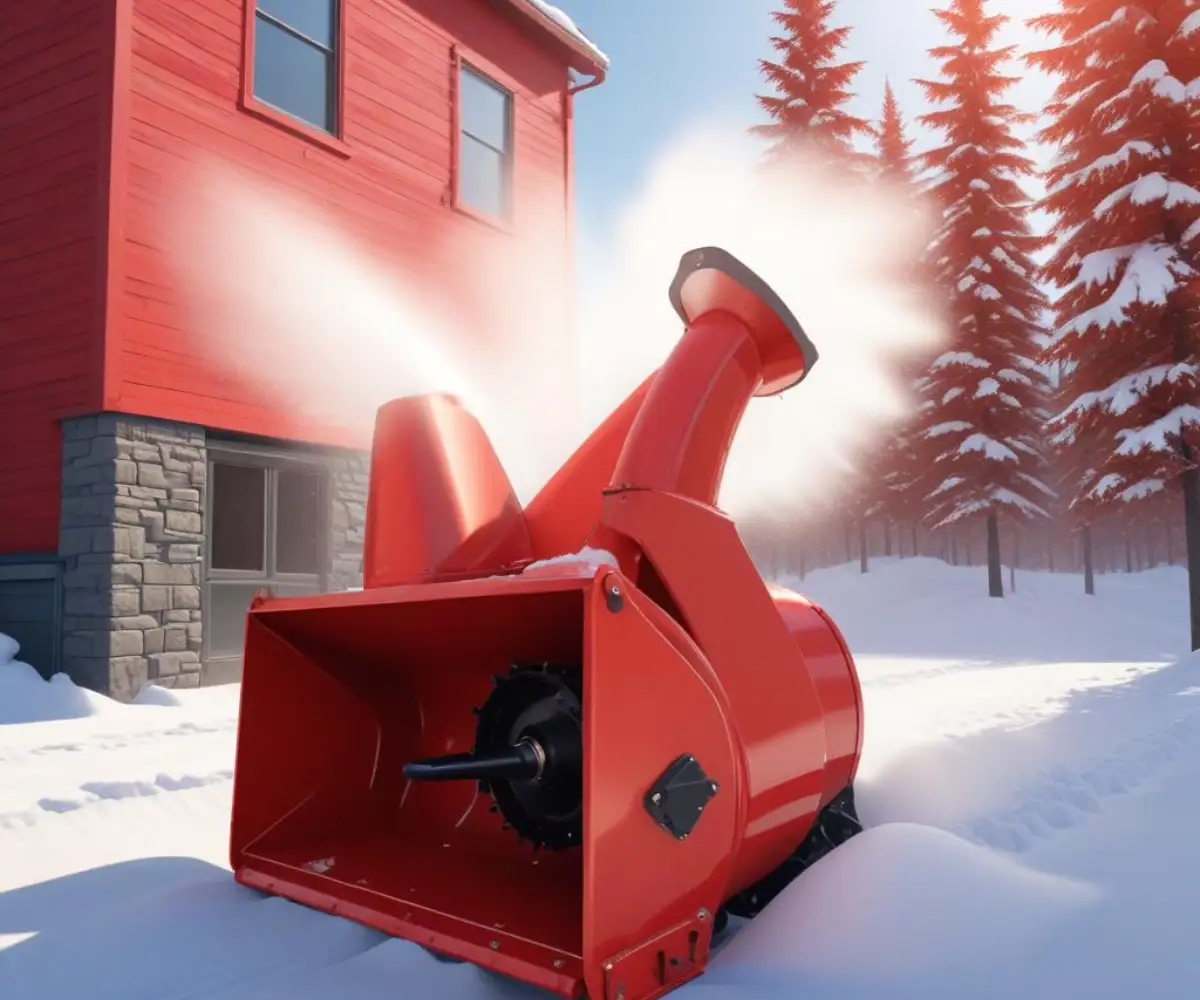
Ariens Snowblower Chute Modification: Stop Clogging & Throw Snow Farther
When it comes to tackling heavy snowfalls, Ariens snowblowers are known for their power and reliability. However, even the best machines can benefit from a little custom touch to optimize their performance. One area where many snowblower owners look to improve is the chute—the mechanism responsible for directing the snow as it’s ejected from the machine.
Whether you’re dealing with intense snowstorms or simply want more control over the direction and distance of the snow, a chute modification can make a world of difference. By tweaking your Ariens snowblower chute, you can increase efficiency, reduce the amount of snow that lands back on your driveway, and ensure smoother operation overall.
We’ll walk you through the Ariens snowblower chute modification process, from simple adjustments to more advanced upgrades. With a few modifications, your snowblower can go from good to great, making those winter mornings a little less stressful and a lot more efficient. Let’s get started!
You'll Learn About
Why Your Ariens Snowblower Isn’t Performing (And How to Fix It)
Ariens snowblowers are legendary for their robust construction and powerful engines, earning them a top spot in garages across the snow belt. Yet, even these winter workhorses have a common frustration: the discharge chute. Many owners report issues with clogging, especially in heavy or wet snow, and a throwing distance that leaves something to be desired.
This isn’t a sign of a bad machine. Rather, it’s an opportunity for enhancement. Simple, targeted Ariens snowblower chute modifications can resolve these issues, transforming your machine’s performance from adequate to exceptional and dramatically reducing the time and frustration of clearing snow.
Diagnosing the Real Problem with Your Chute
Before drilling holes or ordering parts, it’s critical to determine the root cause of your chute’s poor performance. Not every issue requires a physical modification. Sometimes, the problem lies with the conditions or basic machine adjustments.
Jumping straight to a modification without a proper diagnosis can lead to wasted time and money. Understanding the underlying issue ensures you apply the correct solution for maximum impact.
Is It Wet Snow or Machine Issues?
The most common reason for a snowblower chute to clog is heavy, wet snow. This “snowman” snow packs easily, creating friction and blockages inside the chute and auger housing. While modifications help immensely, operator technique also plays a significant role. Moving too slowly allows this wet snow more time to compact and stick. Pushing the machine at a steady, brisk pace helps maintain momentum, forcing the snow through before it can build up.
Another factor is the engine’s speed. Always run the snowblower at its full operational RPM. A lower engine speed reduces the velocity of the impeller, the component responsible for throwing the snow, which drastically cuts down on throwing distance and clearing power.
The Mechanical Checklist Before You Modify
Before altering your machine, perform a quick mechanical health check. A simple adjustment can often restore lost performance. Ensure the engine is off and the spark plug is disconnected for safety before inspecting any components.
First, check the auger and impeller belts for proper tension. Loose belts are a primary cause of poor throwing distance, as they slip under load and fail to transfer the engine’s full power. Next, inspect the shear pins on the auger shaft; a broken pin will cause one side of the auger to stop spinning. Finally, confirm the scraper bar at the bottom of the auger housing is adjusted correctly to ensure it’s effectively lifting snow off the pavement.
The Ultimate Ariens Chute Modification: The Impeller Kit
For a truly transformative upgrade, the single most effective modification is installing an impeller kit. This is the secret to making your Ariens throw snow farther and resist clogging from even the heaviest slush. This modification directly addresses the core design limitation that causes performance issues.
An impeller kit consists of durable rubber paddles that you bolt directly onto the existing metal impeller blades. The goal is to close the gap between the tips of the impeller blades and the curved wall of the impeller housing. This simple addition dramatically improves the machine’s efficiency.
How an Impeller Kit Transforms Performance
The science behind the impeller kit is straightforward. By closing the gap between the impeller and the housing, the rubber paddles create a much tighter seal. This prevents snow from slipping past the blades, forcing significantly more air and snow up and out of the chute at a much higher velocity. It essentially turns the impeller into a more powerful fan.
This increased velocity is what gives you a greater throwing distance. Furthermore, the constant wiping action of the rubber paddles keeps the housing walls clear of sticky snow and ice, which is the primary mechanism that prevents clogs from forming. Many users report that this single modification completely eliminates clogging issues.
Step-by-Step Impeller Kit Installation Guide
Installing an impeller kit is a straightforward DIY project that typically takes about an hour. Always begin by disconnecting the spark plug wire to prevent any chance of an accidental start-up. You will need a drill, drill bits, a socket set, and wrenches.
First, remove the discharge chute to gain access to the impeller. Hold one of the rubber paddles against an impeller blade, marking the locations for the bolt holes. Drill the holes through the metal blade, then secure the rubber paddle using the provided nuts and bolts. Repeat this process for all impeller blades, ensuring each paddle is installed identically. After installation, manually rotate the impeller to ensure the rubber flaps move freely without binding.
Quick & Easy Mods for Immediate Improvement
If you’re not ready for an impeller kit, several other simpler modifications can provide a noticeable boost in performance. These are low-cost, quick to implement, and can make a real difference in how your chute handles snow.
These mods focus on reducing friction and managing the snow stream more effectively. They are excellent starting points for anyone looking to get more out of their machine with minimal effort.
The Secret Weapon: Advanced Chute Lubricants
One of the easiest and most effective ways to prevent clogging is to reduce the friction inside the chute. While some people use temporary solutions like cooking spray, specialized non-stick sprays create a much more durable and slick surface. Applying a quality lubricant is a vital step in learning how to keep a snowblower from freezing up.
These products create a hydrophobic barrier that snow and ice cannot adhere to. Before each use, apply a generous coat to the inside of the chute, the deflector, the impeller, and the auger housing. This simple preparatory step ensures snow flows through the machine smoothly without sticking.
| Lubricant Type | Primary Benefit | Durability | Best For |
|---|---|---|---|
| Silicone Spray | Excellent water repellency and slickness. Dries quickly. | Good (reapply every 1-3 uses) | Plastic and metal chutes, general purpose use. |
| Graphite Dry Lube | Creates a dry, non-stick film that doesn’t attract dirt. | Fair (may need reapplication during heavy use) | Metal components, cold and dry snow conditions. |
| Ceramic Wax Coating (Car Wax) | Extremely durable, super-hydrophobic surface. | Excellent (can last for multiple storms) | The ultimate solution for all chute types and conditions. |
| Cooking Spray (PAM) | Inexpensive and readily available. | Poor (wears off very quickly) | A last-resort option when nothing else is available. |
The Rubber Flap Mod: A 15-Minute Upgrade
Another simple but effective DIY trick is adding a rubber flap to the top of the chute deflector. This helps to focus the stream of snow, preventing it from billowing up into the wind and allowing for a more directed, controlled discharge. This can add several feet to your effective throwing distance.
You can create this flap from a small piece of an old inner tube or a rubber mud flap. Cut a piece a few inches wide and slightly longer than the chute’s width. Simply bolt it to the top edge of the deflector so that it hangs down slightly over the opening, creating a more focused nozzle for the snow to exit.
Upgrading Your Chute’s Control System
Performance isn’t just about throwing distance; it’s also about control. The mechanisms that rotate the chute and adjust the deflector angle can become loose or stiff over time, making it difficult to place snow exactly where you want it. Fortunately, these systems are highly adjustable.
Tightening and lubricating these controls can restore a factory-new feel and make operating your Ariens a much more precise and less frustrating experience.
Fixing the “Wandering” Chute
A common complaint is a chute that “wanders” or won’t hold its position during operation due to engine vibration. On most Ariens models, this can be fixed by tightening a single tension nut. This nut is typically located at the base of the chute, right where the rotation gear is. A simple turn with a wrench increases the friction, holding the chute firmly in your desired direction.
For models with remote cable controls, you may need to adjust the cable tension. Look for adjustment nuts on the cable itself, often located near the chute base or under the dashboard panel. Removing any slack in the cable will ensure the locking mechanism engages properly.
Aftermarket Solutions for Effortless Control
For those looking for the ultimate in convenience, aftermarket kits are available to convert a manual crank or joystick chute control to a fully electric system. These kits typically include a small 12-volt motor that mounts to the chute base and a switch that you can install on the control panel.
An electric chute control allows for rapid, effortless adjustments with the push of a button. This is especially useful when clearing areas that require frequent changes in throwing direction, such as winding driveways or properties with many obstacles.
Long-Term Considerations and Potential Risks
While modifying your snowblower can yield significant benefits, it’s important to consider the potential long-term effects. Any alteration from the factory design can have impacts on the machine’s other components and its warranty coverage.
Being aware of these factors allows you to make an informed decision and take steps to mitigate any potential downsides. While two-stage blowers like Ariens benefit greatly from these mods, other designs, like the single-stage Honda HS621 snowblower, operate on entirely different principles where these specific modifications would not apply.
Will Modifications Void Your Warranty?
Drilling holes in your impeller will almost certainly void the warranty on the auger and drivetrain components. Manufacturers may argue that the modification caused a failure. For this reason, many owners choose to wait until their warranty period has expired before installing an impeller kit.
Simpler, non-permanent modifications like applying chute lubricants or adding a bolt-on rubber flap are highly unlikely to cause any warranty issues. If you are concerned, it is always best to consult your owner’s manual or contact an authorized Ariens dealer.
Understanding the Impact on Your Machine
An impeller kit, by design, makes the machine move more snow at a faster rate. This places a slightly higher load on the engine, belts, and bearings. While Ariens machines are built to handle heavy workloads, it becomes even more crucial to adhere to a strict maintenance schedule after modification.
Regularly check belt tension and wear, and listen for any unusual noises from the auger housing that could indicate a worn bearing. Proper maintenance ensures that your modified machine will continue to operate reliably for many winters to come. Even the storage of your unit can matter; just as someone buying a house built in the 1800s faces unique upkeep challenges, an older garage may expose your machine to more moisture, making proper lubrication even more critical.
Unleash Your Ariens’ True Potential
You don’t have to live with a snowblower that clogs, sputters, and underperforms. By systematically diagnosing the problem and applying the right chute modification, you can unlock the powerful and efficient machine your Ariens was meant to be.
From a simple coat of ceramic wax to a full impeller upgrade, these enhancements will save you time and make winter chores significantly less frustrating. Take control of your snow clearing and transform your machine into the ultimate winter tool.