Ariens Snowblower Belt Tensioner Spring Location Is Hiding? Find It & Fix It FAST
You pull the cord, your Ariens snowblower roars to life, and you engage the auger, ready to attack the mountain of snow at the end of your driveway. But instead of a powerful stream of snow flying through the air, the auger just whimpers and stops spinning the second it hits the heavy stuff. It’s a moment of pure winter frustration.
The engine is running perfectly, but the machine has lost its bite. Before you start dreading a costly trip to the repair shop, know that the culprit is often a tiny, overlooked part: the belt tensioner spring. This small component is the unsung hero responsible for keeping your belts tight and transferring power to the auger and wheels.
When this spring weakens, stretches, or breaks, your snowblower becomes little more than a noisy lawn ornament. This guide will expose the exact Ariens snowblower belt tensioner spring location, show you how to diagnose the problem like a pro, and provide the definitive steps to replace it, restoring your machine’s snow-clearing fury.
You'll Learn About
Why a Tiny Spring Causes Colossal Snowblower Headaches
To understand the problem, you first need to understand the mission-critical role of belt tension. Your Ariens snowblower uses two primary belt systems to do its job. One belt drives the auger (the corkscrew blades that chew through snow), and another belt powers the wheels (the drive system).
The engine’s crankshaft has pulleys that spin these belts. However, without constant, correct tension, these belts would simply slip around the pulleys, failing to transfer any of the engine’s power. This is where the tensioner assembly comes into play.
The tensioner is a simple mechanism, usually an idler pulley on a pivoting arm. The tensioner spring is what pulls on this arm, forcing the pulley against the belt to keep it taut. When you squeeze the auger or drive handle on your snowblower, you’re engaging this system, allowing the spring to apply tension and put the machine to work.
Symptoms of a Failing Tensioner Spring
A bad tensioner spring doesn’t always mean a completely dead snowblower. The symptoms can start subtly and worsen over time, often fooling owners into thinking they have a much bigger problem. Recognizing these signs early is key.
Look for issues like your auger spinning in light, fluffy snow but stopping completely when it encounters a heavy, wet drift. You might also notice a significant decrease in how far the machine throws snow. For the drive system, a weak spring can cause the snowblower to move sluggishly or struggle to climb even a slight incline, especially after warming up.
You may also hear a screeching or squealing sound, which is the sound of the belt slipping over the pulley. In some cases, you might even smell burning rubber. These are all classic indicators that your tensioner spring has lost its strength and is no longer doing its job effectively.
Locating the Elusive Ariens Tensioner Springs: A Model-by-Model Guide
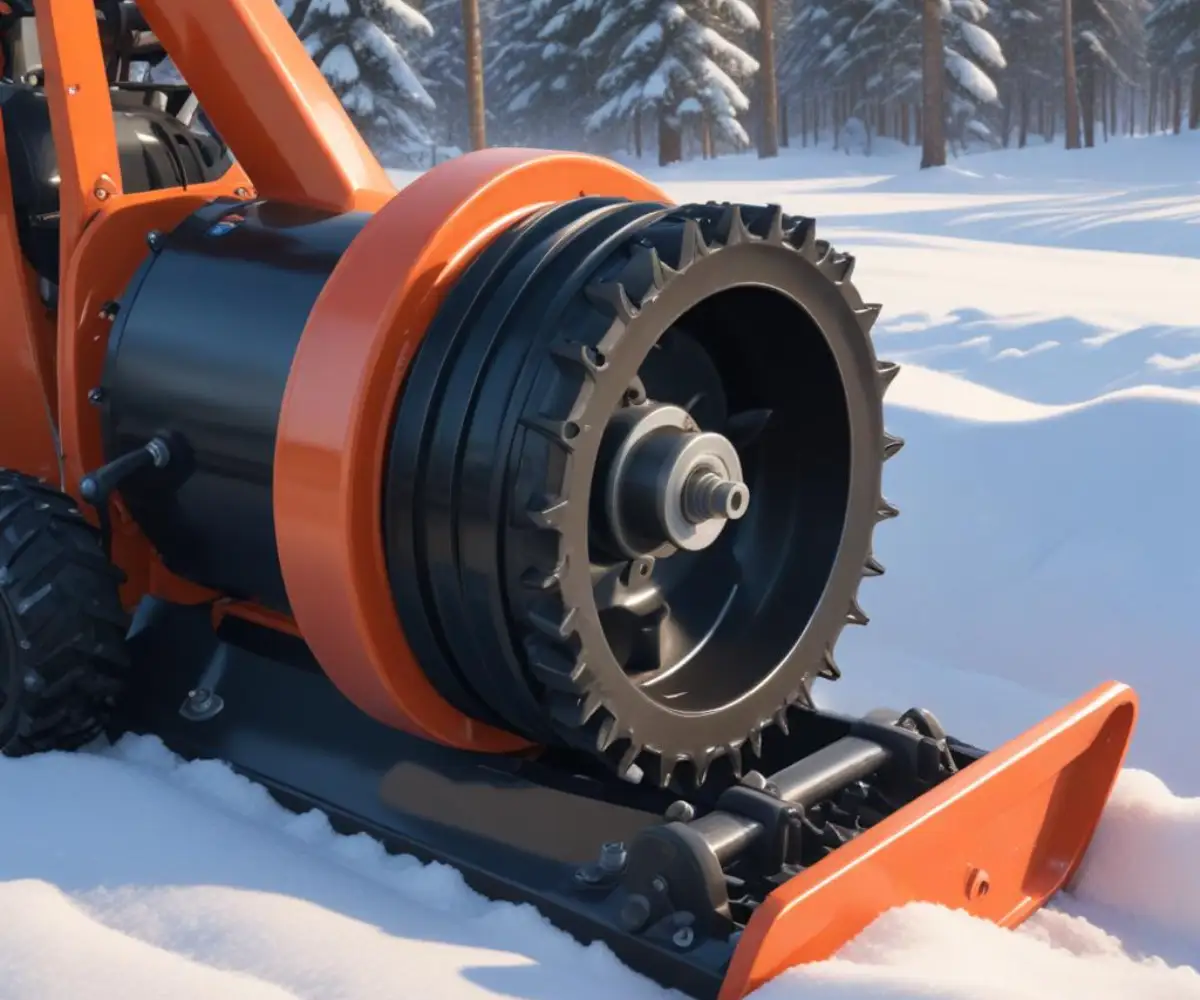
Finding the tensioner springs on your Ariens snowblower is the first step to victory. Luckily, on most Ariens models, both the auger and drive tensioner springs are located in the same general area, hidden from view for protection against the elements. They reside behind the plastic belt cover, which is typically a black or orange panel located between the engine and the chute.
Before you begin, your first and most important step is safety. Disconnect the spark plug wire from the spark plug. This is a non-negotiable step that ensures the engine cannot accidentally start while your hands are in the machine.
To access the springs, you’ll need to remove this belt cover. It’s usually held on by two or three bolts or screws, often requiring a 10mm or 3/8″ socket. Once the bolts are removed, the cover should pull straight off, exposing the belts, pulleys, and the tensioner assemblies.
Finding the Auger Belt Tensioner Spring
The auger belt, also known as the impeller belt, is typically the larger of the two belts and is often located closer to the front of the machine. Follow this belt from the large auger pulley back towards the engine pulley. You will see a smaller idler pulley pushing against it; this is the tensioner.
The auger belt tensioner spring is a robust, coiled spring that is anchored to this tensioner arm on one end and to a specific hole or bracket on the snowblower’s frame on the other. Its job is to pull that arm with significant force, ensuring the auger belt doesn’t slip when chewing through deep snow. Inspect it for signs of stretching, rust, or a complete break.
Finding the Drive Belt Tensioner Spring
The drive belt, or traction belt, is usually the smaller belt and sits closer to the engine, often behind the auger belt. This belt runs down to the friction disc assembly that powers the wheels. Just like the auger system, it has its own dedicated tensioner arm and idler pulley.
The drive belt tensioner spring is typically smaller and less heavy-duty than the auger spring. It connects the drive tensioner arm to the frame, applying the pressure needed to propel the machine forward and backward. A weak spring here will cause slipping and a frustratingly slow pace.
The Hidden Cause of Failure: It’s Not Always the Spring
Here is a critical piece of information that many guides overlook. Sometimes, the spring itself is perfectly fine, yet the belt continues to slip. The true culprit in these situations is often a seized or worn-out tensioner arm pivot point.
Each tensioner arm pivots on a shoulder bolt, and at this pivot point, there is usually a plastic or bronze bushing. Over time, moisture, salt, and dirt can work their way into this pivot, causing corrosion. This corrosion can cause the arm to seize up, preventing it from moving freely.
When the arm is seized, the spring can’t pull it to apply the necessary tension, no matter how strong the spring is. Conversely, the bushing can wear out, causing the arm to become sloppy and misaligned. This misalignment prevents the idler pulley from pressing squarely against the belt, leading to premature belt wear and slippage. Before you even order a new spring, perform this simple check: with the belts loosened, grab the tensioner arm and see if it moves smoothly back and forth with no binding and minimal side-to-side wobble. If it’s stiff or excessively loose, you’ve found a deeper problem that must be addressed by cleaning and lubricating the pivot or replacing the bushings.
Step-by-Step Guide: Replacing a Worn or Broken Tensioner Spring
Replacing a tensioner spring is a straightforward job that can be done with basic hand tools. Having the right tools and following a safe procedure will make the process smooth and hassle-free.
Essential Tools and Safety Precautions
First, gather your tools. You will need a socket set, a pair of safety glasses, heavy-duty work gloves, and a spring puller. If you don’t have a dedicated spring puller tool, a pair of locking pliers (Vise-Grips) or a sturdy brake spring tool can work in its place.
Again, ensure the spark plug wire is disconnected before you start. The tension in these springs is significant, so always wear safety glasses to protect your eyes in case the spring slips from your tool. Gloves will protect your hands from scrapes and pinch points.
The Removal Process
The key to removing the old spring is to unload the tension first. You cannot simply pull it off with your bare hands. Use your spring puller or locking pliers to grab the hook end of the spring that is attached to the tensioner arm.
Carefully pull the spring, stretching it just enough to unhook it from the arm or the frame. Be prepared for the force required; pull slowly and deliberately. Once unhooked, the tensioner arm will relax, and you can then easily unhook the other end of the spring.
Installing the New Spring Correctly
When sourcing a replacement, it is highly recommended to use a genuine Ariens OEM (Original Equipment Manufacturer) part. These springs are designed with a specific length and tension rating for your model. Using a generic spring can lead to improper tension—either too loose, causing slippage, or too tight, causing premature wear on your belts and bearings.
To install the new spring, first hook one end onto the frame anchor point. Then, using your spring puller or locking pliers, grab the other hook and carefully stretch the spring until you can guide the hook into its designated hole on the tensioner arm. Once it’s seated, slowly and carefully release the tension. Double-check that both hooks are securely in place before proceeding.
Tensioner Spring Troubleshooting: Common Scenarios & Solutions
Even after a replacement, you might run into issues. This table outlines some common problems and how to resolve them, helping you diagnose the situation accurately.
| Symptom | Likely Cause | Solution |
|---|---|---|
| New Belt Still Slips Under Load | Incorrect spring installed; seized tensioner arm pivot; oil or grease on belt/pulleys. | Verify you have the correct OEM spring. Check for free movement of the tensioner arm and clean all pulleys and the belt with a degreaser. |
| Spring Keeps Falling Off | Worn or elongated mounting holes on the frame or tensioner arm; incorrect spring installed. | Inspect the mounting holes for damage. If worn, you may need to replace the tensioner arm assembly. Ensure the spring is the correct part number for your model. |
| Tensioner Arm is Stiff or Won’t Move | Corrosion or debris in the pivot point; worn or damaged bushings. | Disassemble the tensioner arm from its pivot bolt. Clean the bolt and the inside of the arm’s pivot thoroughly. Lubricate with marine-grade grease and replace bushings if worn. |
| Grinding Noise After Replacement | Belt is misaligned on the pulleys; idler pulley bearing is failing. | Ensure the belt is properly seated in the groove of all pulleys. Spin the tensioner’s idler pulley by hand; it should be smooth and silent. If it feels rough or makes noise, replace it. |
Proactive Maintenance: Preventing Future Tensioner Spring Failures
You can extend the life of your belts and tensioner springs with a little bit of proactive care. At the beginning of each winter season, take a few minutes to remove the belt cover and perform a quick inspection. Look for any signs of rust, stretching, or corrosion on the springs.
While you’re there, clean out any debris, grass, or mouse nests that have accumulated over the summer, as this can interfere with the movement of the tensioner arms. Also, check the belts for any contamination. Spilled fuel or leaking oil can quickly degrade the rubber and cause slipping. Problems with leaking oil can sometimes originate from the gearbox, an issue that requires immediate attention as outlined in this guide to Ariens snowblower auger gearbox oil.
A well-maintained machine is a reliable one. This kind of attention to detail is often what separates different brands in the long run, a key factor in the Toro vs Ariens snowblower debate. A few minutes of prevention can save you from a major headache in the middle of a snowstorm.
Restoring Your Ariens to Peak Performance
That small, unassuming spring holds the key to your Ariens snowblower’s power. A weak or broken tensioner spring is a common point of failure, but it’s also an easy and inexpensive fix that any owner can perform with confidence. By correctly identifying the symptoms, locating the right spring, and understanding the hidden issues like a seized tensioner arm, you are now equipped to tackle this repair.
Don’t let a five-dollar part sideline your thousand-dollar machine. Follow the steps outlined here to restore proper belt tension and get your snowblower back to throwing snow with the force and distance it was designed for. Once the power is back, you might even consider other upgrades to maximize efficiency, like an Ariens snowblower chute modification to further improve its performance.
With this simple repair, you can face the next blizzard with a machine that’s ready for battle, ensuring your driveway is clear and your winter is just a little bit easier.