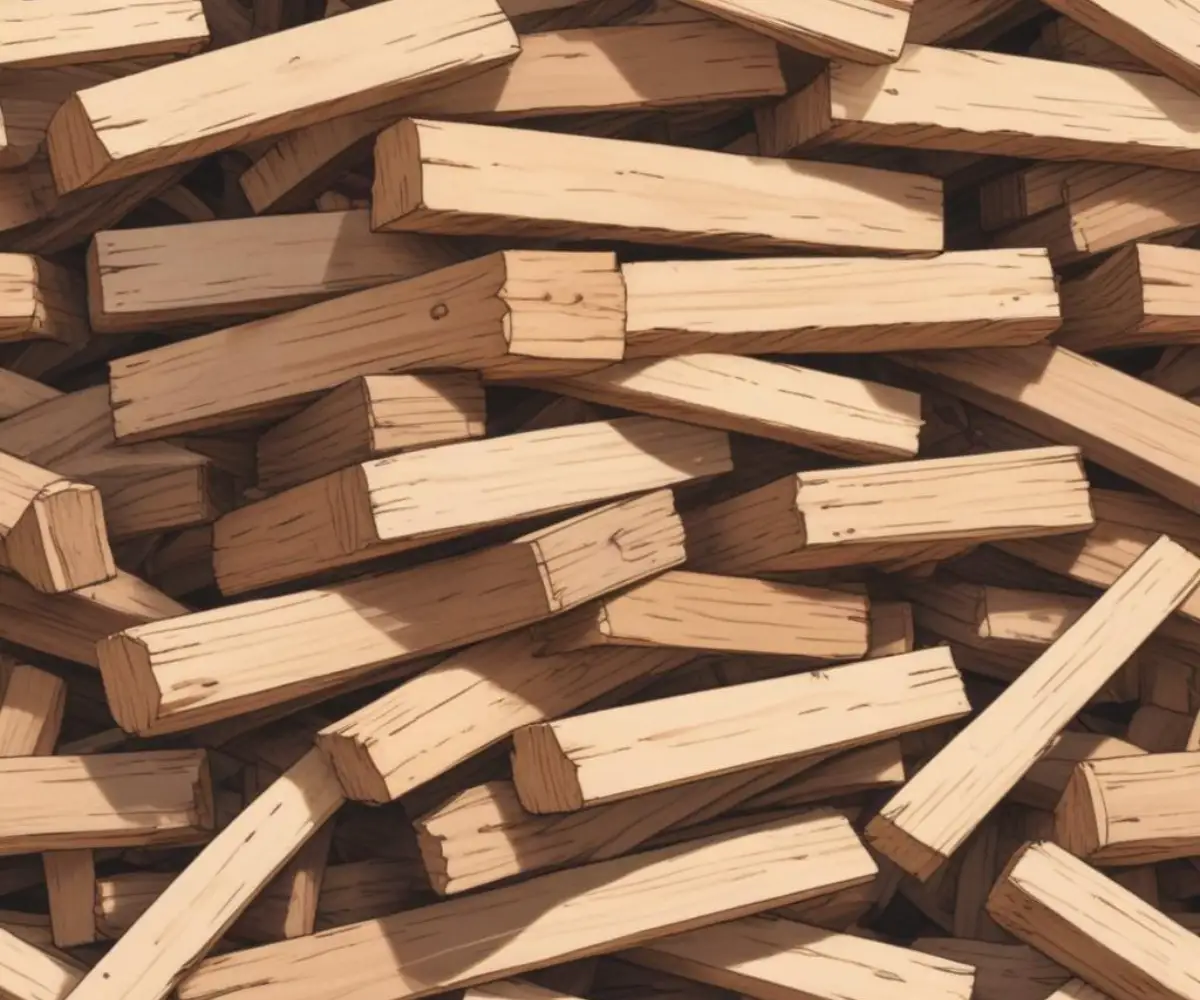
Are Furring Strips Treated? The Shocking Truth You Need to Know
You’re standing in the lumber aisle, project list in hand. You see “furring strips,” and a crucial question pops into your head: are furring strips treated, and does it even matter? This seemingly small detail is one of the most critical decisions you’ll make for your project, and getting it wrong can lead to catastrophic failures like rot, mold, and structural damage hidden behind your beautiful new walls.
The confusion is understandable. Some strips look green, some don’t. The labels can be confusing. Making the wrong choice is a costly mistake waiting to happen, turning your dream renovation into a nightmare of repairs. This guide will eliminate that confusion for good, giving you the definitive answer on when you must use treated furring strips and when you can safely opt for untreated wood.
You'll Learn About
What Exactly Are Furring Strips and Why Do They Matter?
Before diving into the treated versus untreated debate, let’s clarify what these humble strips of wood do. Furring strips, also known as strapping, are thin strips of wood (or sometimes metal) that serve several foundational purposes in construction. They are the unsung heroes that ensure a professional and long-lasting finish.
Their primary job is to create a separation or an air gap between a finished surface (like drywall or siding) and the structural wall or ceiling. They are essential for leveling uneven surfaces, providing a solid attachment point for panels, and creating a channel for ventilation. Whether you’re finishing a basement, installing a tile backsplash, or putting up new siding, furring strips are often the first layer of your assembly, making them critical to the project’s success.
The Great Debate: Treated vs. Untreated Furring Strips
Here we arrive at the central question. The decision to use treated or untreated furring strips boils down to one primary factor: moisture. Understanding where your furring strips will be installed is the key to making the correct choice and protecting your home from future damage.
What Does “Treated” Even Mean?
When we say “treated,” we are referring to pressure-treated lumber. This is wood that has been placed in a pressurized tank to force chemical preservatives deep into its fibers. These chemicals protect the wood from its natural enemies: fungal decay (rot) and wood-boring insects like termites.
Kiln-dried, or untreated, lumber has been dried in an oven to reduce its moisture content, which makes it more stable and less likely to warp. However, it has no added protection against rot or insects. This makes it suitable only for dry, interior applications where moisture exposure is not a concern.
When Using Treated Furring Strips is Absolutely Essential
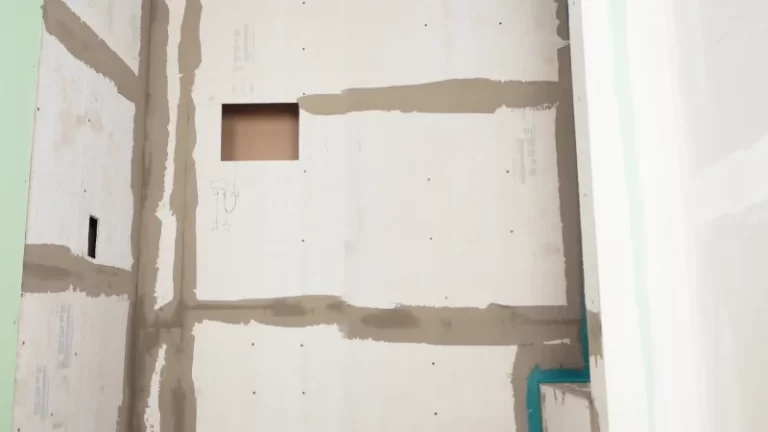
You MUST use pressure-treated furring strips in any application where the wood will be in direct contact with masonry or in a high-moisture environment. This is not a suggestion; it’s a requirement for a durable, safe structure. Concrete, brick, and cinder blocks are porous materials that wick moisture from the ground and air. If you attach untreated wood directly to these surfaces, that moisture will be absorbed by the wood, creating the perfect breeding ground for rot and mold.
Use pressure-treated furring strips in these areas without exception:
- Basement Walls: All basement walls, whether concrete or block, are considered below-grade and are subject to moisture.
- Garage Walls: If your garage walls are concrete or block, you must use treated strips.
- Exterior Walls: When used behind siding to create a rainscreen, furring strips must be treated to handle potential moisture.
- Bathrooms and High-Humidity Areas: For walls in bathrooms, laundry rooms, or behind tile shower surrounds, treated wood is the safest choice.
When Can You Safely Use Untreated Furring Strips?
Untreated furring strips, typically made of pine or spruce, are perfectly acceptable for interior projects in dry, climate-controlled environments. If you are installing furring strips over existing drywall to level a surface for paneling or to create a feature wall in a living room or bedroom, untreated wood is the standard and more economical choice.
Use untreated furring strips in these areas:
- Interior Walls and Ceilings: In any dry, finished part of the home, such as living rooms, bedrooms, and hallways.
- Over Existing Drywall: When you are not in a moisture-prone area.
- Projects Where Wood Will Remain Dry: In any application completely isolated from concrete, masonry, and environmental moisture.
The Hidden Dangers of Making the Wrong Choice
Using the wrong type of furring strip can have severe consequences that go far beyond a simple cosmetic issue. If you use untreated wood against a basement wall, you are setting a time bomb for rot and mold. The damage will happen behind your finished drywall, often going unnoticed until it becomes a major structural and health hazard.
The primary dangers include:
- Wood Rot and Structural Failure: Moisture-laden untreated wood will decay, compromising the integrity of whatever is attached to it. Your drywall could become unstable, and in exterior applications, siding could fail.
- Mold and Mildew: Trapped moisture creates an ideal environment for mold growth, which can cause serious respiratory issues and other health problems.
- Insect Infestation: Termites and other wood-destroying insects are attracted to moist wood, and using untreated furring strips in a damp area is like setting out a welcome mat.
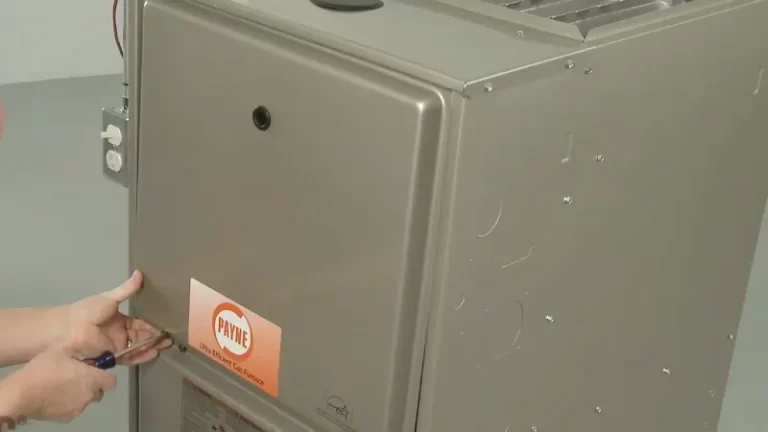
There’s also a smaller, but important, consideration when using treated wood: the fasteners. The chemicals in modern pressure-treated lumber are corrosive to standard steel screws and nails. You must use hot-dip galvanized or stainless steel fasteners to prevent them from rusting and failing over time. When attaching these strips to concrete, knowing the fastener’s capability is vital. For instance, many people wonder how strong are Tapcon screws? These are specifically designed for masonry and are often coated to resist the corrosion caused by treated wood.
Step-by-Step Guide: Choosing the Right Furring Strips
Follow this simple, three-step process to ensure you always make the right choice at the lumber yard.
Step 1: Assess Your Project’s Environment
This is the most critical step. Ask yourself: Will these furring strips touch concrete, brick, or cinder block? Will they be in a basement, bathroom, or on an exterior wall? If the answer to any of these questions is yes, you need pressure-treated lumber.
Step 2: Read the Lumber Tags
Pressure-treated lumber is rated for different uses. Look for tags that specify “Above Ground” or “Ground Contact.” For most interior furring applications against concrete, “Above Ground” is sufficient. For any exterior work where the wood might be closer to the soil, “Ground Contact” provides a higher level of protection.
Step 3: Select the Correct Fasteners
Once you’ve chosen your furring strips, get the right fasteners for the job. Do not reuse old drywall screws or uncoated nails with pressure-treated wood. Invest in the proper hot-dip galvanized or stainless steel screws to ensure your project lasts.
To simplify the decision, consult this quick comparison table.
| Feature | Pressure-Treated Furring Strips | Kiln-Dried (Untreated) Furring Strips |
|---|---|---|
| Primary Use Case | Direct contact with masonry, basements, exterior walls, and high-moisture areas. | Dry, interior walls and ceilings over existing drywall or wood framing. |
| Moisture Resistance | Excellent. Designed to resist rot and decay from moisture. | Poor. Will absorb moisture, leading to rot and mold. |
| Rot & Insect Resistance | Excellent. Protected by chemical preservatives. | None. Susceptible to rot and insect damage when wet. |
| Cost | Higher. The treatment process adds to the cost. | Lower. More budget-friendly for appropriate applications. |
| Required Fasteners | Hot-dip galvanized or stainless steel to prevent corrosion. | Standard screws or nails are acceptable. |
| Safety Precautions | Wear a mask and gloves when cutting to avoid inhaling sawdust. | Follow standard woodworking safety practices. |
Beyond the Basics: Advanced Tips and Common Mistakes
Even with the right materials, installation mistakes can compromise your project. One of the main purposes of furring strips is to create an air channel for drying, and this is especially important in basements and on exteriors. This is a similar principle to managing airflow in other parts of the house. Proper ventilation is key to preventing moisture issues, a lesson often learned when dealing with exposed garage ceiling insulation, where air movement is critical.
Another benefit of the space created by furring strips is the ability to run wiring. However, it’s crucial to protect the electrical lines from damage. When running cables behind walls, you must understand how to cover exposed Romex correctly to meet electrical codes and ensure safety.
Mistake #1: Installing Horizontally on Exterior Walls
For exterior rainscreen applications, furring strips should almost always be installed vertically. This creates a clear drainage path for any water that gets behind the siding to flow down and out. Horizontal strips can trap water, defeating the purpose of the rainscreen.
Mistake #2: Not Using a Vapor Barrier in Basements
Even with treated furring strips, it’s best practice to install a vapor barrier against the concrete wall first. This provides an additional layer of moisture protection. The order should be: concrete wall, vapor barrier (like rigid foam board or heavy plastic), then your pressure-treated furring strips.
Mistake #3: Assuming All Treated Wood is the Same
Pay attention to the treatment level. Wood intended for a fence post that will be buried in the ground has a much higher concentration of preservatives than wood intended for an above-ground deck board. For furring strips against a basement wall, a standard “above-ground contact” rating is usually sufficient.
Advanced Alternative: Metal Furring Strips
For a completely foolproof solution against rot and insects, consider metal furring strips, often called “hat channel.” Made from galvanized steel, they are impervious to moisture and are perfectly straight. While more expensive and sometimes harder to work with than wood, they offer peace of mind in very damp locations.
Frequently Asked Questions (FAQ)
Can I treat my own furring strips?
No. True pressure treatment is an industrial process that cannot be replicated at home. Applying a wood preservative with a brush will only provide surface-level protection and is not a substitute for pressure-treated lumber in critical applications.
Is it safe to use pressure-treated furring strips inside my house?
Yes, the chemicals used in modern pressure-treated wood are considered safe for interior use once they have dried. The primary risk comes from inhaling the sawdust when cutting, so always wear a good-quality dust mask. Avoid using it for surfaces that will come into direct contact with food, like countertops.
What size furring strips should I use?
The most common sizes are 1×2 and 1×3 strips. The thickness (typically ¾ inch) is usually sufficient to create an adequate air gap and provide a solid nailing surface. The size you choose often depends on the flatness of the wall you are covering.
Do I need furring strips to attach drywall to a concrete wall?
Yes, you should never attach drywall directly to a concrete wall. Furring strips (or a full 2×4 frame) are necessary to create an air gap, prevent moisture transfer to the drywall, and provide a space for insulation and electrical wiring.
Conclusion: Build with Confidence
The question of whether furring strips are treated is not a matter of opinion—it’s a matter of building science. The rule is simple and absolute: if the wood will touch masonry or be exposed to moisture, it must be pressure-treated. Forgetting this rule is a gamble against nature, and nature always wins.
By following the guidelines in this article, you can walk into the lumber aisle with confidence. You now have the knowledge to select the right material, protect your home from moisture damage, and ensure your project stands the test of time. A little extra cost for treated lumber today is a small price to pay to avoid a catastrophic and expensive failure tomorrow.