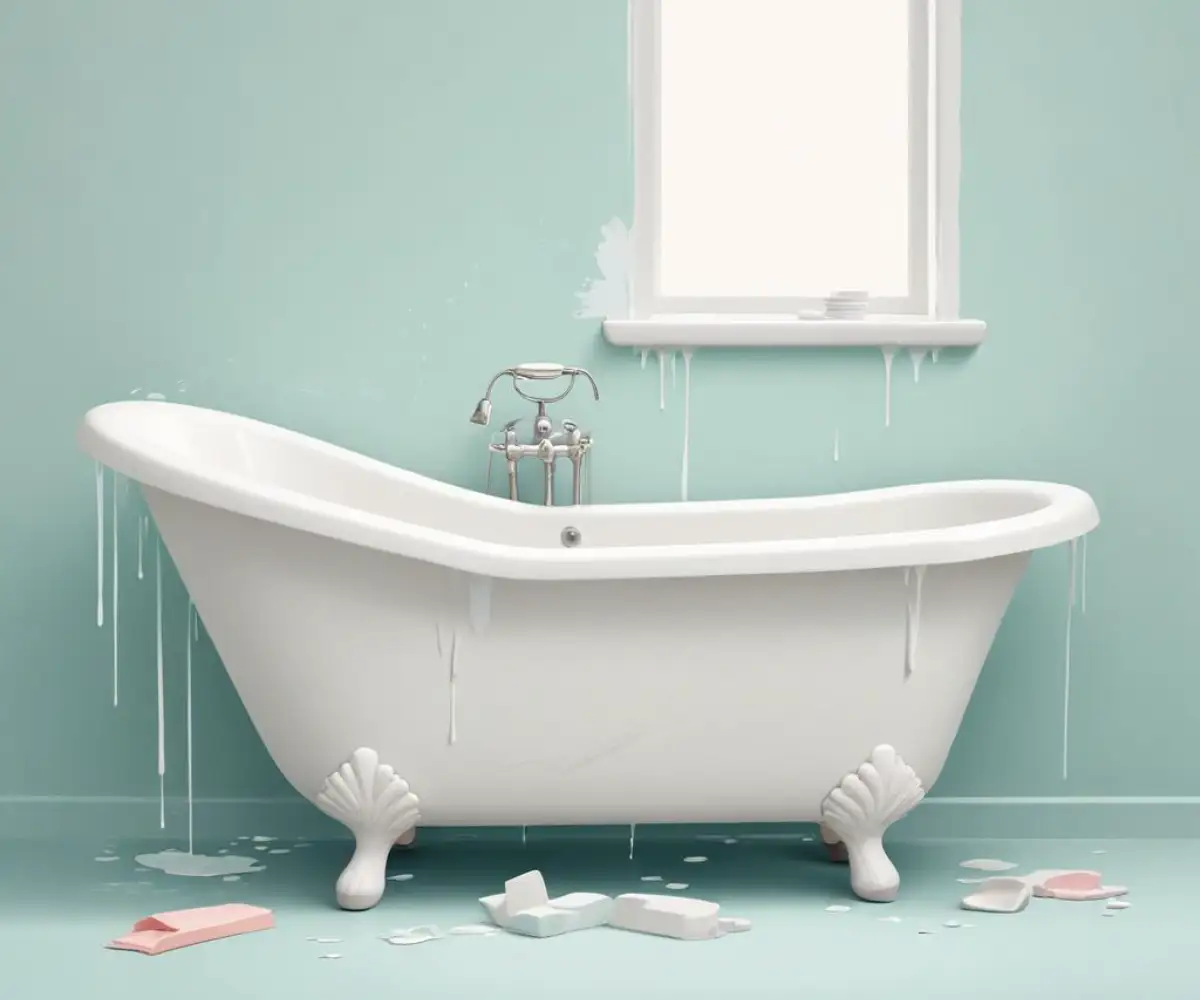
Apartment Bathtub Peeling? Stop! Here’s the Real Reason Why and How to Fix It
There are few sights more frustrating in a bathroom than seeing the surface of your bathtub peeling away. What starts as a small chip or bubble quickly turns into an unsightly mess of flaking paint, making your tub look old, dirty, and impossible to clean. This problem is especially common in apartments, leaving tenants wondering what went wrong and what they can possibly do about it.
The truth is, a peeling bathtub is more than just a cosmetic annoyance. It’s a sign of a deeper issue with the tub’s finish. This guide will dive into the core reasons your apartment bathtub is peeling, what hidden dangers might be lurking underneath, and provide a clear roadmap for both renters and property owners to solve the problem for good.
You'll Learn About
What’s Really Causing Your Bathtub Finish to Peel?
While it might seem like the paint is just giving up, the root cause is almost always a failure of adhesion. The coating simply isn’t bonded correctly to the surface underneath. This happens for several specific, and often overlapping, reasons.
The #1 Culprit: A Botched Refinishing Job
In the world of rental properties, a quick turnover is often the priority. This can lead to what’s commonly known as the “landlord special”—a hasty, low-cost refinishing job designed to make the tub look good for the next tenant, but not necessarily to last. A proper, durable reglazing job is an intensive process, and cutting corners is the fastest way to failure.
Improper surface preparation is the most significant mistake. If the original surface isn’t meticulously cleaned, stripped, sanded, and etched, the new coating has nothing to properly grip. Any lingering soap scum, body oils, silicone residue, or moisture will create a barrier, guaranteeing that the new finish will eventually lift and peel.
Use of Harsh, Abrasive Cleaners
Many common bathroom cleaners contain harsh chemicals like bleach or ammonia, and abrasive particles that are too aggressive for a refinished surface. These products can chemically break down the epoxy or acrylic coating over time, weakening its structure and causing it to become brittle, crack, and ultimately peel away from the tub.
Impact Damage from Dropped Objects
A refinished surface is durable, but it’s not indestructible. Dropping a heavy shampoo bottle, a razor, or a handheld showerhead can easily chip the finish. Once that initial chip occurs, it creates an entry point for water to seep underneath the coating, compromising the adhesion and causing the peeling to spread outwards from the point of impact.
Moisture Seeping Under the Coating
Beyond impact damage, moisture can find its way under the finish through failing caulk lines around the tub and fixtures. If the seal isn’t watertight, water from showers and baths will slowly work its way behind the coating. This constant moisture breaks down the bond between the new finish and the original tub surface, leading to widespread bubbling and peeling.
The Hidden Dangers Lurking Beneath a Peeling Surface
A peeling bathtub isn’t just an eyesore; it can present genuine problems for hygiene and the structural integrity of your bathroom. Understanding these risks is crucial for motivating a swift and proper repair.
The rough, flaking areas are incredibly difficult to clean. Soap scum, grime, and bacteria thrive in the cracks and crevices, creating a permanently dirty surface no matter how much you scrub. More alarmingly, the gaps where the finish has lifted can trap water against the original tub surface, creating a dark, damp environment perfect for mold and mildew growth.
If the peeling exposes the original cast iron or steel tub underneath, you risk the formation of rust. This not only stains the surface but can, over a very long time, corrode the tub itself. Furthermore, water that is not contained by a properly sealed tub can lead to much larger issues, like subfloor water damage.
Renters’ Roadmap: What to Do When Your Apartment Tub Peels
If you’re a tenant, your first instinct might be to find a quick DIY fix. However, this can often lead to more trouble, including violating your lease agreement. Following a clear and professional process is the best way to get the problem resolved.
Step 1: Don’t Panic and Don’t DIY (Yet)
Resist the urge to scrape off the peeling paint or apply a cheap touch-up kit. Unauthorized repairs can be considered damage, and you could be held liable for the cost of a professional fix. The issue is almost certainly a pre-existing condition that is the landlord’s responsibility to address.
Step 2: Document Everything
Take clear photos and videos of the peeling areas. Make sure the images are well-lit and show the extent of the problem. Note the date you first noticed the issue and any progression of the peeling over time. This documentation is your evidence should any disputes arise.
Step 3: Review Your Lease Agreement
Look for clauses related to maintenance, repairs, and tenant responsibilities. Most standard leases state that the landlord is responsible for maintaining fixtures that are part of the property, which includes the bathtub. Understanding your rights is a key part of the conversation.
Step 4: Notify Your Landlord in Writing
Draft a polite but formal email or letter to your landlord or property management company. State the problem clearly, attach your photos, and request that they arrange for a professional repair. Written communication creates a paper trail and is far more effective than a verbal complaint.
The Two Paths to Restoration: DIY vs. Professional Refinishing
Once the issue is being addressed—either by a landlord or a homeowner—there are two fundamental choices for repair: hiring a professional refinishing company or using a DIY kit. While DIY can seem tempting due to the lower up-front cost, the differences in process, materials, and durability are significant.
Understanding these differences is key to making an informed decision and achieving a long-lasting result. Below is a comparison of the two approaches.
| Factor | DIY Refinishing Kit | Professional Refinishing Service |
|---|---|---|
| Cost | Low initial cost, typically $30 – $100 for a kit. | Higher upfront cost, typically $350 – $650. |
| Durability & Lifespan | Shorter lifespan, often lasting 1-3 years before potential failure. Prone to staining and chipping. | Much longer lifespan, typically 7-15 years with proper care. The finish is thicker and more resilient. |
| Surface Preparation | Relies on user diligence. Often involves basic sanding and cleaning, which can be insufficient. | Involves industrial-grade chemical strippers, acid etching, and meticulous sanding for maximum adhesion. |
| Materials Used | Often a two-part epoxy paint applied with a brush or roller, resulting in a less uniform finish. | High-grade acrylic urethane or catalyzed polyurethane coatings applied with professional HVLP spray equipment. |
| Safety & Fumes | Kits release strong, hazardous fumes (VOCs). Requires excellent ventilation and a high-quality respirator. | Professionals use commercial-grade ventilation systems to exhaust fumes and ensure safety during application. |
| Time & Effort | Very labor-intensive. The entire process, including prep and multiple coats, can take a full weekend. | Fast and efficient. A professional can typically complete the entire job in 4-6 hours. |
| Curing Time | Often requires a long curing time, sometimes up to 3-5 days before the tub can be used. | Typically requires a shorter curing time, often just 24-48 hours, due to higher quality materials. |
| Warranty | No warranty on the result. If it fails, you bear the cost of re-doing it. | Most reputable companies offer a warranty (typically 3-5 years) against peeling or adhesion failure. |
A Guide to DIY Bathtub Refinishing (For the Brave and Permitted!)
If you are a homeowner or a renter who has received explicit, written permission from your landlord, a DIY repair is possible. However, it requires extreme attention to detail. Success is 90% preparation and 10% application.
Essential Safety First: Ventilation and Protection
Bathtub refinishing products release potent volatile organic compounds (VOCs) that are hazardous to inhale. Proper ventilation is not optional. Open all windows, use multiple fans to create cross-flow, and direct one fan to blow air out of the bathroom window. Always wear a respirator mask with organic vapor cartridges, along with safety goggles and chemical-resistant gloves.
Step-by-Step: From Peeling Mess to Pristine Finish
Follow the instructions on your chosen refinishing kit precisely. The general steps, however, are universal.
Phase 1: Demolition & Preparation
Your first job is to remove every trace of the old, failing finish. Use a combination of a paint scraper, putty knife, and coarse-grit sandpaper to get rid of all loose flakes. For stubborn areas, a chemical stripper may be necessary, but ensure it is safe for your tub’s material (cast iron, steel, fiberglass, etc.). After stripping, repair any deep chips or gouges with a waterproof epoxy putty, sanding it smooth once cured. Finally, clean the tub multiple times with an abrasive cleaner to remove all soap scum and rinse thoroughly.
Phase 2: The Critical Sanding & Masking
This is the most crucial step for adhesion. Sand the entire surface of the bathtub with 220-grit wet/dry sandpaper. The goal is to remove all shine and create a slightly rough, “scuffed” texture for the new coating to bite into. After sanding, clean the tub again to remove all dust and wipe it down with a tack cloth or a lint-free rag dampened with denatured alcohol.
Once perfectly clean and dry, use painter’s tape and masking paper to meticulously cover the drain, overflow plate, faucet, and the tile surround. A sharp, clean line is essential for a professional look. This is also the time to inspect your caulk lines. If they are old or cracked, it’s best to remove them and plan for fresh caulk sealing secrets to be applied after the new finish cures.
Phase 3: Application & Curing
Mix the two parts of the epoxy coating according to the kit’s directions. Apply a thin, even first coat using the recommended applicator (often a high-density foam roller or brush). Work methodically and avoid drips. Let the first coat dry for the time specified by the manufacturer.
Lightly sand the first coat with 400-grit sandpaper to smooth out any imperfections, then wipe away the dust. Apply a second, and if needed, a third coat for full, even coverage. After the final coat, remove the masking tape while the finish is still tacky (as per kit instructions) to ensure clean lines. The final step is the most difficult: waiting. Do not use the bathtub for any reason until the full curing time has passed, which can be up to 72 hours or more.
Maintaining Your Newly Finished Tub to Prevent Future Peeling
Whether your tub was refinished by a pro or through your own diligent efforts, proper care is essential to make it last. The rules are simple but non-negotiable.
Use only non-abrasive, mild cleaners. A simple solution of dish soap and warm water or a cleaner specifically approved for refinished tubs is best. Avoid scouring powders, steel wool, and harsh chemicals at all costs. Also, avoid leaving bath mats with suction cups in the tub, as these can trap moisture and potentially pull at the finish over time.
Finally, ensure the seal around your tub is perfect. When it comes time to re-caulk, understanding the difference between Silicone 1 vs 2 is vital for creating a waterproof barrier that protects your investment from moisture intrusion.
Your Bathtub Doesn’t Have to Be a Nightmare
A peeling apartment bathtub is a fixable problem. For renters, the key is clear communication and documentation with your landlord. For homeowners or those with permission to repair, the path to success lies in meticulous preparation and a deep respect for the process.
By understanding the true causes of peeling and following the correct procedures for repair and maintenance, you can restore your bathtub’s finish. A smooth, clean, and durable surface is achievable, transforming your bathroom back into a space of comfort and relaxation.