Ants Coming Through Sliding Door? Seal Their Superhighway Shut
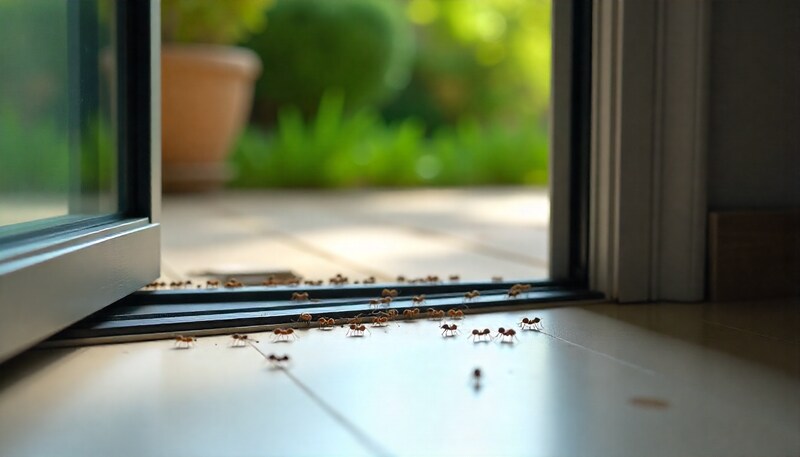
You see a single ant on your kitchen floor and think nothing of it. Soon after, you see another, and then a trail. You follow this determined line of tiny invaders back to its source and discover the unthinkable: your sliding glass door has become a superhighway for an entire ant colony.
It’s a frustratingly common problem. Sliding doors, for all their convenience and beauty, are notoriously vulnerable entry points for pests. Their complex tracks, multiple seals, and exposure to the outdoors create tiny gaps that are practically open invitations for ants seeking food, water, and shelter in your home.
But you don’t have to surrender your home to these persistent pests. Understanding exactly how and why they’re getting in is the first step to creating an impenetrable fortress. This guide will walk you through identifying every hidden entry point and sealing it for good, putting a permanent stop to the ant parade.
You'll Learn About
Why Your Sliding Door is an Ant Magnet
Ants operate on a simple principle: find a resource and create a path to it. Foraging ants leave behind invisible pheromone trails for others to follow. Your sliding door isn’t just a physical entry; it’s a collection of vulnerabilities that ants are uniquely equipped to exploit.
The most common culprits are worn-out or damaged seals. Weather stripping around the door frame and between the sliding and stationary panels can degrade over time, becoming brittle and creating cracks. Poorly sealed doors can let in drafts, water, and, of course, insects. These tiny gaps are more than enough for an army of ants to march through.
The Hidden Entry Points You’re Overlooking
While worn weather stripping is a primary suspect, several less obvious structural features of sliding doors and their surroundings serve as hidden entryways for ants.
One of the most overlooked entry points is the set of weep holes on the exterior track. These small holes are designed to drain rainwater out of the door track, but they also provide direct, easy access for ants. They can crawl into the weep holes and navigate through the hollow frame to emerge inside your home.
Another critical area is the foundation beneath and around the door. Patios made of interlocking stones or slabs often use a sand base, which is a perfect environment for ant colonies to build their nests. If this patio material is built up against your home’s foundation, it can cover the lowest weep holes or provide direct access to tiny cracks in the foundation right under the door frame.
Your Step-by-Step Plan to Seal the Door and Stop the Ants
Reclaiming your home from an ant invasion requires a multi-pronged attack. You need to eliminate the current invaders, remove their chemical trails, and, most importantly, seal their entry points to prevent future incursions. Follow these steps for a comprehensive solution.
Step 1: The Ultimate Inspection
Before you can seal the gaps, you have to find them. This requires a detailed inspection of your sliding door from both inside and outside. Get down on your hands and knees and use a flashlight, even during the day, to get a clear view of all the potential entry points.
Start by watching the ants themselves. Follow their trail to pinpoint the exact spot they are entering. Inside, check the entire perimeter of the door frame, the bottom track, and the area where the sliding panel meets the stationary one. Outside, pay close attention to the weep holes, the base of the door track, and any cracks in the caulking that seals the door frame to the wall.
Step 2: Clean and Erase the Pheromone Trail
Simply killing the ants you see is not enough. You must eliminate the invisible scent trail they’ve left behind, which acts as a roadmap for the rest of the colony. Wiping away this trail is crucial to stopping the reinforcement army.
Create a simple and effective cleaning solution by mixing equal parts white vinegar and water in a spray bottle. Spray all surfaces where you’ve seen ants, including the door track, the frame, the floor, and the nearby walls. Wipe the area thoroughly. This simple act disrupts their communication and is a critical step in prevention.
Step 3: Fortify Your Defenses by Sealing Every Gap
Now it’s time to create a permanent physical barrier. Sealing cracks and gaps is the most effective long-term solution to your ant problem. Depending on your inspection findings, you may need one or more of the following solutions.
For gaps around the stationary frame of the door where it meets the wall, apply a line of 100% silicone sealant. This material is waterproof, flexible, and durable, making it ideal for creating a pest-proof seal. It’s crucial to properly prepare the surface by cleaning it and removing any old, cracked caulk first.
Next, address the weather stripping. If the fuzzy or rubber seals along the edges of the sliding door are compressed, torn, or brittle, they need to be replaced. Fin seal or brush-style weather stripping is often the best choice for the moving parts of a sliding door, as it holds up well to friction. While this can be a more involved repair that may require removing the door, it is essential for a complete seal.
Finally, don’t forget the weep holes. Do not seal them completely with caulk, as this will trap water and cause damage. Instead, cover the exterior openings with a small piece of stainless steel screen mesh, securing it with a dot of silicone at the edges. This blocks pests while still allowing water to drain properly.
Step 4: Deploy Your Ant Control Measures
While sealing entry points is the ultimate goal, you’ll also need to deal with the ants currently in and around your home. The most effective method is using slow-acting ant baits. Foraging ants will carry the poisoned bait back to the nest, where it will be shared and eventually eliminate the entire colony, including the queen.
Place ant bait stations outside your sliding door near their suspected entry points. Avoid spraying repellent insecticides near the baits, as this will prevent the ants from reaching them and taking the poison back to the nest. Patience is key; it can take several days or even a week for the bait to eradicate the colony.
If you’re still seeing random ants in the house with no trail after sealing the door, it may indicate another entry point or a separate nest inside the walls.
Creating an Ant-Proof Zone: A Comparison of Methods
Choosing the right method depends on your specific situation, budget, and comfort level with different materials. This table breaks down the most common solutions to help you decide on the best course of action.
| Method | Primary Use | Effectiveness | Difficulty | Safety (Pets/Kids) |
|---|---|---|---|---|
| Silicone Sealant/Caulk | Sealing stationary cracks and gaps around the door frame. | Very High | Low | Safe once cured. |
| Weather Stripping Replacement | Sealing moving parts and gaps between the door panels. | Very High | Medium | Very Safe. |
| Liquid Ant Baits | Eliminating the entire ant colony at its source. | High | Low | Keep bait stations out of reach. |
| Diatomaceous Earth | Creating a non-toxic barrier that kills ants on contact. | Medium | Low | Use food-grade; avoid inhalation. |
| Repellent Sprays | Killing ants on contact and creating a short-term barrier. | Low to Medium | Low | Use pet-safe formulas and keep pets away until dry. |
Long-Term Prevention: Maintaining an Ant-Free Environment
Once you’ve sealed the door and eliminated the colony, the final step is to make the area around your sliding door less attractive to future ant scouts. Proactive prevention is the key to ensuring you don’t have a repeat invasion next season.
Start with landscaping. Trim back any tree branches, shrubs, or vines that touch your house. Ants use these as bridges to bypass ground-level defenses and access your home. Maintain a clear zone of at least a few inches between any vegetation and your home’s exterior.
Mulch and soil can also create problems. Wood mulch can attract ants and other pests, and if it’s piled up against the foundation, it can provide a hidden path into your home. Consider using a less pest-friendly ground cover like gravel or rubber mulch, and always keep it from direct contact with your home’s siding or the door frame.
Finally, regular cleaning of the exterior area is crucial. Sweep your patio or deck regularly to remove crumbs and food spills. If you have a grill or outdoor dining area, be diligent about cleaning up after meals. By removing potential food sources, you make your home a much less interesting target for foraging ants.
Upgrading your door’s hardware can also provide an extra layer of defense. For example, if you find your screen door is the main issue, investing in a high-quality replacement like a Costco genius screen door can offer a better seal against all types of bugs. Similarly, if you notice your sliding screen door is too short, addressing that gap is critical for pest control.
When to Call a Professional
While these DIY methods are effective for most common ant problems, some situations may require professional help. If you suspect you’re dealing with carpenter ants, which can cause structural damage to the wood framing of your home, it’s wise to consult an expert.
Additionally, if you’ve followed all the sealing and baiting steps but the ant problem persists, there may be a larger, more established colony or multiple entry points that are difficult to locate. A pest control professional has the tools and expertise to identify the ant species, find the source of the infestation, and implement a targeted treatment plan to solve the problem for good.