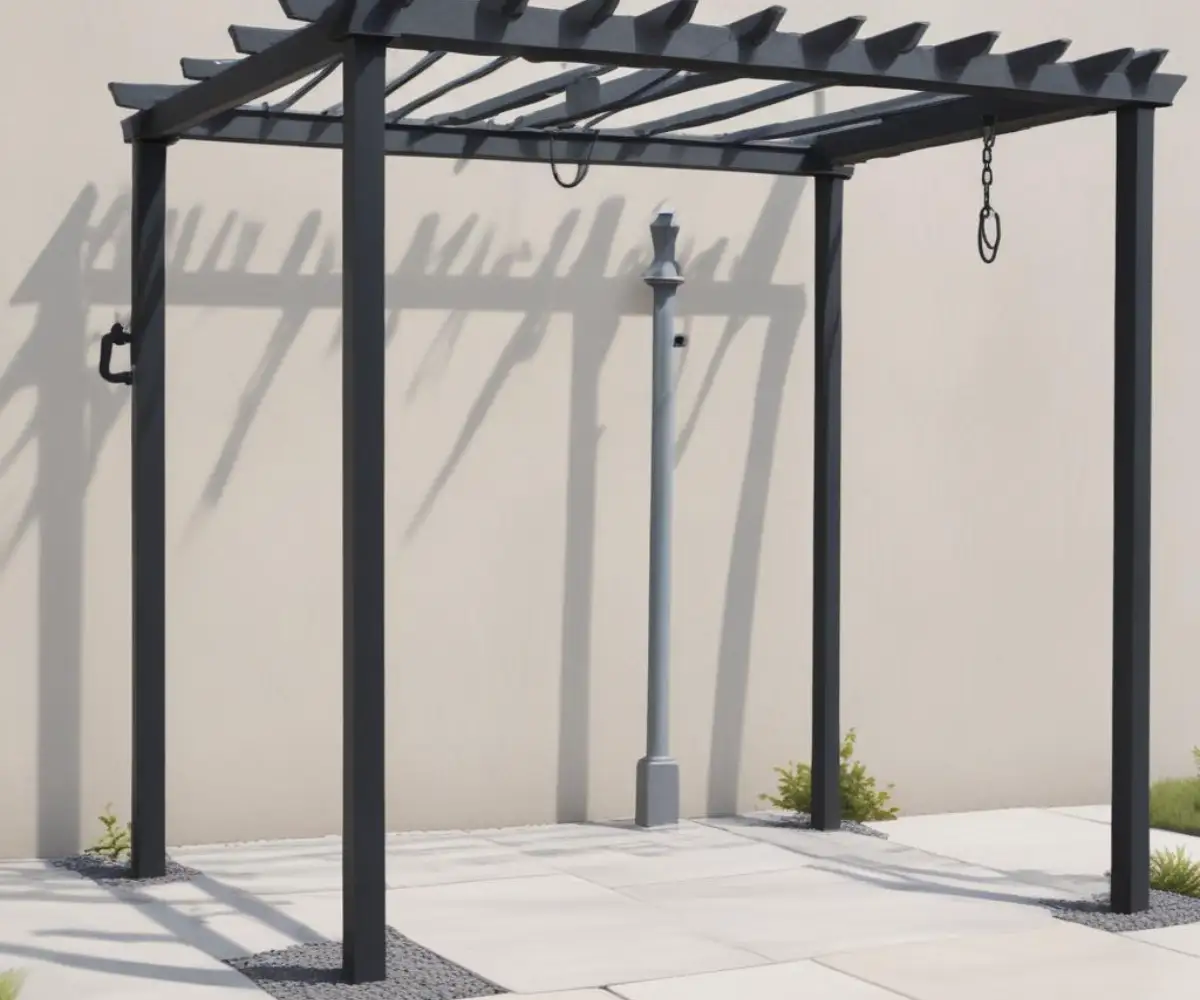
Anchoring Toja Grid to Concrete: Your No-Fail Safety Guide
You have the Toja Grid kit, the lumber is cut, and you can already picture relaxing under your stylish new pergola. But then comes the most critical and often intimidating step: anchoring your Toja Grid to a concrete patio or slab. Get this wrong, and your dream backyard feature could become a dangerous liability in the first strong wind. Get it right, and you’ve built a secure, permanent oasis for years to come.
Improper anchoring is not a minor mistake; it’s a structural failure waiting to happen. The forces of wind uplift can be immense, far stronger than the dead weight of the pergola itself. This guide provides a comprehensive, step-by-step process to ensure your Toja Grid is anchored with professional-level security, guaranteeing peace of mind through any storm.
You'll Learn About
Why Proper Anchoring is a Matter of Safety, Not Suggestion
A Toja Grid pergola, especially with a shade sail attached, acts like a giant kite in high winds. The primary force you are fighting against is called wind uplift. Without a robust connection to a solid foundation, the entire structure can be lifted, shifted, or toppled, causing significant property damage or serious injury.
Local building codes in many areas have minimum wind resistance standards for outdoor structures, often requiring them to withstand winds of 90 mph or more. Proper anchoring is the only way to meet these requirements and ensure your structure is both safe and compliant. The integrity of the entire build rests on the quality of the connection between the steel brackets and the concrete beneath them.
Before You Drill: Assess Your Concrete Foundation
Not all concrete is created equal. Before you even think about drilling, it’s crucial to understand the condition and specifications of your concrete slab. This foundational knowledge prevents catastrophic failures down the road and is a step many standard guides overlook.
First, determine the thickness and age of the concrete. Most concrete anchors require a minimum embedment depth to achieve their stated holding power. If your slab is too thin, the anchor could punch through or create a weak point. Green concrete, which is concrete less than 28 days old, should not be drilled into as it hasn’t reached its full compressive strength. Older concrete can be harder and more brittle, requiring more care during drilling.
Next, inspect the surface for any signs of damage. Look for cracks, spalling (flaking or chipping), or discoloration. Drilling too close to an existing crack can compromise the holding strength of the anchor and may cause the crack to expand. A general rule is to maintain a distance of at least 4-6 inches from any edge or major crack to prevent blowout.
The Right Hardware: Choosing Your Concrete Anchors
The type of anchor you choose is critical for a secure installation. While the Toja Grid instructions may suggest generic concrete screws, understanding the different options allows you to select the best fastener for your specific conditions. For securing a heavy structure like a pergola, you need an anchor known for high tensile and shear strength.
Wedge anchors are widely considered one of the strongest and most reliable options for this application. They are designed specifically for solid concrete and provide exceptional holding power. As you tighten the nut, a clip on the bottom of the anchor expands, wedging it securely into the concrete. This mechanical grip is incredibly resistant to pull-out forces.
Below is a comparison of common anchor types suitable for this project. For a standard residential Toja Grid installation on a solid concrete patio in good condition, wedge anchors are the top recommendation.
Anchor Selection Comparison
Choosing the correct anchor is a foundational step. The holding power of any fastener is only as good as the base material it’s installed in. This table breaks down the most common choices to help you make an informed decision.
| Anchor Type | Holding Power | Ease of Installation | Best Use Case | Considerations |
|---|---|---|---|---|
| Wedge Anchors | Excellent | Moderate | Securing heavy structural loads to solid concrete. | Requires precise hole depth and cannot be used close to edges. Not easily removable. |
| Sleeve Anchors | Good | Easy | Light to medium-duty applications in concrete, brick, or block. | Lower holding strength compared to wedge anchors in solid concrete. |
| Concrete Screws (e.g., Tapcon) | Good | Easy | Fastening wood or metal to concrete for light to medium loads. | Can be easier to install but may offer less pull-out resistance for heavy structures under high wind load. |
| Adhesive (Epoxy) Anchors | Superior | Difficult | Cracked concrete, close-to-edge applications, or when maximum strength is required. | Requires meticulous hole cleaning and proper cure time; less forgiving of installation error. |
The Ultimate Step-by-Step Anchoring Guide
With your foundation assessed and your hardware selected, it’s time for the installation. This process demands precision. Rushing these steps can lead to a weak connection that fails under stress. Follow this guide carefully for a secure and lasting result.
Step 1: Gather Your Tools and Materials
Having everything on hand before you begin makes the process smoother and safer. You will need:
- Safety Gear: Safety glasses, gloves, and hearing protection are essential.
- Hammer Drill: A standard drill will not be sufficient for concrete. A corded or cordless hammer drill is necessary.
- Carbide-Tipped Masonry Drill Bit: The bit must be the exact diameter specified for your chosen anchors.
- Toja Grid SOLO Post Bases
- Selected Concrete Anchors: Ensure they are rated for outdoor use (e.g., galvanized or stainless steel).
- Wrench or Socket Set: To tighten the anchor nuts.
- Shop Vacuum or Compressed Air: For cleaning drill holes.
- Wire Brush: Sized to fit the drill hole.
- Tape Measure and Marker: For precise layout.
- Hammer
Step 2: Position and Mark Your Holes
Assemble your Toja Grid structure and move it into its final position on the concrete slab. Use a tape measure to ensure the structure is square and positioned correctly. Once you are satisfied with the placement, use a marker to trace the inside of the mounting holes on each SOLO post base onto the concrete.
After marking, carefully move the pergola structure out of the way. This gives you clear access to your marked drilling points. Double-check your marks for accuracy before proceeding.
Step 3: Drill the Pilot Holes with Precision
This is arguably the most critical physical step. Use your hammer drill and the correctly sized carbide-tipped masonry bit. The hole diameter must match the anchor diameter perfectly. An oversized hole will prevent the anchor from gripping effectively.
The depth of the hole is just as important. It must be deeper than the anchor’s required embedment to allow for any dust that settles at the bottom. A piece of tape wrapped around your drill bit can serve as a simple and effective depth gauge. Drill each hole straight and perpendicular to the concrete surface.
Step 4: The Critical Cleaning Process
A clean hole is essential for a strong anchor connection. Concrete dust left in the hole can prevent the anchor from seating correctly and will significantly reduce its holding capacity. This step cannot be skipped or rushed.
The most effective method is the “blow-brush-blow” technique. First, use a shop vacuum or compressed air to blow all the loose dust out of the hole. Next, use a wire brush to scrub the inside walls of the hole, dislodging any remaining particles. Finally, blow the hole out one more time to remove the newly loosened dust.
Step 5: Install the Anchors
With the holes drilled and cleaned, it’s time to set the anchors. For wedge anchors, thread the nut onto the top of the anchor, leaving it flush with the end to protect the threads. Gently tap the anchor with a hammer through the SOLO bracket hole and into the concrete until the washer and nut are snug against the bracket.
Using a wrench, tighten the nut. You will feel the resistance increase as the wedge expands and grips the concrete. It’s crucial not to over-tighten, which can stress the concrete or the anchor itself. Follow the manufacturer’s recommended torque specifications if available, typically 2-3 full turns past hand-tight.
Common Mistakes That Compromise Safety
Even with the right tools, errors can happen. Being aware of these common pitfalls can help you avoid them and ensure a structurally sound installation.
- Drilling Too Close to the Edge: This is a primary cause of concrete cracking or “spalling.” Maintain a safe distance from any slab edge to allow the anchor’s cone of force to form within a solid mass of concrete.
- Using the Wrong Drill Bit Size: A hole that is too large will result in zero holding power. A hole that is too small will prevent the anchor from being installed. Always verify the required bit size.
- Inadequate Hole Cleaning: As emphasized, dust and debris create a barrier between the anchor and the concrete, leading to a drastically weakened connection. This is one of the most frequent but easily avoidable installation errors.
- Over-tightening the Anchor: Excessive torque can strip the anchor’s threads or, worse, create a micro-fracture in the concrete, leading to failure under load. Tighten until snug and secure, but do not apply excessive force. Understanding the importance of proper fastening is key to many home projects, including preventing issues like a cabinet falling off the wall due to insecure mounts.
Final Checks and Long-Term Confidence
Once all anchors are installed and tightened, give each post a firm shake to test for any movement. The connection should feel completely solid and immovable. Your Toja Grid is now a permanent and secure extension of your home.
By taking the time to understand your foundation, select the right hardware, and follow a precise installation process, you have done more than just build a pergola. You have invested in the safety and longevity of your outdoor living space, ensuring it can be enjoyed without worry for many years.