Always On Light Switch? Here’s the Shocking Reason Why (and How to Fix It!)
You flick the switch down, but the light stays on. You try it again, maybe a little faster this time, but nothing changes. An always on light switch is a common and incredibly frustrating problem that can leave you feeling powerless in your own home.
It’s more than just an annoyance; it can be a symptom of a deeper electrical issue, a source of wasted energy, or even a fire hazard. Whether the switch has simply given up or there’s a more complex wiring puzzle to solve, ignoring it isn’t an option. This guide will illuminate the reasons behind a defiant light switch and provide you with the expert knowledge to safely diagnose and fix the problem for good.
You'll Learn About
Why Won’t My Light Turn Off? Uncovering the Common Culprits
When a light switch refuses to do its one job, several factors could be at play. The root cause can range from simple mechanical failure to intentional wiring choices you may not be aware of, especially with the rise of smart home technology. Understanding the ‘why’ is the first step toward finding the right solution.
Mechanical Failure: The Silent Breakdown
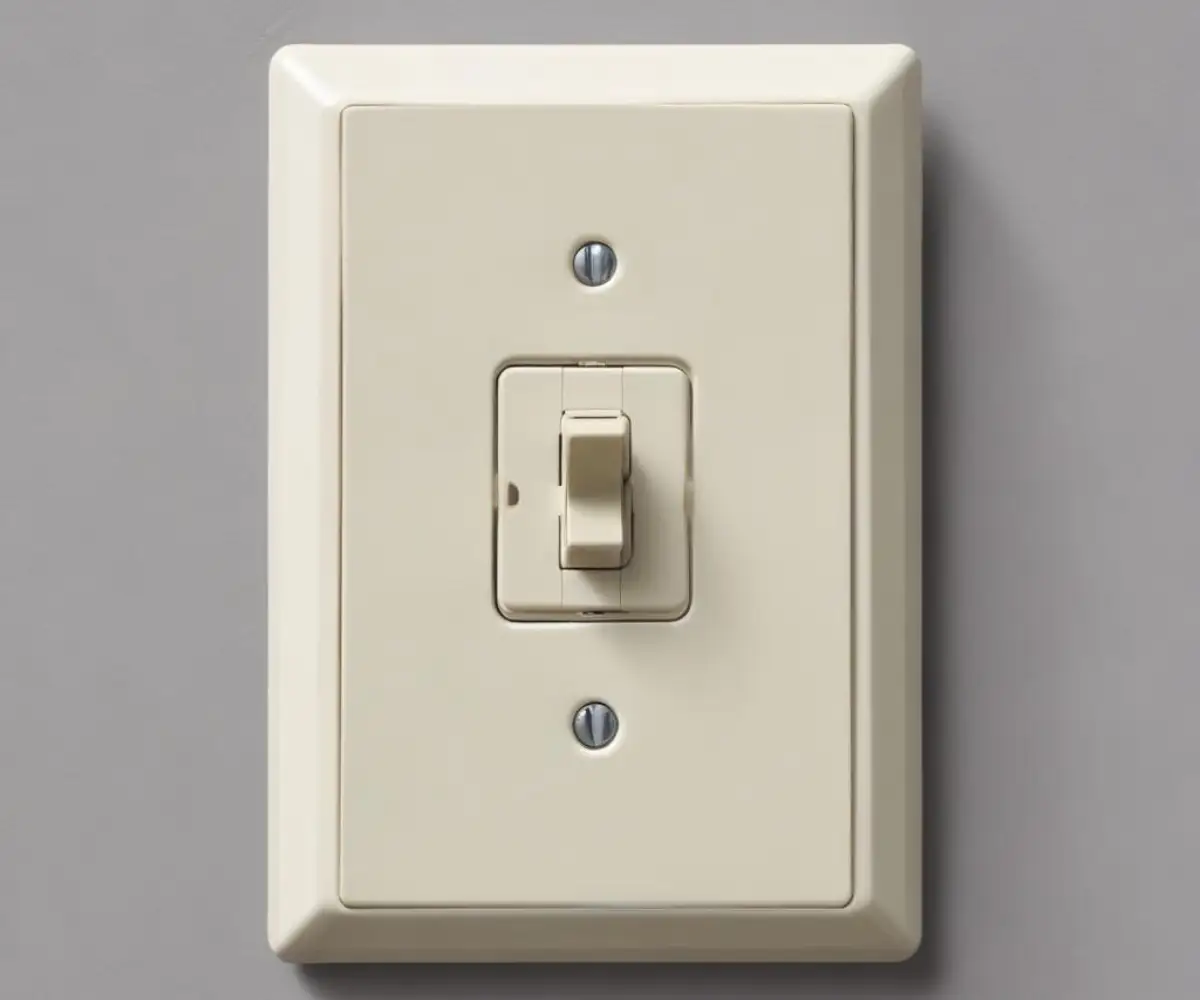
The most frequent cause of an always on light switch is simply that the switch itself is broken. Inside that small plastic toggle is a mechanism with moving parts that can wear out over time. After thousands of clicks, the internal contacts can become stuck, fused together, or broken, creating a permanent connection that keeps the circuit closed and the light on.
This is especially common in older homes or in high-traffic areas where a switch is used constantly. The satisfying ‘click’ you’re used to hearing might become mushy or disappear entirely. This is a clear sign that the internal mechanics have failed and the switch needs to be replaced.
Faulty Wiring: A Hidden and Dangerous Problem
A more serious cause is incorrect or faulty wiring behind the switch plate. If the wires are not connected to the correct terminals on the switch, it can be bypassed entirely. This creates a situation where the electrical current flows directly to the light fixture, completely ignoring the switch’s instructions.
This can happen due to a mistake during a previous DIY installation or wires that have become loose over time. In some cases, a homeowner might intentionally wire a switch this way to ensure constant power to a specific fixture, but without proper labeling, it becomes a confusing and potentially dangerous problem for the next person. Loose connections are a significant fire risk and should be addressed immediately.
The Smart Home Dilemma: Is It Supposed to Be On?
The modern smart home has introduced a new reason for an “always on” switch. Smart bulbs, such as those from Philips Hue or Wyze, require a constant supply of electricity to function. They are turned on and off via a wireless signal from an app or a voice assistant, not from the physical wall switch.
If you have smart bulbs installed, the wall switch must be left in the ‘on’ position at all times. If you flick the switch off, you cut power to the bulb, and it will no longer respond to your smart home commands. Many people place small plastic guards over these switches to prevent them from being turned off accidentally, effectively creating a dedicated “always on” circuit for their smart lighting.
Switched Outlets vs. Light Fixtures
In some rooms, a wall switch doesn’t control an overhead light at all. Instead, it controls one or both of the receptacles in a wall outlet. This is common in living rooms or bedrooms built without ceiling fixtures, allowing you to control a plug-in lamp from the wall.
You might think the switch is broken because the main room light isn’t turning off, when in reality, it’s functioning perfectly but is wired to an outlet you’re not using. Plugging a small lamp into the top and bottom receptacles of nearby outlets and testing the switch will quickly determine if this is the case.
Safety First: Your Pre-Repair Checklist
Before you even think about removing the switch plate, your number one priority must be safety. Working with electricity is dangerous and can be fatal if the proper precautions are not taken. Always assume a wire is live until you have proven it is not.
Your first and most important step is to go to your home’s circuit breaker panel or fuse box and shut off the power to the circuit you will be working on. This will completely de-energize the switch and fixture. After turning off the breaker, always flip the light switch in question to the ‘on’ position to double-check that the light does not turn on. For an added layer of safety, use a non-contact voltage tester to confirm there is no power at the switch.
Gathering Your Tools
Having the right tools on hand will make the job smoother and safer. You don’t need a professional-grade toolkit, but a few basics are essential for diagnosing and replacing a light switch.
- Voltage Tester: A non-contact voltage tester is crucial for verifying that the power is off before you touch any wires.
- Screwdrivers: You’ll need both a flathead and a Phillips head screwdriver for the faceplate and switch mounting screws.
- Pliers: Needle-nose pliers are useful for bending wires to fit around terminal screws.
- Wire Strippers: If you need to re-strip the ends of the wires, a dedicated tool is much safer and more effective than using a knife.
- New Light Switch: Make sure you buy the correct type of switch (e.g., single-pole, three-way) to replace the old one.
Step-by-Step Guide to Fixing Your Always On Light Switch
With the power confirmed to be off and your tools ready, you can proceed with investigating the switch. This process will help you identify whether it’s a simple replacement job or a more complex wiring issue.
Step 1: Remove the Switch Plate and Visually Inspect
Unscrew the two small screws holding the switch cover plate to the wall and gently pull it away. With the plate removed, you can now see the switch itself, mounted in the electrical box. Take a moment to look for any obvious signs of trouble.
Check for blackened areas, melted plastic, or a smoky smell, which are all signs of a serious electrical problem that requires a professional. Also, look for loose or disconnected wires. Sometimes, a wire can slip from a terminal screw, causing the switch to malfunction. This is also a good time to observe the state of your electrical boxes; if you ever notice issues like outlets covers bending, it could indicate pressure or heat issues within the wall that need investigation.
Step 2: Unscrew and Examine the Switch
Next, unscrew the top and bottom screws that hold the switch to the electrical box. Carefully pull the switch out from the box, being mindful of the attached wires. You don’t need to disconnect them just yet.
With the switch exposed, you can get a better look at the wiring connections. A standard single-pole switch will typically have two black (or “hot”) wires connected to two brass-colored screws and a green or bare copper wire (the ground) connected to a green screw. If you see anything different, like red wires or more than three wires, you may have a more complicated three-way switch, and it’s wise to take a picture before proceeding.
Step 3: Test the Switch with a Multimeter
If the wiring looks correct and secure, the switch itself is the next logical suspect. A multimeter can definitively tell you if the switch’s internal mechanism has failed. To do this, you’ll first need to disconnect the wires from the switch.
Set your multimeter to the continuity setting (it often has a symbol that looks like a sound wave). With the switch toggle in the ‘off’ position, touch the multimeter probes to the two brass-colored terminal screws. The multimeter should remain silent. Now, flip the switch to the ‘on’ position and test again. The multimeter should beep, indicating a closed circuit. If it beeps in both the on and off positions, the switch is broken and is the cause of your always on light.
Step 4: Installing the New Light Switch
If you’ve determined the old switch is faulty, replacement is a straightforward process. Using your new switch, connect the wires in the same way they were attached to the old one. The two black wires go on the two brass screws. The order doesn’t matter on a simple single-pole switch.
The bare copper or green ground wire connects to the green screw on the switch. Use your pliers to curl the end of each wire into a hook shape and wrap it clockwise around the corresponding screw. Tighten the screws firmly to ensure a secure connection. Gently push the wires and the new switch back into the electrical box, secure it with the mounting screws, and reattach the faceplate. You can now restore power at the circuit breaker and test your work.
Troubleshooting Your Light Switch: A Quick Guide
Electrical issues can be confusing. This table provides a quick reference for common problems and their likely causes, helping you narrow down your diagnosis.
| Symptom | Potential Cause | Recommended Solution |
|---|---|---|
| Light is always on, switch feels mushy or makes no sound. | Mechanical Failure. The internal components of the switch are broken and stuck in the ‘on’ position. | Turn off power at the breaker and replace the light switch with a new one of the same type. |
| Light is always on, switch feels normal. | Incorrect Wiring. The switch may have been bypassed, with the hot wires connected together instead of to the switch terminals. | Turn off power. Inspect the wiring for correctness. If unsure, call a qualified electrician. |
| Flipping the switch causes a different light or outlet to turn on/off. | Crossed Wiring or Switched Outlet. The switch is wired correctly but controls a different circuit than you expect. | Test nearby outlets with a lamp to see what the switch controls. Rewiring may be necessary if it’s connected to the wrong circuit. |
| Switch is warm to the touch or there is a buzzing sound. | Overloaded Circuit or Faulty Switch. The switch may be controlling too much wattage, or there is a dangerous loose connection. | Turn off the circuit breaker immediately. This is a serious fire hazard. Call an electrician to diagnose the issue. |
| The light fixture is for smart bulbs. | Intentional Configuration. The switch is left on to provide constant power to the smart bulbs. | This is normal. Consider installing a switch guard to prevent it from being turned off accidentally. |
When Is It Time to Call a Professional Electrician?
While replacing a simple light switch is a manageable DIY task for many, there are clear signs that you should put down the tools and call a licensed professional. Your safety is not worth the risk of tackling a problem beyond your expertise.
If you encounter aluminum wiring (common in homes built between the mid-1960s and early 1970s), see any signs of scorching or melting, or find wiring that is old, frayed, or brittle, do not proceed. These situations require special handling and expertise. Similarly, if the problem involves a three-way or four-way switch (which control one light from multiple locations), the wiring can be very complex. Attempting complex electrical work without proper training is as risky as undertaking a major system change like switching from propane to electric water heater without understanding the plumbing and electrical codes.
Regaining Control of Your Lights and Your Home
An always on light switch is a problem that demands a solution. By methodically working through the potential causes—from a simple broken switch to the specific needs of a smart bulb—you can accurately diagnose the issue. With a strong emphasis on safety and the right tools, replacing a standard switch is a satisfying fix that restores both function and peace of mind.
Remember that every home improvement project carries its own level of complexity. Some tasks can be as straightforward as learning how to switch a french door, while others, especially those involving electricity, demand the utmost respect and caution. Never hesitate to call a professional electrician when you feel out of your depth. Taking control of your home’s lighting is about working safely and smartly.