Unlocking the Mystery of Alico LR 102940 Fixtures: Your Ultimate Guide
You found it tucked away in a bathroom, illuminating a hallway, or perhaps packed in a box in the attic. It’s a light fixture, clearly with some age to it, and the only identifying mark is a small label: Alico LR 102940. This simple string of characters is the start of a common homeowner puzzle, leaving you to wonder if you’ve unearthed a valuable vintage treasure or just an outdated piece of hardware.
The core problem is one of identity. Without a clear model number, it’s difficult to find replacement parts, assess its safety, or even decide if it fits your home’s aesthetic. This guide will solve that problem by decoding the label and providing a clear path to restoring, rewiring, and revitalizing your vintage Alico fixture.
You'll Learn About
Decoding the Alico LR 102940 Label: What It Really Means
Let’s start by breaking down the information you have. The first part, “Alico,” refers to the manufacturer. Alico Industries is a lighting company with decades of experience, known for producing a wide range of functional and fashionable fixtures for residential and commercial use. They have a reputation for quality, which is good news for your find.
The second part, “LR 102940,” is the key piece of the puzzle. This is not a model or part number for the fixture itself. Instead, it is most likely a CSA (Canadian Standards Association) or UL (Underwriters Laboratories) file number. These organizations test and certify products to ensure they meet specific safety and performance standards. The number simply indicates that the components used in the fixture were certified at the time of manufacture.
Why This Number Isn’t a Model Number
This is a crucial distinction that trips up many homeowners. Manufacturers like Alico produce countless different styles of lights, from sconces to pendants to bathroom vanity bars. They use a variety of certified electrical components across these different product lines. The LR number is tied to the component’s safety certification, not the fixture’s specific design.
Think of it like the engine in a car. Multiple car models from the same brand might use the same engine, but you wouldn’t identify the car by the engine’s serial number. The same principle applies here. This is why searching for “Alico LR 102940” online often leads to frustratingly vague results or discussions from others who have hit the same dead end.
Identifying Your Vintage Alico Fixture: A Step-by-Step Guide
Since the LR number won’t tell you the model, you’ll need to do some detective work based on the fixture’s physical characteristics. Many Alico fixtures from past eras, especially bathroom and wall sconces, have a distinct style that can help you narrow down the possibilities. Follow these steps to properly identify your light.
First, carefully examine the fixture for any other markings. Look for stamped logos, model names, or even a date of manufacture on the base, socket, or any metal housing. Second, take clear photos of the fixture from multiple angles. Pay close attention to its shape, material (such as brass, chrome, or copper), and any decorative elements.
Common Alico Fixture Styles
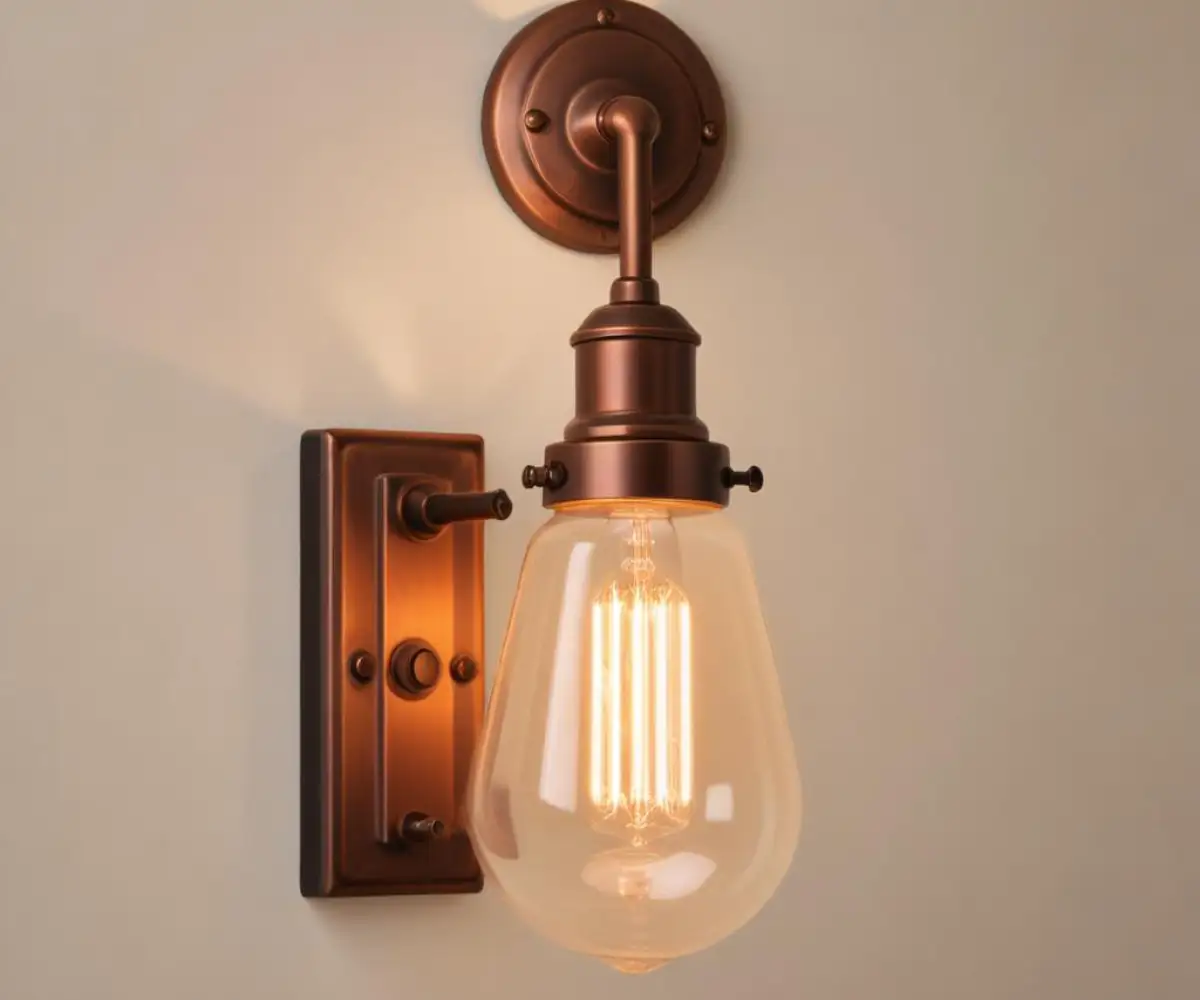
During your visual inspection, note the overall design. Alico produced many popular styles, including multi-bulb vanity lights, often with globe-shaped glass shades. They also manufactured sleek, minimalist wall sconces and various types of under-cabinet lighting. Comparing your fixture to images of confirmed vintage Alico lights can often yield a positive identification.
Use descriptive terms when searching online, such as “vintage Alico copper 3-bulb bathroom vanity” or “mid-century modern Alico chrome wall sconce.” This approach is far more effective than using the certification number. By focusing on the design language of the piece, you can find similar examples and learn more about its history and potential value.
The Homeowner’s Biggest Headache: Common Issues with Older Fixtures
Once you’ve identified your fixture, you may encounter the most significant challenge: dealing with age-related problems. Older lighting, while often stylish, can present several issues that range from inconvenient to hazardous. Understanding these potential pitfalls is the first step toward a successful restoration.
Common problems include flickering lights, which can be caused by a loose connection or a failing socket. You might also find that the wiring is old and brittle, with insulation that cracks or flakes off. Physical wear and tear, like tarnished metal or chipped paint, is another frequent issue that detracts from the fixture’s beauty. Dealing with cosmetic flaws is similar to fixing other household items; just as you’d address scuffs and scrapes on other surfaces, restoring a light fixture requires patience and attention to detail.
Safety Concerns with Vintage Wiring
The most critical issue with any vintage light fixture is the safety of its electrical components. Decades-old wiring may not meet modern safety standards. Insulation can degrade over time, exposing live wires and creating a serious fire hazard. Furthermore, the internal sockets can wear out, leading to poor electrical contact with the bulb, which can cause flickering or even overheating.
Another concern is grounding. Many older fixtures were manufactured with only two wires (a hot and a neutral) and lack a dedicated ground wire. In modern electrical systems, the ground wire is a crucial safety feature that protects against electric shock. It is essential to address these potential safety issues before installing or using a vintage fixture in your home.
The Ultimate Solution: A Modern Makeover for Your Alico Light
The good news is that nearly all of these problems can be solved. With some basic knowledge and the right materials, you can restore your vintage Alico fixture, making it both beautiful and safe for modern use. This process can be broken down into three main steps: assessing the wiring, sourcing replacement parts, and refinishing the fixture’s body.
This approach allows you to preserve the unique character and style of your vintage light while upgrading its functionality and safety. Whether you’re a seasoned DIYer or a novice, taking a methodical approach will ensure a successful and rewarding project. The result is a one-of-a-kind piece that adds personality to your home.
Step 1: Safety First – Assessing the Wiring
Before you do anything else, you must assess the condition of the fixture’s wiring. Always disconnect the power source before inspecting any electrical device. If the fixture is hardwired, turn off the corresponding breaker in your electrical panel. If it’s a plug-in lamp, simply unplug it.
Carefully examine the entire length of the cord and any internal wires connected to the socket. Look for signs of cracking, fraying, or brittleness in the insulation. If the wiring appears compromised in any way, it must be replaced. Rewiring a lamp is a straightforward process, and lamp rewire kits are readily available at hardware stores.
Step 2: Sourcing Replacement Parts and Bulbs
Finding parts for a vintage fixture can seem daunting, but it’s often easier than you think. The most commonly needed replacement part is the socket. Sockets are standardized, and you can easily find a new one that fits your fixture. Simply take the old socket with you to a hardware or specialty lighting store to find a match.
When it comes to light bulbs, you have more options than ever. While you can still find incandescent bulbs, modern LED technology offers a superior alternative, especially for vintage fixtures. LED bulbs use significantly less energy, produce very little heat, and have an incredibly long lifespan. They are available in a wide variety of shapes, sizes, and color temperatures, making it easy to find one that mimics the warm glow of a classic incandescent bulb.
| Feature | Incandescent Bulbs | LED Bulbs |
|---|---|---|
| Energy Efficiency | Low | Very High |
| Lifespan | ~1,200 hours | ~25,000+ hours |
| Heat Output | High | Very Low |
| Cost | Lower initial cost | Higher initial cost, lower long-term cost |
| Durability | Fragile filament | Very durable |
Step 3: Refinishing and Restoring the Fixture’s Beauty
With the electrical components updated, you can turn your attention to the fixture’s appearance. The restoration method will depend on the material. For solid brass or copper fixtures, a good quality metal polish can remove years of tarnish and restore the original shine. Apply the polish with a soft cloth and buff it to a luster.
For painted fixtures, you may need to strip the old, chipped paint before applying a fresh coat. Use a paint stripper appropriate for metal and follow the manufacturer’s instructions carefully. After stripping and cleaning the surface, apply a metal primer and then your chosen color of spray paint for a smooth, durable finish. This is a great opportunity to get creative; you could restore it to its original color or choose a new one that complements your decor, perhaps drawing inspiration from modern designs that look like a high-end Buster and Punch knock off.
Beyond Restoration: Integrating Vintage Lighting into Modern Homes
A restored vintage light fixture can be more than just a source of light; it can be a statement piece that adds history and character to any room. The key to successfully integrating vintage lighting into a modern home is to create a sense of balance. Don’t be afraid to mix and match styles. A mid-century Alico sconce can look stunning in a contemporary hallway, just as an ornate brass fixture can add a touch of elegance to a minimalist living room.
Consider the fixture’s placement carefully. A unique vintage light can serve as a focal point, drawing the eye and starting conversations. Use it to highlight a piece of art, illuminate a reading nook, or add ambiance to your dining area. Thinking outside the box with lighting, much like figuring out how to hang Christmas lights outside without an outlet, can lead to wonderfully creative and effective solutions.
Creating Ambiance and Layering Light
Effective lighting design involves creating layers of light: ambient, task, and accent. Your restored Alico fixture can play any of these roles. As ambient lighting, it can provide general illumination for a room. As task lighting, it can be focused on a specific area where you perform activities like reading or cooking. As accent lighting, it can draw attention to architectural features or decorative objects.
Using dimmer switches is another excellent way to control the ambiance. A dimmer allows you to adjust the brightness of your vintage fixture to suit any mood or occasion, from a bright, energetic gathering to a soft, relaxing evening. This level of control enhances both the functionality and the beauty of your restored light.
Is Your Alico LR 102940 Fixture Worth Keeping?
After going through the process of identification and assessment, you can confidently answer this question. The label “Alico LR 102940” is not a dead end but the beginning of a rewarding journey. It points not to a specific model but to a fixture built with safety-certified components from a reputable manufacturer.
By shifting your focus from the cryptic number to the fixture’s design and condition, you unlock its true potential. With a straightforward process of rewiring, cleaning, and refinishing, you can transform an old, forgotten light into a safe, functional, and beautiful piece. Your vintage Alico fixture is a piece of design history, and by giving it a new life, you add a unique and personal touch to your home that cannot be bought in a store.