AC Filter Won’t Go In? Here’s the 5-Minute Fix You Need
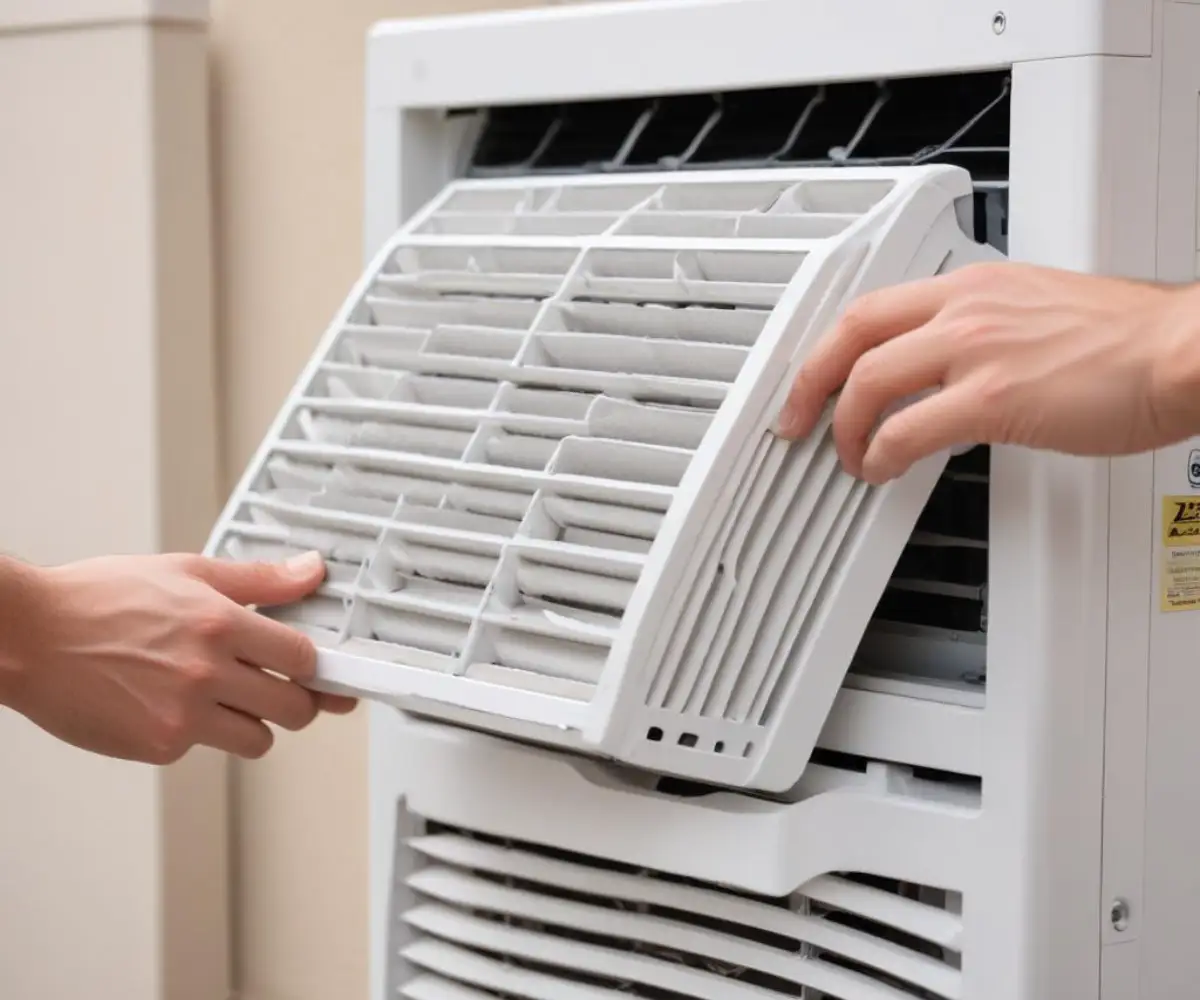
It should be a simple task. You pull out the old, dirty air conditioner filter and slide in a fresh, clean one. But this time, it gets stuck. You push a little harder, it starts to bend, and now you’re left with a frustrating puzzle: the air conditioner filter won’t go back in.
This common hiccup can bring your routine HVAC maintenance to a grinding halt. More than just an annoyance, a poorly fitting or forced filter can lead to reduced air quality, decreased efficiency, and even potential damage to your system. Don’t worry—this guide will walk you through every possible reason for the jam and provide a clear, step-by-step solution to get that filter seated perfectly.
You'll Learn About
Why Your AC Filter Won’t Slide Back In: The Usual Suspects
When an AC filter refuses to go in, the cause usually falls into one of a few categories. Before you apply too much force, let’s diagnose the root of the problem. A methodical approach will prevent you from damaging the new filter or your HVAC unit.
The Number One Culprit: The Wrong Filter Size
The most frequent reason a filter won’t fit is simply that it’s the wrong size. This issue is often complicated by the difference between “nominal” and “actual” filter sizes. Understanding this distinction is crucial for buying the right filter every time.
Nominal size is the rounded number you see printed in large font on the filter’s frame, like 20x25x1. This size is for easy reference. Actual size is the precise physical dimension of the filter, which is typically 1/4 to 1/2 inch smaller than the nominal size. For example, a 20x25x1 filter might have an actual measurement of 19.5″ x 24.5″ x 0.75″. This “undercut” ensures the filter can slide into the slot without being too tight. If you accidentally purchase a filter where the actual size matches the nominal size, it will be too large for the slot.
The Flimsy Filter Fiasco: Bending and Buckling
Cheaper, lower-MERV filters often have less rigid cardboard frames. These can easily bend, buckle, or crumple if they encounter even the slightest resistance during installation. The leading edge might catch on a screw or a rough edge inside the slot, causing the rest of the filter to fold rather than slide.
This is a common frustration, especially with filters that lack a wire mesh reinforcement on the downstream side. The suction from the blower can cause these flimsy filters to bow or even collapse into the unit, highlighting the importance of a proper fit.
Hidden Obstructions: What’s Blocking the Way?
Sometimes, the problem isn’t the filter but something inside the filter slot itself. Over time, or due to sloppy installation, obstructions can prevent a filter from sliding in fully. It’s important to investigate the slot thoroughly before assuming the filter is the problem.
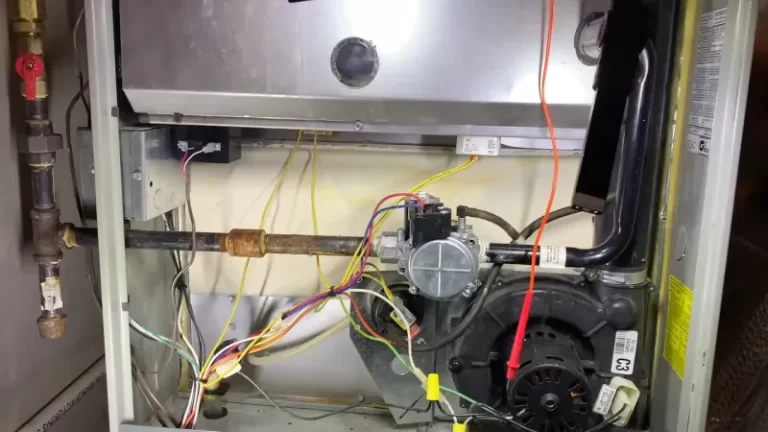
Common blockages include loose screws from the ductwork, detached wires, chunks of insulation, or even debris left behind from a previous filter. In some window units, internal brackets or sensor wires can come loose and block the filter’s path.
Is It Backwards? The Critical Airflow Arrow
Every disposable air filter has an arrow printed on its frame. This arrow indicates the required direction of airflow and is one of the most overlooked details during installation. The arrow must always point toward the blower motor (the furnace or air handler) and away from the return air duct.
Installing a filter backward can sometimes cause it to fit poorly, especially pleated filters which are designed to billow in one direction. The wire reinforcement is meant to be on the downstream side (closer to the blower) to prevent the filter from being sucked into the unit. A backward installation can lead to reduced airflow and filtration efficiency.
Damage and Deformity: A Bent Slot or Frame
The metal housing that holds the filter can sometimes become bent or damaged. This could happen if someone previously forced the wrong size filter in or if the ductwork has shifted. A dented corner or a warped track can make it nearly impossible to insert a new filter smoothly.
In some cases, the sheet metal of the return plenum itself might have a lip or edge that catches the filter. This can be a design flaw or the result of damage, but it will consistently make changing the filter a difficult task.
Your Step-by-Step Guide to Getting That Filter in Place
Now that you know the potential causes, you can work through them systematically. Follow these steps to resolve the issue safely and efficiently without damaging your equipment.
Step 1: Stop and Power Down
Before you do anything else, turn off your HVAC system. You can do this at the thermostat by setting it to “Off.” For added safety, it’s also wise to turn off the power at the circuit breaker that controls your furnace or air handler. This prevents the system from unexpectedly turning on while you are working.
Step 2: The Triple-Check for Size
This is the most critical step. Never assume the filter you bought is correct, even if the numbers seem to match. You need to perform a three-way measurement check.
- Measure the old filter: Remove the old filter that came out of the unit. Use a tape measure to get its exact length, width, and depth (thickness). Write these numbers down.
- Measure the new filter: Now measure the new filter you are trying to install. Compare its actual dimensions to the old one. If they don’t match, you’ve found your problem.
- Measure the filter slot: If you don’t have the old filter, measure the opening of the filter slot itself. The actual size of your filter should be slightly smaller (about 1/4″ to 1/2″) than these measurements to ensure a snug but easy fit.
If you discover you have the wrong size, the only solution is to get the correct one. Do not try to cut or fold a filter to make it fit. This compromises its structural integrity and creates gaps that allow unfiltered air into your system, defeating the purpose of the filter entirely.
Step 3: Illuminate and Investigate
With the power off, take a bright flashlight and shine it into the filter slot. Look carefully along the top, bottom, and back of the channel. Check for any protruding screws, loose wires, or debris that might be blocking the path.
If you see an obstruction, try to remove it carefully. A loose screw can often be tightened or removed. If you see wires, be extremely cautious. If you are not comfortable identifying them, it may be time to call a professional.
Step 4: The Correct Orientation
Double-check the airflow arrow on the frame of your new filter. Remember, air is pulled from your home through the return duct, through the filter, and then into the main HVAC unit to be heated or cooled. Therefore, the arrow must point toward the furnace or air handler.

Step 5: The Gentle Insertion Technique
Once you’ve confirmed the size, cleared obstructions, and checked the orientation, it’s time to try again. Don’t try to shove the filter in from one corner. Instead, hold it evenly with both hands and slide it in straight.
If it meets resistance, don’t force it. Pull it back slightly and try wiggling it gently from side to side. Sometimes, a slight change in angle is all that’s needed to get past a minor imperfection in the slot. For flimsy filters, applying even pressure across the frame can prevent the leading edge from bending.
Beyond the Basics: Advanced AC Filter Fitment Issues
Sometimes the problem is more nuanced than just size or a simple obstruction. These unique situations require a bit more creativity and understanding of your HVAC system’s environment.
The “Filter Rattle” Problem and Air Gaps
What if your filter goes in, but it’s too loose? A filter that is slightly too small will rattle around in the housing every time the system kicks on. More importantly, it creates gaps around the edges, allowing dirty air to bypass the filter media completely. This can lead to dust buildup on your evaporator coils and blower motor, reducing efficiency and leading to costly repairs.
A simple and effective solution is to use weather stripping foam tape. Apply a thin strip of low-density foam tape to the inside edge of the filter slot or directly onto the filter’s cardboard frame to create a gentle seal. This closes the gaps, stops the rattling, and ensures all the air passes through the filter as intended. Another option is a magnetic cover for the filter slot, which can seal any exterior gaps.
Humidity’s Hidden Role: Swollen Cardboard Frames
Here is an issue few people consider. If your HVAC unit is located in a damp basement or humid utility closet, the cardboard frame of your air filter can absorb moisture from the air. This is especially true for basements that may have moisture issues, for instance, from a window well without a drain. Over time, this absorption can cause the frame to swell, increasing its dimensions just enough to make it impossible to remove or insert.
If you suspect this is the case, try running a dehumidifier in the area to lower the ambient moisture. When purchasing filters, consider those with a beverage board frame, which is more resistant to moisture than standard cardboard. A correctly fitting filter is crucial for efficiency, much like knowing how to cap off an air duct you are no longer using.
Comparing Filter Types and Airflow
The type of filter you choose can also affect its fit and performance. Higher MERV-rated filters are more densely packed to trap smaller particles, but this can also increase resistance to airflow. The table below outlines common filter types and their characteristics.
| Filter Type | Common MERV Rating | Pros | Cons |
|---|---|---|---|
| Fiberglass (Disposable) | 1-4 | Inexpensive, good for airflow. | Only captures large particles like dust and lint. |
| Pleated (Disposable) | 5-13 | Good balance of filtration and airflow, captures smaller particles like pollen and mold spores. | Can restrict airflow if not changed regularly. |
| Electrostatic (Washable) | 4-10 | Reusable, good at capturing fine particles. | Requires regular washing, can be less effective over time. |
| High-Efficiency (HEPA) | 17-20 | Captures over 99.97% of airborne particles. | Significantly restricts airflow; not suitable for most residential systems without modification. |
When to Call a Professional
While most filter installation issues can be solved with the steps above, there are times when it’s best to call an HVAC technician. A stubborn fit could be a symptom of a larger problem. For instance, a bent frame could also be the reason an AC filter gets stuck and is difficult to remove.
You should contact a professional if:
- You see loose or damaged wiring inside the filter slot.
- The metal housing for the filter is significantly bent or damaged.
- You cannot identify or safely remove an obstruction.
- The filter still won’t fit after you have verified it is the correct size.
An experienced technician can diagnose the problem quickly and make necessary repairs to the ductwork or filter housing. This ensures your system runs safely and efficiently, protecting your investment and your indoor air quality.


