Accidentally Used Interior Paint Outside? Here’s the Fix
It’s a scenario that happens more often than you might think. You grab a can of paint, spend a weekend meticulously applying it to your front door or trim, and step back to admire your work, only to be struck by a sinking feeling. You’ve just used interior paint on an exterior surface. This common mistake can lead to a cascade of problems, turning your weekend project into a long-term headache.
Understanding the fundamental differences between paint types is crucial. While they may look the same in the can, interior and exterior paints are chemically engineered for vastly different environments. Using the wrong one isn’t just a cosmetic issue; it’s a recipe for premature failure and potential damage to the underlying surface.
You'll Learn About
The Big Mistake: Why Interior Paint Fails Outdoors
Interior paint is designed for a controlled, stable environment. It prioritizes scrubbability, stain resistance, and low volatile organic compounds (VOCs) for better indoor air quality. When you expose this formula to the harsh realities of the outdoors, it simply doesn’t have the chemical toolkit to survive.
The Missing Ingredients: UV Protection and Mildewcides
One of the biggest culprits of failure is the sun. Exterior paints are packed with additives that act like sunscreen, protecting the pigments from harsh ultraviolet (UV) rays that cause rapid fading and degradation. Interior paints lack this robust UV protection, meaning your vibrant color will dull and wash out in a surprisingly short time.
Furthermore, exterior formulas contain mildewcides to combat the constant exposure to moisture from rain, dew, and humidity. Interior paints are not equipped to fight off mold and mildew growth, which can lead to unsightly stains and potential health concerns.
Flexibility is Key: Why Temperature Changes Cause Cracks
Outdoor surfaces expand and contract significantly with daily and seasonal temperature swings. Exterior paint is formulated with more flexible resins that can move with the surface, preventing cracks. Interior paint uses more rigid resins, which become brittle outdoors and quickly lead to cracking and flaking as the surface beneath it shifts.
Moisture: The Ultimate Enemy of Interior Paint
Interior paint is simply not built to be waterproof. Continuous exposure to rain and moisture will cause it to lose its adhesion to the surface. This leads to the most common signs of failure: bubbling, blistering, and peeling, which not only look terrible but also leave the underlying material, like wood, exposed to rot and decay.
How to Spot the Damage: Early Warning Signs of Paint Failure
If you’ve used interior paint outside, the damage won’t happen overnight, but it will happen much faster than you expect. On average, you can expect to see signs of failure within six months to two years, whereas a quality exterior paint job can last up to a decade. Keep an eye out for these tell-tale signs.
Fading and Color Loss
One of the first signs is a noticeable loss of color vibrancy. The rich, deep hue you applied will start to look washed out and dull due to UV degradation. This is purely a cosmetic issue at first, but it’s a clear indicator that the paint’s protective qualities are breaking down.
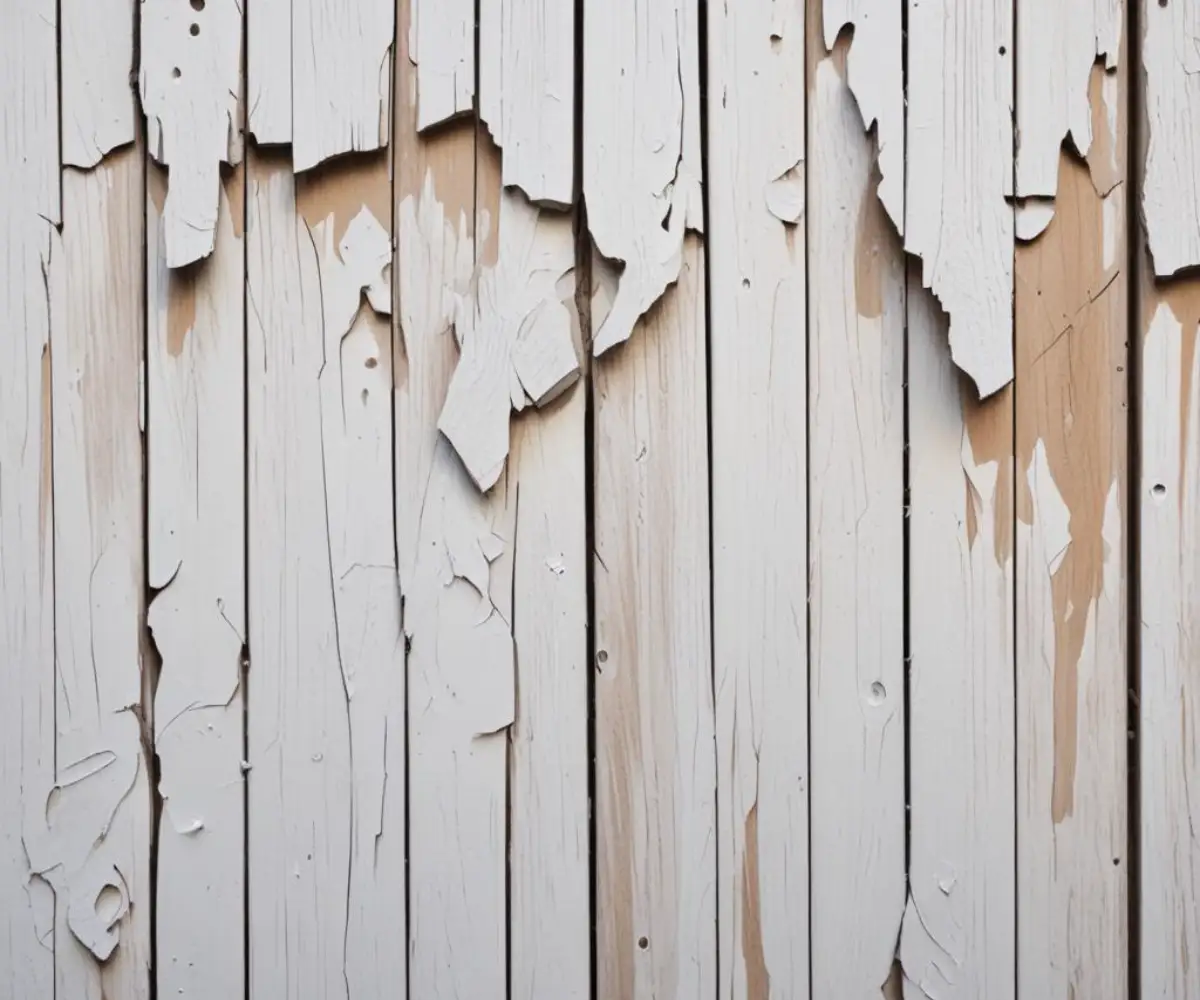
Cracking, Peeling, and Bubbling
This is the most serious sign of failure. You’ll start to see small cracks, which then progress to larger flakes and eventually widespread peeling. Bubbles or blisters are also common, forming when moisture gets trapped behind the paint film and pushes it away from the surface.
Chalking and Powdery Residue
Run your hand over the painted surface. If a chalky, powdery residue comes off, it means the paint binders are breaking down. This “chalking” effect signifies that the paint is no longer providing a protective barrier.
Your Action Plan: How to Fix Interior Paint on an Exterior Surface
Discovering your mistake can be disheartening, but ignoring it will only lead to more significant problems and costly repairs down the line. The key is to address the issue correctly and thoroughly. Simply painting over the interior paint with an exterior formula is not a reliable solution, as the failing base coat will cause the new topcoat to peel off with it.
Step 1: Assess the Situation – How Bad Is It?
Your first step is to determine the extent of the failure. Is the paint just starting to fade, or is there widespread peeling and cracking? The condition of the paint will dictate your next move. Also, consider the location. A covered porch will fare better than a wall with full sun and weather exposure.
Step 2: The Critical Decision – Remove or Repaint?
You have two main paths forward: completely removing the failed paint or thoroughly preparing the surface before repainting. Full removal is the most robust, long-lasting solution, but it’s also the most labor-intensive. Scuff sanding and repainting might be an option if the paint is still well-adhered and only shows minor fading.
| Action | Best For… | Pros | Cons |
|---|---|---|---|
| Full Removal | Surfaces with cracking, peeling, or bubbling. | Most durable, longest-lasting fix. Provides a fresh start for proper adhesion. | Extremely time-consuming and labor-intensive. Can be costly if hiring a pro. |
| Scrape, Sand & Repaint | Surfaces with minor fading and no peeling. | Faster and less intensive than full removal. | Risks premature failure if any loose paint remains. Not a permanent solution. |
Step 3: Surface Preparation – The Most Important Step
Whether you choose full removal or sanding, proper preparation is non-negotiable. For a full removal, you may need a combination of scraping, sanding, or even chemical paint strippers. For sanding, the goal is to remove any loose paint and “scuff” the surface to give the new primer something to grip.
After scraping or sanding, the surface must be cleaned thoroughly with a detergent solution to remove all dust, dirt, and chalky residue. Rinse completely and allow the surface to dry fully before proceeding.
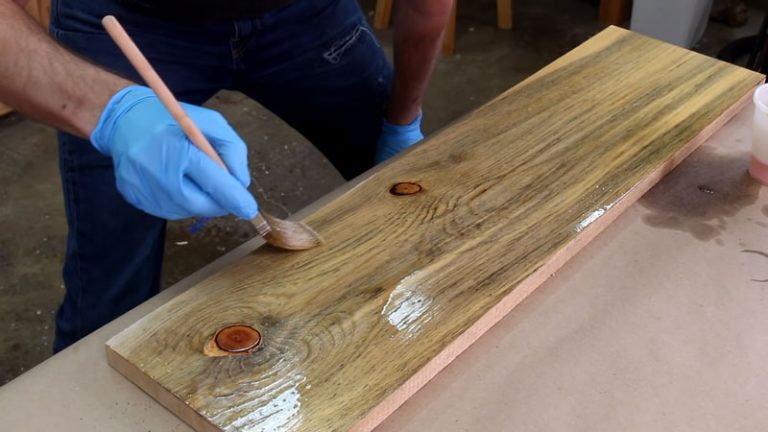
Step 4: Priming for Success with the Right Exterior Primer
Once the surface is clean, dry, and dull, applying a high-quality exterior bonding primer is essential. Do not skip this step. The primer creates a stable, uniform base that ensures the new topcoat adheres properly and lasts for years. Choose a primer that is compatible with both the surface material (e.g., wood, metal) and your chosen exterior paint.
Step 5: Applying the Correct Exterior Paint
Finally, you can apply your exterior paint. Choose a 100% acrylic latex exterior paint for the best durability, flexibility, and fade resistance. Apply at least two coats, allowing for adequate drying time between each as specified by the manufacturer. If you need a specific color to match your home’s aesthetic, you can often buy paint by Hex code to get the precise shade you desire.
Long-Term Prevention: Avoiding This Mistake in the Future
The best fix is prevention. Taking a few extra moments before you start a project can save you countless hours of corrective work. Always double-check the can to ensure you have the right product for the job.
Reading the Label: It’s Not Just for Color
Paint cans are clearly labeled “Interior” or “Exterior” for a reason. Pay close attention to this designation. Read the manufacturer’s instructions for surface compatibility, application temperatures, and drying times to ensure the best possible results.
When to Call a Professional
If the job of removing the failed paint feels overwhelming, or if the underlying surface has sustained damage, it may be time to call in a professional. Sometimes a bad paint job is a sign of a larger issue. If you suspect the mistake was not your own and are thinking, “my painter did a bad job,” a professional consultation can help you determine the best course of action.
Frequently Asked Questions (FAQs)
How long will interior paint actually last outside?
The lifespan depends heavily on the climate and exposure to the elements. In a mild, sheltered location, it might last a couple of years before showing major signs of failure. In a harsh climate with direct sun and rain, you could see peeling and fading in as little as six months.
Can I just put a clear coat over the interior paint?
This is not a recommended solution. A clear coat will not stop the underlying interior paint from failing. As the base coat cracks and peels from lack of flexibility and moisture resistance, it will take the clear coat with it, leaving you with the same problem.
What’s the difference between interior and exterior primer?
Exterior primers are formulated with more flexible resins to handle temperature fluctuations and contain additives that provide enhanced moisture and mildew resistance. Interior primers are typically designed to seal porous surfaces like drywall and block stains, but lack the weather-resistant properties needed for outdoor use.