Simplicity 560 Snowblower: The Ultimate Guide to Conquer Winter
Owning a Simplicity 560 snowblower is like having a piece of winter-clearing history. These machines were built with a level of durability and straightforward engineering that is often hard to find in modern equipment. However, the primary challenge isn’t its ability to move snow—it’s keeping this vintage powerhouse running smoothly decades after it left the factory.
The core problem for owners is navigating the complexities of maintenance and repair for an older model. Finding parts, diagnosing age-related issues, and understanding its specific needs can feel like a daunting task. This guide provides the expert-level solutions you need to not only solve common problems but to truly master your Simplicity 560.
You'll Learn About
Decoding the Legend: Why the Simplicity 560 Endures
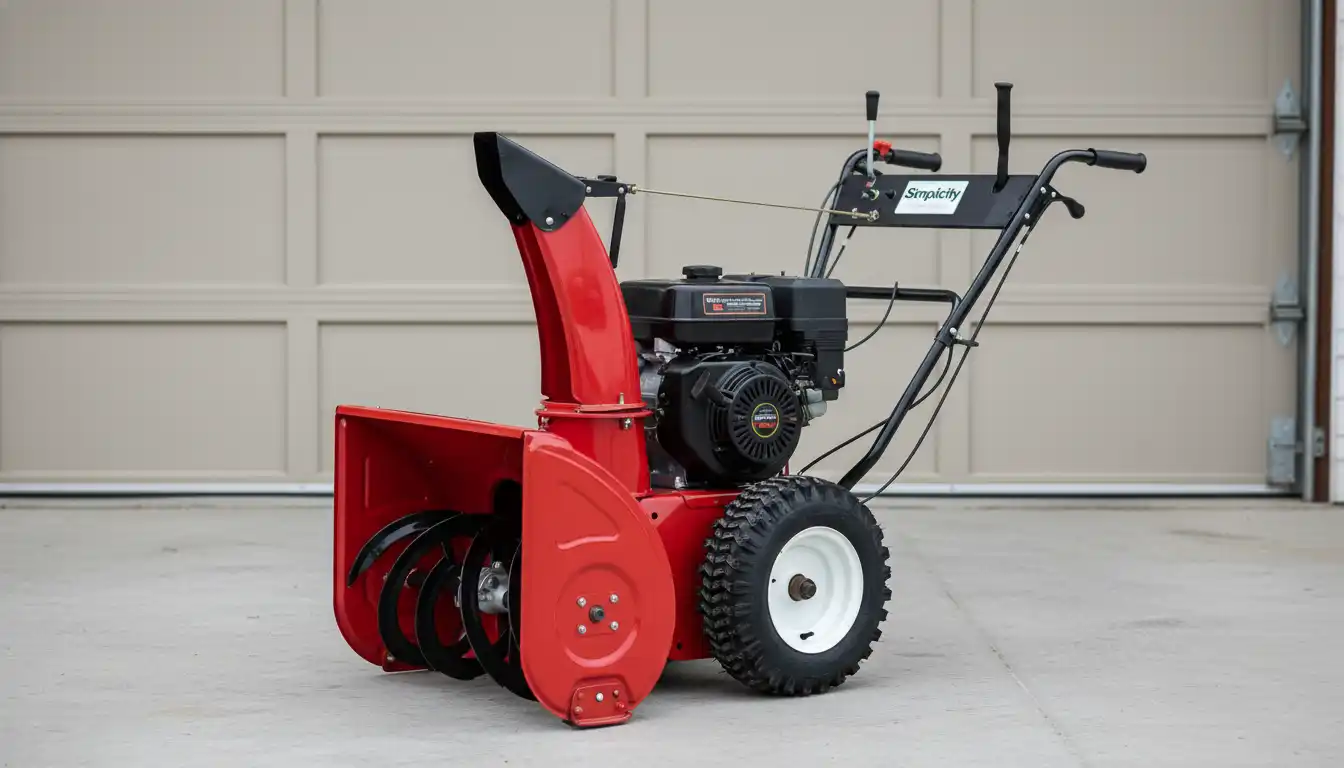
Before diving into troubleshooting, it’s essential to understand what makes the Simplicity 560 a machine worth preserving. Unlike many of today’s snowblowers, the 560 series was constructed with heavy-gauge steel, robust gear cases, and powerful, reliable engines, often from Tecumseh. This build quality is the reason so many are still in service.
The beauty of its design lies in its simplicity. With fewer complex electronic components, most maintenance and repairs can be performed by the owner with basic mechanical knowledge. This direct-control system gives you a better feel for the machine and its interaction with the snow, offering a more hands-on and rewarding clearing experience.
The Heart of the Machine: Engine Care and Common Fixes
The most frequent issues with any vintage snowblower originate with the engine, typically due to fuel system problems. Modern ethanol-blended gasoline can wreak havoc on older engines by degrading rubber fuel lines and clogging carburetors. The number one problem is often a machine that won’t start or runs rough.
A common culprit is a gummed-up carburetor. If your snowblower starts then stalls, or will only run on choke, the carburetor’s main jet is likely clogged. A thorough cleaning is the most effective solution. This involves removing the carburetor, disassembling it, cleaning the jets and passages with a dedicated carburetor cleaner, and reassembling it with fresh gaskets.
Mastering the Mechanicals: Auger and Drive System Troubleshooting
Beyond the engine, the snow-moving components require diligent attention. If the auger isn’t turning or the machine won’t propel itself forward, the issue usually lies with the belts or the friction disc drive system. These are common wear items designed to be replaced over the machine’s lifespan.
First, disconnect the spark plug to ensure safety. Then, remove the belt cover to inspect the auger and drive belts. Look for cracks, fraying, or excessive slack. Belt replacement is a straightforward task that can dramatically restore performance. Detailed diagrams for belt routing can often be found in operator’s manuals, which are available online with a bit of searching.
The Friction Disc: A Critical Component
The drive system on the Simplicity 560 utilizes a rubber friction disc that engages with a metal drive plate to power the wheels. If you find the snowblower struggling to move, especially under load, the friction disc is likely worn or glazed. A worn disc will appear thin or uneven, while a glazed one will be hard and shiny.
Replacing the friction disc is a more involved, but manageable, repair that can make your snowblower feel new again. It requires separating the frame of the snowblower to access the drive plate assembly. Always ensure you adjust the linkage correctly after replacement for proper engagement and to prevent premature wear.
The Ultimate Simplicity 560 Troubleshooting Guide
Navigating issues with a vintage machine requires a systematic approach. This table breaks down common problems, their likely causes, and the actionable solutions to get your snowblower back in fighting form. Using this as a reference can save you significant time and frustration.
| Symptom | Potential Cause | Solution |
|---|---|---|
| Engine will not start | Old fuel, clogged carburetor, faulty spark plug, or no spark. | Drain old fuel and replace with fresh, ethanol-free gasoline. Clean the carburetor thoroughly. Replace the spark plug and test for spark. |
| Auger does not turn | Broken or worn auger belt, or a broken shear pin. | Inspect the auger belt for damage and replace if necessary. Check shear pins on the auger shaft and replace any that are broken. |
| Wheels do not engage | Worn or broken drive belt, worn friction disc, or improper cable tension. | Inspect and replace the drive belt. Check the friction disc for wear and replace if needed. Adjust the drive engagement cable. |
| Poor snow throwing distance | Engine running at low RPM, stretched auger belt, or worn impeller paddles. | Ensure the engine is running at full throttle. Adjust or replace the auger belt. Inspect the condition of the high-speed impeller. |
| Machine pulls to one side | Uneven tire pressure or a locked wheel. | Check and inflate both tires to the pressure specified in the manual. Ensure both wheels spin freely when the drive is disengaged. |
Proactive Maintenance: The Key to Longevity
The best way to solve problems is to prevent them. A consistent maintenance schedule is non-negotiable for a machine of this age. Simple checks before, during, and after the season will ensure reliability when you need it most.
Proper storage is just as crucial as mechanical upkeep. When putting the machine away for the summer, it’s vital to ensure it’s protected in a dry, secure location. A well-maintained garage or shed is ideal, but you should always check the structural integrity of the storage space, keeping an eye out for issues like a sagging porch overhang which could indicate larger structural problems.
Pre-Season Preparation Checklist
Before the first snowflake falls, a thorough inspection is in order. Change the engine oil, as contaminants in old oil can cause significant wear. The original manuals for the Tecumseh engines often specified SAE 5W-30 oil for cold weather operation.
Next, check the spark plug for fouling and ensure the gap is correct. Inspect the condition of the belts, the friction disc, and the scraper bar at the front of the auger housing. Also, lubricate all moving parts, including the auger shaft and wheel axles, according to the manual’s lubrication points.
Fuel System Secrets for Vintage Engines
The single most important step you can take for your Simplicity 560’s engine is to manage the fuel correctly. Use ethanol-free, high-octane gasoline whenever possible. If you must use ethanol-blended fuel, treat it with a quality fuel stabilizer designed to counteract the corrosive effects of ethanol.
At the end of the season, never store the machine with fuel in the tank for more than 30 days. The best practice is to run the engine completely out of fuel. This prevents the gasoline from turning to varnish and clogging the tiny, critical passages inside the carburetor.
Finding Parts and Upgrades in the Modern Era
One of the biggest anxieties for owners of vintage equipment is parts availability. While Simplicity no longer produces the 560, a surprising number of essential components are still available. Belts, friction discs, and shear pins are often standard sizes that can be cross-referenced.
Online forums and dedicated small engine parts suppliers are invaluable resources. Websites like eBay and Repair Clinic often have both new old stock (NOS) and quality aftermarket parts. When searching, use both the model number “560” and the specific part number from an online parts diagram to get the best results. Investing in quality parts is essential; it’s a bit like wondering why are blinds so expensive – the answer often lies in the durability and quality of the materials, which pays off in the long run.
Modern Enhancements for a Classic Machine
Just because the Simplicity 560 is a vintage machine doesn’t mean it can’t benefit from modern technology. One of the most effective and simple upgrades is adding an LED headlight. This dramatically improves visibility for clearing snow in the early morning or evening.
Another popular modification involves improving the tire grip. While tire chains are effective, upgrading to modern, aggressive-tread snow tires can provide superior traction without the risk of scratching your driveway. Ensuring your storage area is well-prepared is also key; maintaining details like a tight seal around your garage door, sometimes finished with quarter round around door frame, can keep the elements out and your machine protected.
Conclusion: A Legacy of Reliability
The Simplicity 560 snowblower represents a golden era of manufacturing, where machines were built to last. The challenge for today’s owner is not in the machine’s capability, but in bridging the knowledge gap created by time. By understanding its common problems and committing to a proactive maintenance schedule, you can ensure this classic snowblower remains a reliable workhorse for many winters to come.
Embracing the straightforward mechanics of the Simplicity 560 and using this guide as your roadmap will transform you from a mere owner into a true master of your machine. You will be able to tackle any issue with confidence, preserving a piece of functional history and conquering even the most formidable snowstorms.