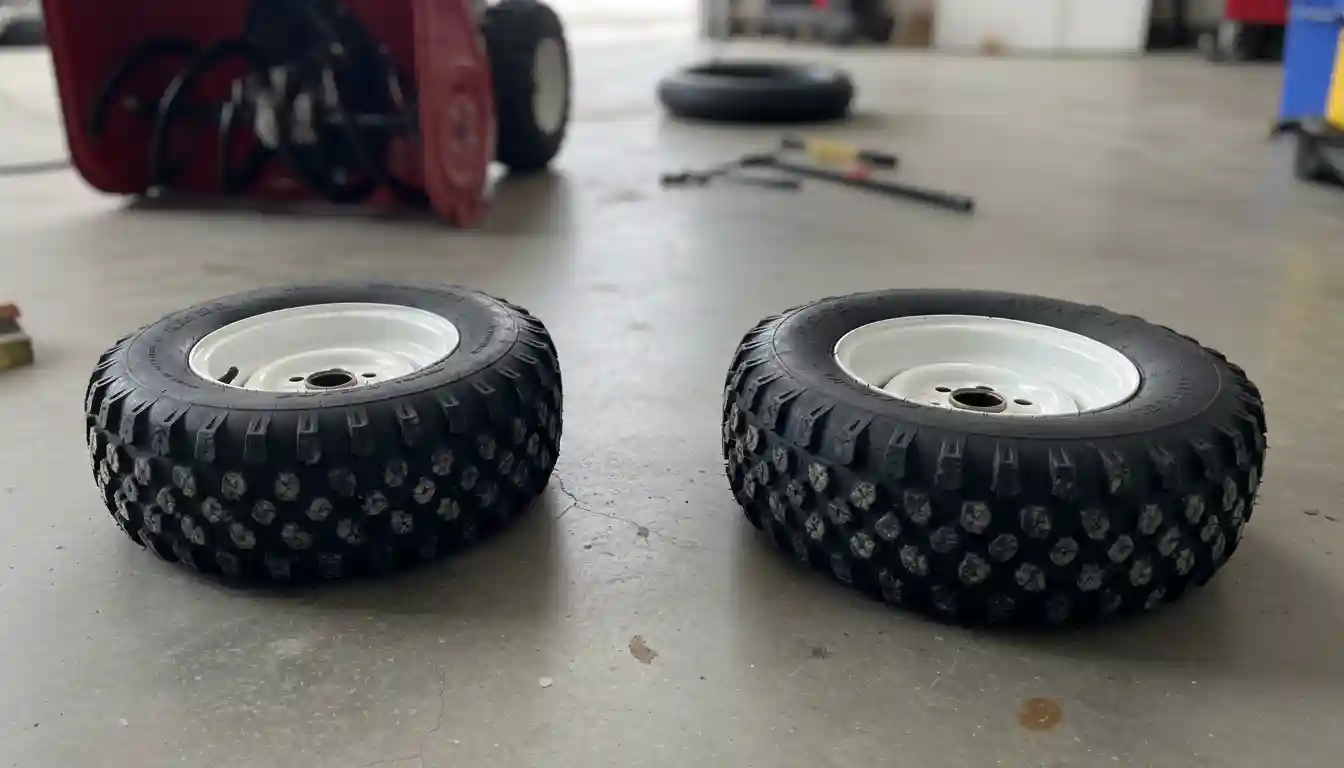
Snowblower Tire Off Rim? The #1 Secret to Fixing It Yourself
There are few things more frustrating than being halfway through clearing a blizzard’s worth of snow only to hear a sudden hiss and feel your snowblower lurch to a stop. You look down to see the problem: a tire has completely popped off the wheel rim, rendering your machine useless. This common problem can stop your snow removal efforts in their tracks, leaving you stranded in the cold.
What many people don’t realize is that fixing a snowblower tire that has come off the rim is a manageable DIY task. With the right technique and a few basic tools, you can get your machine back in action without a costly trip to the repair shop. This guide will walk you through the entire process, revealing the number one secret to seating a stubborn tire bead with ease.
You'll Learn About
Why Did Your Snowblower Tire Come Off the Rim?
Understanding why the tire failed is the first step toward a lasting repair. A snowblower tire coming off the rim is almost always a symptom of a larger, yet simple, issue. Identifying the root cause will prevent it from happening again.
The Primary Culprit: Underinflation
The most common reason for a tire to separate from its rim is chronically low tire pressure. Unlike car tires, snowblower tires are small and hold a low volume of air, making them susceptible to rapid pressure loss, especially during temperature swings. When the pressure drops, the tire’s bead—the inner edge that seals against the wheel—loses its firm connection, allowing it to easily slip off when subjected to the stress of turning or hitting an obstacle.
Even a small drop of a few PSI can be enough to break the seal. This is particularly true when maneuvering the machine, as the side-to-side force can be enough to push a soft tire right off the bead. Because of this, what seems like a sudden failure is often the result of weeks of slowly decreasing air pressure.
Other Contributing Factors
While low pressure is the main issue, other factors can contribute to the problem. A sudden, sharp impact from hitting a hidden curb, a large chunk of ice, or a rock can jolt the tire and break the bead’s seal instantaneously. Additionally, the condition of the tire and rim plays a crucial role.
Older tires that are showing signs of dry rot, cracking, or have become hardened with age lose their flexibility. This stiffness prevents the bead from seating securely against the rim. Similarly, a rim that is bent, rusted, or corroded along the bead seat area will not create a perfect airtight seal, making it much easier for the tire to pop off under pressure.
Essential Tools and Materials for the Job
Before you begin the repair, gathering the right tools will make the process significantly smoother and safer. Most of these items are common in a well-equipped garage, and any specialized tools are inexpensive and widely available.
| Tool/Material | Purpose | Pro-Tip |
|---|---|---|
| Ratchet Strap or Rope | To compress the tire and force the beads outward. This is the secret weapon for seating a stubborn tire. | A 1-inch wide ratchet strap is perfect for this job. A rope can also work if you use a stick to create a tourniquet. |
| Air Compressor | To deliver a fast, high-volume burst of air needed to seat the bead. | A small pancake or hotdog-style compressor is more than adequate for this task. |
| Tire Pressure Gauge | To accurately inflate the tire to the manufacturer’s recommended PSI. | Don’t rely on feel; always use a gauge to prevent over or underinflation. |
| Soapy Water Solution | Acts as a lubricant to help the tire bead slide over the rim and helps identify leaks. | A few squirts of dish soap in a spray bottle filled with water works perfectly. |
| Valve Stem Core Tool | To remove and reinstall the valve core for faster airflow. | This is a small, inexpensive tool that makes seating the bead much easier. Pliers can work in a pinch. |
| Tire Levers or Pry Bars | To help maneuver the tire bead onto the rim if it’s completely removed. | Use tools with smooth, rounded edges to avoid damaging the tire or rim. |
| Safety Glasses & Gloves | To protect your eyes from debris and pressurized air, and your hands from dirt and injury. | Always make safety a priority when working with tools and pressurized tires. |
Step-by-Step Guide: How to Get Your Snowblower Tire Back on the Rim
With your tools gathered, you are ready to tackle the repair. This process is straightforward, but it is important to follow the steps carefully to ensure a secure and lasting fix. The key to success lies in proper preparation and the right technique for seating the bead.
Step 1: Safety and Preparation
First and foremost, ensure the snowblower cannot start accidentally. Disconnect the spark plug wire and secure it away from the spark plug. This simple step prevents any chance of the engine turning over while you are working.
Next, position the snowblower securely. If possible, prop up the axle of the affected wheel using sturdy wood blocks so the tire is off the ground and you can work on it freely. Removing the wheel from the axle can make the job easier, but it is not always necessary.
Step 2: Clean and Inspect the Tire and Rim
A clean surface is critical for a good seal. Thoroughly wipe down the tire’s bead and the inner and outer surfaces of the rim where the bead sits. Pay close attention to this step, as dirt, rust, or debris can prevent a proper seal.
Use a wire brush to gently remove any rust or corrosion from the rim’s bead seat area. This hidden rust is a common cause of slow leaks that lead to the tire coming off in the first place. Once clean, inspect both the tire and rim for any cracks, significant bends, or damage that might prevent a good seal.
Step 3: Lubricate the Bead and Rim
Generously spray your soapy water solution on both beads of the tire and all around the lips of the wheel rim. This lubrication is essential; it reduces friction and helps the rubber bead slide over the metal rim without tearing or getting stuck. Don’t be shy with the lubricant, as more is better in this case.
Step 4: The Secret to Seating the Bead (The Ratchet Strap Method)
This is the most critical step and the key to fixing a stubborn tire. Wrap your ratchet strap or rope around the circumference of the tire, centered on the tread. Begin to tighten the strap slowly.
As you tighten, the strap will compress the center of the tire tread. This compression forces the tire’s sidewalls, and most importantly the beads, to push outward and press firmly against the rim. Continue tightening until you see the tire bead make solid contact with the rim all the way around on both sides.
Step 5: Inflate the Tire
For the best results, use your valve core tool to temporarily remove the valve core. This allows air from the compressor to flow into the tire much faster, creating the sudden burst of pressure needed to pop the bead into place. With the ratchet strap still tight, press the air chuck firmly onto the valve stem.
You should hear one or two loud “pops” as the bead snaps into its seat on the rim. This sound is confirmation of a successful seal. Once the bead is seated, you can release the pressure on the ratchet strap and remove it completely. Reinstall the valve core and inflate the tire to the PSI recommended on the tire’s sidewall, typically between 12 and 20 PSI.
Preventing Future Tire Problems: Proactive Maintenance
Getting your tire back on the rim is a great fix, but preventing it from happening again is even better. A few simple, proactive steps can save you from future frustration and ensure your snowblower is always ready for the next storm.
Check Tire Pressure Religiously
The single most important preventative measure is to check your tire pressure regularly. Make it a habit to check the pressure with a gauge at the beginning of each month during winter. Cold weather naturally causes air pressure to drop, so consistent monitoring is key to keeping the beads securely seated.
If you find that your machine feels sluggish or that the snowblower is pulling to one side, low tire pressure is a likely culprit. Addressing it early can prevent the tire from unseating. This simple check takes less than a minute but provides significant peace of mind.
The Ultimate Solution: Installing an Inner Tube
For older machines with worn tires or slightly corroded rims that repeatedly lose air, the best permanent solution is to install an inner tube. This is a highly effective upgrade that many people overlook. An inner tube completely bypasses the need for a perfect seal between the tire bead and the wheel rim.
Installing a tube essentially converts your tubeless setup into a more reliable tubed tire, eliminating slow leaks caused by imperfect seals. This is a fantastic strategy for vintage machines, like a TRS27 John Deere, where finding a perfect replacement rim might be difficult. It’s an inexpensive upgrade that provides a robust, long-term solution to flat tire problems.
When to Call a Professional
While this is a very manageable DIY repair, there are times when it’s best to seek professional help. If you’ve tried the steps above and still cannot get the tire to seat, or if you discover significant damage, it may be time to visit a small engine repair shop.
If the wheel rim is severely bent, cracked, or rusted, it will need to be replaced. Likewise, if the tire itself has deep cracks, visible dry rot, or a puncture, a simple reseating won’t solve the underlying problem. A professional can quickly assess the damage and provide the correct parts and service to get you back up and running safely.