Liebherr Ice Maker Not Working? Your Ultimate Fix-It Guide
There are few simple luxuries more frustrating to lose than a functioning automatic ice maker. For owners of premium Liebherr refrigerators, an ice maker that has suddenly stopped working can be particularly vexing. You’ve invested in German engineering and expect flawless performance, but now you’re left with an empty ice bin.
Fortunately, many common issues that cause a Liebherr refrigerator ice maker to stop working can be resolved without a costly service call. This comprehensive guide will walk you through the most frequent causes and provide step-by-step solutions to restore your ice supply. From basic checks to more advanced troubleshooting, we have the answers you need.
You'll Learn About
Decoding the Silence: Common Reasons Your Liebherr Ice Maker Stopped
When your ice maker goes quiet, it’s sending a signal that something in the ice-making chain is disrupted. Understanding the potential culprits is the first step toward a solution. The problem typically falls into one of a few key categories: temperature, water supply, or mechanical/electrical issues.
Before diving into complex repairs, it’s essential to start with the simplest potential problems. Often, the fix is surprisingly easy and can save you significant time and effort. Let’s explore the foundational checks every Liebherr owner should perform first.
Is the Freezer Temperature Correct?
The single most critical factor for ice production is the freezer’s internal temperature. Your Liebherr ice maker has a built-in thermostat that prevents it from cycling if the freezer is not cold enough to freeze the water properly. This is a failsafe to prevent it from dumping unfrozen water into your ice bin.
For optimal ice production, your Liebherr freezer should be set to 0°F (-18°C). If the temperature is even a few degrees warmer, the ice maker may pause its operation. Ensure your settings haven’t been accidentally changed and that the freezer is maintaining this temperature. Proper temperature management is as crucial for your appliance as knowing how to weatherstrip horizontal sliding windows is for your home’s energy efficiency.
Issues with the Water Supply
No water, no ice—it’s that simple. A disruption in the water flow to the ice maker is a very common reason for it to stop working. This can happen for several reasons, from a clogged filter to a kinked supply line behind the refrigerator.
The water inlet valve, a small electronically controlled valve, is the gateway for water entering the ice maker. If this valve is faulty or not receiving power, the ice-making process comes to a complete halt. We will explore how to diagnose these specific water supply issues in the next section.
Mechanical and Sensor Obstructions
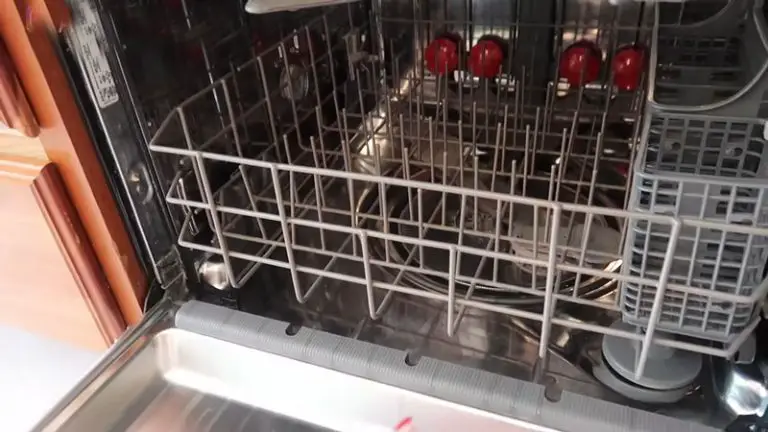
Your Liebherr ice maker uses either a mechanical feeler arm or an infrared beam to detect the level of ice in the collection bin. If this arm is stuck in the “up” or “full” position, or if the sensor is blocked, the ice maker will think the bin is full and stop production. Sometimes a stray ice cube can jam the mechanism, leading to a simple but effective fix.
Furthermore, the internal components, like the ejector blades or motor, can sometimes freeze up or fail. A manual reset or a gentle defrosting can often resolve these mechanical hiccups without needing replacement parts.
A Step-by-Step Guide to Troubleshooting Your Liebherr Ice Maker
Now that you understand the common causes, it’s time to roll up your sleeves and systematically diagnose the problem. Follow these steps in order, moving from the simplest checks to the more involved procedures. Always remember to unplug your refrigerator before attempting any repairs that involve handling electrical components.
Step 1: The Essential First Checks
Start with the most basic but often overlooked solutions. First, confirm that the ice maker is actually turned on. Many Liebherr models have a power button or switch for the ice maker itself; check your user manual for its exact location. It may have been turned off by accident.
Next, inspect the feeler arm (if your model has one). This wire arm should be in the down position. If it’s locked upwards, gently lower it. If it feels stuck, check for any ice cubes or debris blocking its movement.
Step 2: Investigate the Water Line and Filter
The water filter is a critical component for both water quality and flow. A clogged filter is a very frequent cause of a non-working ice maker. Liebherr recommends replacing the water filter every six months to ensure proper function and fresh-tasting ice.
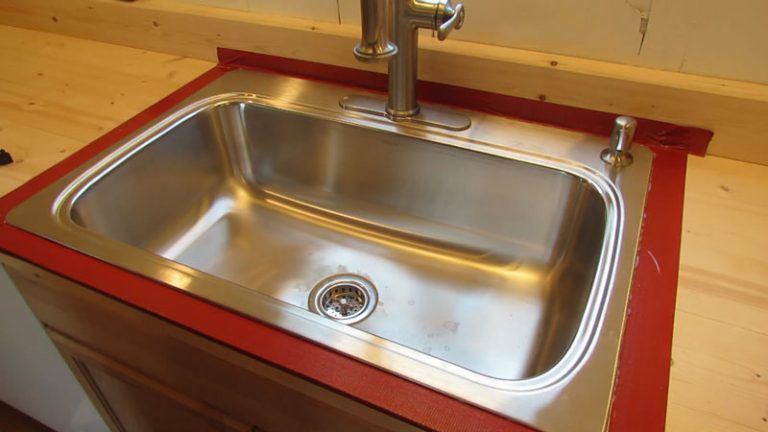
To check the water line, carefully pull the refrigerator away from the wall. Inspect the plastic tubing running to the back of the unit. Ensure it is not bent, kinked, or crushed, as this will restrict water flow. While you’re back there, confirm the water supply valve from your home’s plumbing is fully open.
Step 3: Resetting the Ice Maker
Sometimes, the electronics controlling the ice maker can experience a glitch, and a simple reset is all that’s needed. The reset procedure can vary slightly between models. A common method is to turn the ice maker off by pressing and holding its power button for a second.
After it is off, press and hold the power button for 5-8 seconds to initiate a “test run” or harvest cycle. This forces the ice maker through a full rotation, which can clear minor jams and reset its internal logic. You should hear the motor start and see the ejector arms move. This test will also attempt to fill the tray with water, confirming if water flow is successful.
Step 4: The Fill Tube Inspection
The fill tube is a small pipe that delivers water into the ice mold. It can sometimes become blocked with a piece of ice. Locate this tube above the ice mold tray and carefully check its opening for any frozen obstructions.
If you find ice blocking the tube, you can use a hairdryer on a low setting to gently melt it away. Be cautious not to apply too much heat to the surrounding plastic components. This issue often occurs if the freezer temperature is inconsistent or if the water pressure is very low.
Advanced Solutions and Maintenance
If the basic troubleshooting steps haven’t resolved the issue, the problem may lie with a specific component. These advanced steps may require more technical confidence, but can still be performed by a capable DIYer. When handling these cold components, it’s wise to protect your hands, just as you would use the best winter gloves for snowblowing during winter chores.
Testing the Water Inlet Valve
The water inlet valve is located at the back of the refrigerator where the water line connects. This component can fail electrically. To test it, you can use a multimeter set to test for continuity on its solenoid coils (after unplugging the refrigerator).
A lack of continuity indicates a failed valve that needs to be replaced. This is a relatively straightforward replacement for those comfortable with basic appliance repair. Always ensure you are using genuine Liebherr parts for a proper fit and function.
Understanding the Ice Level Control Board
In models that use an infrared sensor system, an ice level control board manages the on/off signal. When the ice in the bin reaches a certain height, it interrupts an infrared beam, telling the control board to stop production. If this board fails, the ice maker will stop making ice, even with an empty bin.
Diagnosing a faulty control board is more complex and often requires a professional technician. However, you can ensure the sensors are clean and free of any frost or debris that might be causing a false reading. A gentle wipe with a soft cloth can sometimes restore functionality.
The Impact of Water Hardness and Fill Level
A factor many don’t consider is the impact of water hardness and the ice maker’s fill level. Liebherr appliances, with their European design, can be sensitive to hard water, which causes mineral buildup on the ice tray. This buildup can make it difficult for the ice cubes to release, causing the motor to strain and potentially crack the tray.
Some models allow for an adjustment of the water “fill time.” An overfilled tray is a primary cause of cracked molds and ice jams. If your water pressure is high, the default fill time may be too long. This setting can often be adjusted through a series of button presses on the ice maker’s control panel, allowing you to reduce the amount of water per cycle and prevent overfilling.
Preventative Maintenance for Your Liebherr Ice Maker
Maintaining your appliance is just as crucial as tending to your yard to achieve perfect gold glove bermuda grass. Consistent care prevents future breakdowns. Following a simple maintenance schedule can keep your Liebherr ice maker operating reliably for years.
| Maintenance Task | Frequency | Purpose |
|---|---|---|
| Replace Water Filter | Every 6 Months | Ensures good water flow and prevents clogs. Improves ice taste. |
| Clean Ice Bin | Every 2-3 Months | Prevents old ice from clumping and absorbing odors. Wash with mild soap and water. |
| Inspect Water Line | Annually | Check for leaks, kinks, or damage behind the refrigerator. |
| Wipe Down Sensors/Arm | Every 6 Months | Removes any frost or debris that could cause a false “full” reading. |
| Clean Condenser Coils | Annually | Improves overall cooling efficiency, which helps maintain the optimal freezer temperature for ice production. |
When to Call a Professional
While many issues can be resolved at home, there are times when professional help is necessary. If you have worked through all the troubleshooting steps and your ice maker is still not working, it may be time to schedule a service call. Complex electrical problems, such as a faulty main control board or a failed motor assembly, are best left to a certified technician.
Attempting to repair these components without the proper knowledge and tools can lead to further damage to your appliance. A qualified professional can accurately diagnose the problem and ensure the correct replacement parts are used, restoring your Liebherr refrigerator to its full functionality and providing you with peace of mind.