Trim for Tongue and Groove Ceiling: The #1 Mistake You Can’t Afford to Make
A tongue and groove ceiling is a stunning architectural feature. It adds warmth, character, and texture that transforms a plain room into a design statement.
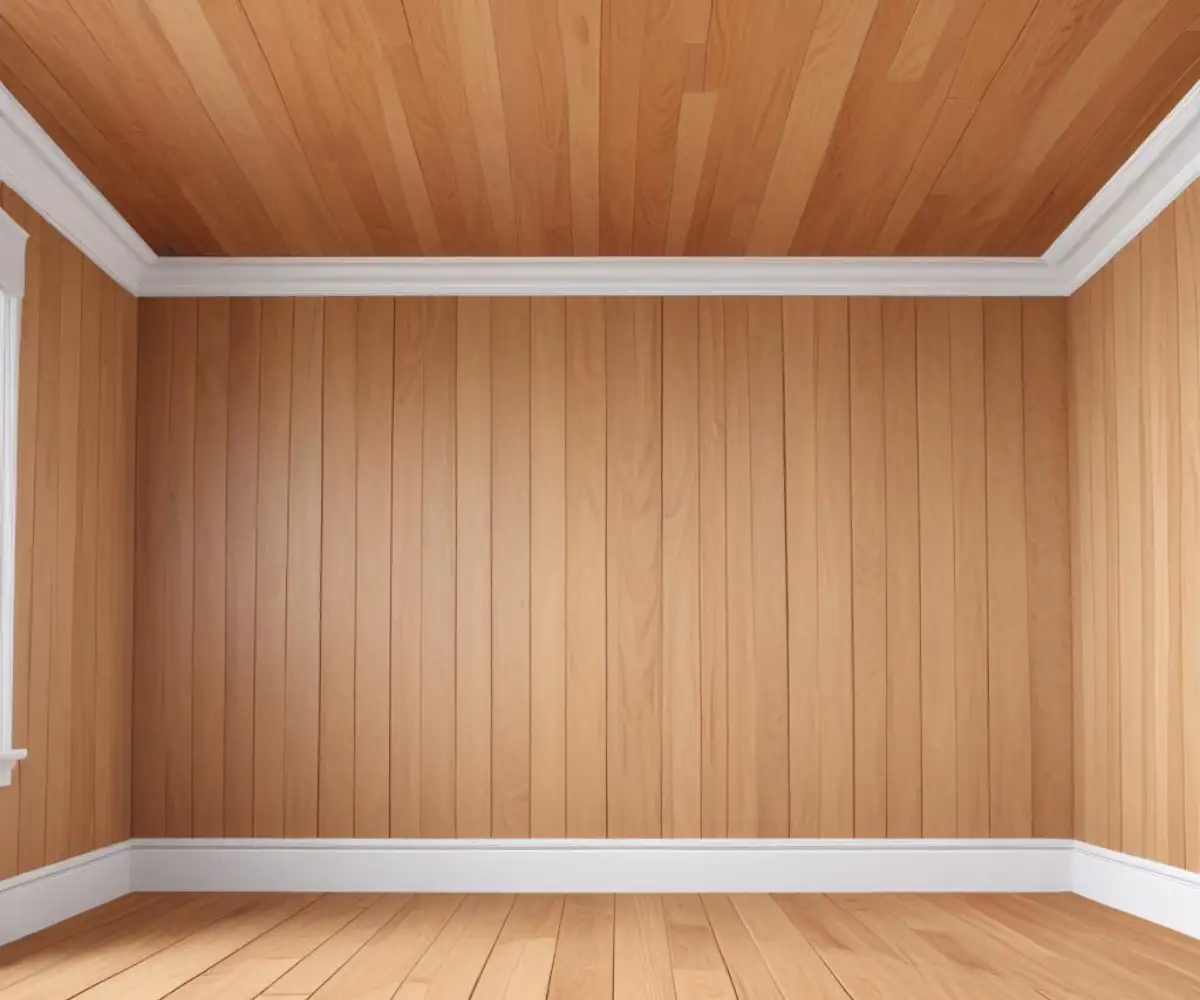
But after the last plank is installed, many homeowners are left staring at an awkward, unfinished gap where the ceiling meets the wall. This is the critical final step where the entire project can either come together beautifully or fall apart completely.
Ignoring this transition or choosing the wrong trim is the single biggest mistake that can undermine the entire look. The right trim is not just a decorative afterthought; it is an essential component for a professional, polished finish.
You'll Learn About
Why That Unfinished Gap Is a Major Problem
The transition from a tongue and groove ceiling to the wall needs a finishing piece for several critical reasons. This isn’t just about aesthetics; it’s about smart construction and long-term durability.
First, wood is a natural material that expands and contracts with changes in temperature and humidity. A proper installation requires leaving an expansion gap around the perimeter of the ceiling. The trim’s primary job is to cover this necessary gap, allowing the wood to move without buckling or creating visible cracks.
Second, it’s nearly impossible to cut every single ceiling plank to the exact perfect length. Trim masterfully hides these minor imperfections and slight variations in the wall’s straightness. It creates a crisp, clean line that makes the installation look flawless.
Choosing Your Trim Style: A Guide to the Best Options
The style of trim you choose has a dramatic impact on the room’s overall feel. It can steer your design toward rustic, modern, traditional, or minimalist. Understanding the main types is key to making the right choice.
Crown Molding: The Timeless, Elegant Choice
Crown molding is the classic, go-to option for a sophisticated and traditional look. Its ornate, angled profile adds a touch of elegance and grandeur, making it ideal for formal living rooms, dining rooms, or bedrooms with high ceilings.
A crucial factor many overlook is scale. The size of your crown molding must be proportional to your ceiling height. A tiny trim in a room with 10-foot ceilings will look lost, while a massive, ornate profile can overwhelm a standard 8-foot ceiling.
Cove Molding: The Understated Curve
If you want a softer, more subtle transition than crown molding, cove molding is an excellent choice. It features a simple concave profile that gently curves from the wall to the ceiling.
This minimalist appeal makes it incredibly versatile. Cove molding works well in modern, transitional, and even some rustic designs where you want a clean finish without the formality of traditional crown.
Square Trim: The Modern and Farmhouse Favorite
For a clean, contemporary, or rustic aesthetic, simple square stock is often the perfect solution. This can be a 1×3, 1×4, or similar-sized board installed flat against the wall-ceiling joint.
This style is incredibly popular in modern farmhouse, craftsman, and minimalist homes because of its clean lines and no-fuss appearance. A unique professional technique is to install the square trim with a slight “reveal,” leaving a small, intentional shadow line between the trim and the ceiling planks for added depth.
The Shadow Gap Reveal: A High-End Modern Detail
For the ultimate minimalist look, you can opt for no visible trim at all. This advanced technique involves using a special type of metal or vinyl trim (often called a “reveal bead” or “Z-bead”) that is installed on the wall before the ceiling planks go up.
The tongue and groove material butts up to this bead, creating a crisp, recessed channel or shadow line between the ceiling and the wall. This creates a floating ceiling effect, but it must be planned from the beginning of the project; it cannot be added later.
Comparing Trim Options for Your T&G Ceiling
Making the right choice depends on your room’s style, your budget, and your DIY comfort level. This table breaks down the key considerations for each popular trim type.
| Trim Type | Best For (Style) | Installation Difficulty | Relative Cost |
|---|---|---|---|
| Crown Molding | Traditional, Formal, Elegant | High (requires compound miter cuts) | High |
| Cove Molding | Transitional, Modern, Minimalist | Moderate | Moderate |
| Square Trim (e.g., 1×4) | Modern Farmhouse, Rustic, Craftsman | Low (simple cuts) | Low to Moderate |
| Shadow Gap Reveal | Ultra-Modern, Minimalist | Very High (requires professional planning) | High |
Material Matters: Wood vs. MDF vs. PVC
The material of your trim is just as important as its shape. Your choice will impact the final look, durability, and cost of the project.
Natural Wood Trim
Using solid wood trim, such as pine, oak, or cedar, allows you to perfectly match the stain or finish of your tongue and groove ceiling. This creates a cohesive, seamless look. However, wood is typically the most expensive option and requires careful finishing.
MDF (Medium-Density Fiberboard)
MDF is an engineered wood product that is a fantastic choice if you plan to paint your trim. It’s affordable, dimensionally stable, and comes pre-primed for easy painting. Many homeowners find that the best place to buy baseboards and other common profiles often have the best prices on MDF options.
PVC or Polymer Trim
For areas with high moisture, like bathrooms, laundry rooms, or covered porches, PVC trim is the ideal choice. It is completely waterproof and will never rot, warp, or swell. While it’s primarily for painted applications, it offers peace of mind in damp environments.
Installation Done Right: A Flawless Finish
Proper installation is what separates a DIY-looking job from a professional one. Following a few key steps will ensure your trim looks perfect and stays put for years to come.
Step 1: Acclimate Your Materials
Before cutting a single piece, let your trim material sit in the room where it will be installed for at least 48-72 hours. This allows it to adjust to the home’s temperature and humidity, which prevents shrinking and ugly gaps from forming later.
Step 2: Measure and Cut Accurately
Measure twice, cut once is the golden rule. Use a miter saw for clean, accurate angles on your inside and outside corners. For long walls that require multiple pieces of trim, use a scarf joint (a 45-degree angled cut where two pieces meet) for a less visible seam than a butt joint.
Step 3: Secure with Glue and Nails
For the strongest hold, apply a bead of construction adhesive to the back of the trim before putting it in place. Then, use a brad nailer to secure the trim to the wall studs and top plate. This dual approach prevents issues like door trim separating from the wall, a common problem when trim is not adequately fastened.
Step 4: The Finishing Touches
Once all the trim is installed, fill every nail hole with a high-quality wood filler or painter’s caulk. Then, apply a bead of flexible caulk along the top and bottom edges where the trim meets the ceiling and the wall. This creates a seamless, built-in look and hides any minor gaps.
The Most Common T&G Trim Mistakes to Avoid
Even with the right materials, a few common errors can ruin the final result. Be mindful of these frequent missteps.
Forgetting to Paint Before Installation
It is far easier to paint or stain your trim before you install it. Set up some sawhorses and get a smooth, even coat on the material when it’s at a comfortable working height. You will only have to do minor touch-ups on nail holes and seams after it’s on the wall.
Ignoring the Room’s Style
Don’t just pick a trim you like; pick a trim that fits the architectural style of your home and the room. A highly ornate crown molding will look out of place in a rustic cabin, just as a simple square trim might feel too plain in a formal Victorian home.
Using the Wrong Nail Size
Using nails that are too short is a recipe for failure. Your brad nails should be long enough to penetrate through the trim, the drywall, and at least 3/4 inch into the wood framing behind it. This ensures a rock-solid installation that won’t pull away over time.
Conclusion: The Final Detail That Makes All the Difference
Trim is the essential finishing touch that frames your beautiful tongue and groove ceiling. It hides imperfections, covers necessary expansion gaps, and defines the character of your space.
By carefully considering the style, material, and proper installation techniques, you can ensure this final detail elevates your entire project. Don’t treat it as an afterthought; treat it as the critical element that provides a truly professional and stunning result.