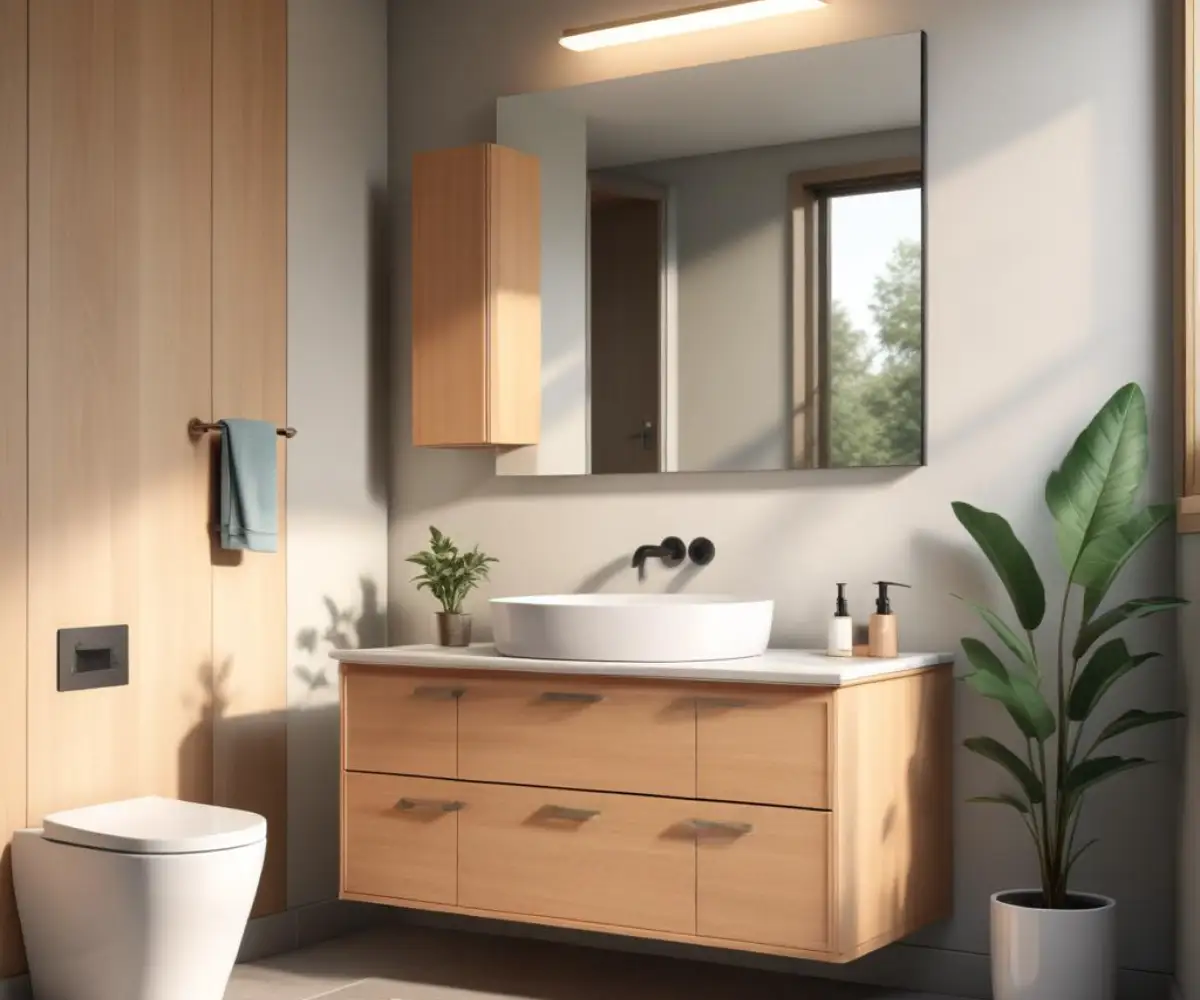
That 5-Inch Gap Between Vanity and Wall Is a Goldmine (Here’s Why)
That awkward, useless gap. You have a beautiful new bathroom vanity, but there it is: a 5-inch gap between the vanity and the wall, collecting dust, hair, and the occasional dropped tube of toothpaste. It’s too narrow for a standard cabinet but too wide to ignore.
This common design headache occurs when standard-sized vanities are installed in spaces that aren’t perfectly standard. But what if that frustrating gap wasn’t a flaw? What if it was actually a hidden opportunity for brilliant design and clever storage?
This guide will show you how to transform that awkward space from a cleaning nuisance into one of your bathroom’s most functional and stylish features. Prepare to see that 5-inch gap as a design goldmine.
You'll Learn About
Why You Must Address the Gap Between Your Vanity and Wall
Leaving that 5-inch space unattended is more than just a cosmetic issue. It can create genuine problems for your bathroom’s cleanliness, longevity, and overall harmony.
First, it’s a magnet for grime. The dark, narrow space is the perfect trap for dust, moisture, and spilled toiletries, making it nearly impossible to clean effectively. This can lead to unpleasant odors and even create a breeding ground for mold and mildew, which thrive in damp, dark bathroom environments.
Aesthetically, the gap disrupts the flow of your design. It makes a potentially beautiful vanity look like it’s floating awkwardly, rather than being a seamless, integrated part of the room. A clean, built-in appearance elevates the entire space, making it feel more custom and luxurious.
The Hidden Dangers of an Unfilled Vanity Gap
Beyond looks and cleanliness, the gap can pose a risk to your home. Water splashed from the sink or shower can easily find its way into the gap, seeping into the unprotected side of your vanity cabinet and the drywall behind it.
Over time, this constant exposure to moisture can cause the vanity’s material to swell and warp, and the drywall to soften and degrade. This is not just an eyesore; it’s a recipe for costly repairs down the line.
Finding Your Perfect Solution: 5 Ways to Conquer the Gap
The best way to fix the 5-inch gap next to your vanity depends on your budget, DIY skill level, and primary goal. Do you crave more storage, a seamless look, or a quick and easy fix? Let’s explore the top solutions, from simple fillers to ingenious storage hacks.
1. The Classic Fix: The Vanity Filler Strip
A vanity filler strip is the most common and direct solution. It’s a piece of finished material, designed to match your vanity’s color and style, that is cut to size and installed to close the gap completely.
This method provides a truly seamless, built-in appearance, making it look as though the vanity was custom-made for the space. Most vanity manufacturers sell matching filler strips. Alternatively, you can have one color-matched at a paint store or made from a simple piece of finished wood.
The key to a professional result is scribing the filler to the wall. Since walls are rarely perfectly straight, scribing involves tracing the wall’s contour onto the strip and cutting along that line. This ensures a flawless, tight fit with no gaps for a truly professional finish.
2. The Storage Powerhouse: Narrow Open Shelving
Why just fill the space when you can make it work for you? A 5-inch gap is the perfect dimension for ultra-functional narrow shelving. This turns wasted space into a prime spot for storage and display.
You can install several small floating shelves or build a single, tall vertical unit. This becomes the ideal home for rolled hand towels, extra toilet paper, decorative bottles, or small plants. It adds utility while also introducing a new textural and decorative element to the room.
This solution not only solves the problem of the gap but also helps declutter your countertop, giving you more usable surface area. Proper organization is key, as poorly managed open shelves can sometimes look messy.
3. The Ultimate Hack: The Pull-Out Storage Tower
For maximum storage efficiency, nothing beats a slim, pull-out storage tower. Think of it as a vertical spice rack for your bathroom. These clever units slide out on tracks, revealing multiple tiers of hidden storage.
This is arguably the most effective use of a narrow gap. It’s perfect for storing cleaning supplies, extra shampoo bottles, and other toiletries you want to keep accessible but out of sight. The pull-out mechanism allows you to see and reach everything easily, eliminating the problem of items getting lost at the back of a deep cabinet.
While you can find pre-made units online, a DIY version can be constructed from wood and attached to a set of full-extension drawer slides. This is a slightly more advanced project but offers an unparalleled level of custom, integrated storage.
4. The Designer’s Choice: Extend the Countertop
For a high-end, luxurious solution, consider extending your vanity’s countertop all the way to the wall. A stone or quartz fabricator can cut a small, 5-inch piece of matching material to create a continuous surface.
This creates a small ledge next to your sink, perfect for placing a soap dispenser, a toothbrush holder, or a small decorative item. The result is an incredibly clean, custom, and seamless look. Below this new ledge, you can then install a simple filler panel or leave it open, depending on your preference.
This approach works especially well with stone or solid surface countertops and elevates the entire bathroom’s aesthetic. It’s an investment that pays off in both function and high-end appeal.
5. The Quick & Stylish Ledge
If you’re looking for a solution that is both easy and decorative, a simple ledge is a fantastic option. Instead of filling the entire vertical space, you can install one or two thick shelves made from a contrasting material like reclaimed wood or painted MDF.
This adds character and a focal point to an otherwise empty space. It’s less about bulk storage and more about creating a stylish perch for a candle, a small piece of art, or a diffuser. This is a budget-friendly way to add personality and solve the gap issue at the same time.
Comparing Your Options: Which Gap Solution Is Right for You?
Choosing the best method requires weighing factors like cost, installation difficulty, and the final look. This table breaks down the key differences to help you decide.
| Solution | Best For | Average Cost | DIY Difficulty | Primary Benefit |
|---|---|---|---|---|
| Vanity Filler Strip | Achieving a seamless, built-in look. | $30 – $100 | Easy to Moderate | Flawless Aesthetics |
| Narrow Open Shelving | Adding accessible storage and display space. | $50 – $200 | Moderate | Functional Storage |
| Pull-Out Storage Tower | Maximizing hidden storage for toiletries. | $150 – $400 | Moderate to Hard | Ultimate Space Efficiency |
| Countertop Extension | A high-end, custom, and luxurious finish. | $200 – $500+ | Professional Help Needed | Premium Look & Feel |
| Decorative Ledge | A fast, budget-friendly, and stylish fix. | $25 – $75 | Easy | Decorative Accent |
Beyond the Fix: A New Philosophy for Bathroom Gaps
Traditionally, gaps are seen as problems to be solved. However, modern design encourages a shift in perspective. Instead of treating a 5-inch gap as an afterthought, what if you planned for it from the beginning? This is a core principle in creating truly custom and functional spaces.
This “gap-centric” approach means viewing that space not as a mistake but as a dedicated feature. A 5-inch void can be intentionally designed to house a slim towel warmer, a built-in trash receptacle, or a tall, narrow niche for art. This intentionality is what separates standard design from high-end, thoughtful architecture. It echoes the same principles used when tackling other spatial puzzles, like finding creative solutions when you have too much space between the toilet and vanity.
Thinking about asymmetry as a feature, not a flaw, is a powerful design tool. Just as an off-center couch can become a living room’s hidden gem, an off-center vanity can be balanced by a stunning feature in the gap beside it. It’s all about creating intentional balance.
Key Considerations Before You Begin
Before you start drilling or cutting, take a moment for a final check. Confirm the gap’s width at the top, middle, and bottom, as walls are rarely perfect. Note the location of any electrical outlets or plumbing lines that could interfere with your installation.
Also, consider the materials. Do you want to match your vanity for a cohesive look or use a contrasting material to create a design statement? A well-thought-out plan ensures your project is a success. Considering all the elements of your vanity area together is crucial, from the main cabinet to selecting the right size medicine cabinet for a 60-inch vanity to frame the space.
Final Thoughts: Reclaim Your Wasted Space
That 5-inch gap between your vanity and the wall is not a construction flaw; it’s a blank canvas. By filling it, you’re not just fixing a problem but actively improving your bathroom’s functionality, cleanliness, and overall design.
Whether you opt for a simple filler strip for a clean look or a clever pull-out tower for maximum storage, addressing the gap will provide a massive return on a small investment of time and effort. Stop letting that awkward space collect dust and start making it work for you today.