45 Degree Angle Corner Shelf: Your Awkward Corners Finally Solved!
That odd corner in your living room. The strange, angled nook in your bedroom. Every home has one—an awkward space that defies all attempts at decoration and storage, leaving you with a frustrating patch of wasted potential. You’ve probably tried a standard 90-degree shelf, only to find it leaves unsightly gaps and looks completely out of place.
This common design headache stems from home construction that isn’t always perfectly squared. Older homes, in particular, often have walls that meet at angles other than 90 degrees, making standard furniture and shelving a poor fit. The result is a design dead zone that collects dust instead of adding value to your home.
Fortunately, there’s an elegant and surprisingly simple solution: the 45 degree angle corner shelf. Specifically designed to fit these unique spaces, this type of shelving transforms a challenging corner into a functional and stylish focal point. It’s time to stop ignoring those awkward angles and start making them work for you.
You'll Learn About
What Exactly Is a 45-Degree Corner Shelf and Why Do You Need One?
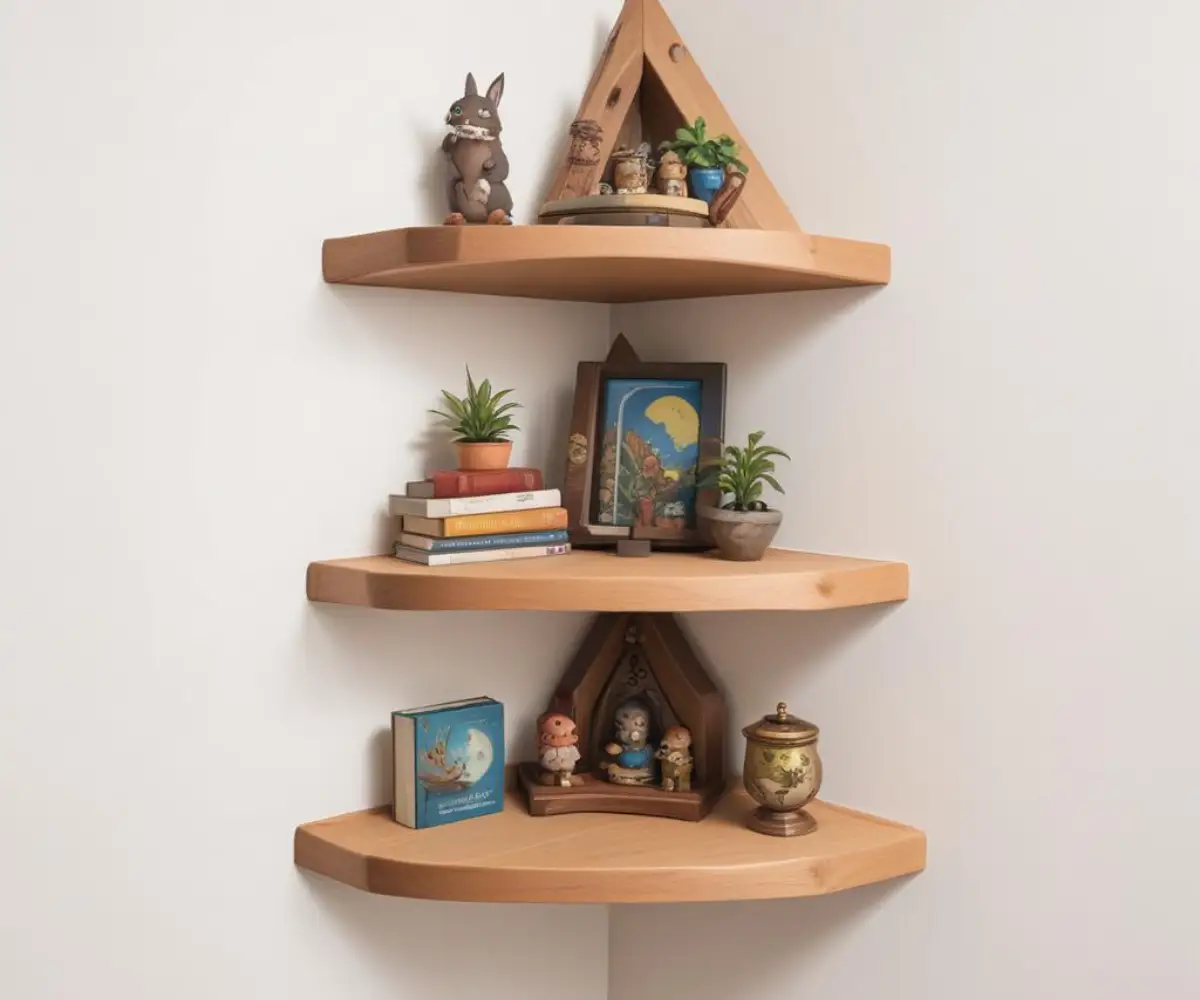
A 45-degree angle corner shelf is engineered to fit snugly into corners that are not the standard 90 degrees. Instead of two boards meeting at a right angle, these shelves are often a single piece of wood or other material cut to form a triangular shape that perfectly occupies the corner, or two pieces joined at a mitered 45-degree angle to create a seamless look.
The primary benefit is unmatched space optimization. These shelves reclaim unusable space, turning it into valuable real estate for storage and display. They create a clean, integrated look that standard shelving simply cannot achieve in a non-standard corner, eliminating the awkward gaps that make other solutions look like an afterthought.
Beyond functionality, they add a unique architectural element to a room. Whether you opt for a floating design for a minimalist aesthetic or a more traditional bracketed shelf, this solution draws the eye and enhances the room’s overall design. It’s a testament to how specialized design can solve everyday household problems with style and grace.
Unlocking Potential: Types of 45-Degree Shelves for Every Style
Not all corner shelves are created equal. The right choice depends on your room’s aesthetic, your storage needs, and the specific angle of your corner. Understanding the different types available is the first step toward finding your perfect match.
Floating Shelves: For the Modern Minimalist
Floating shelves are the epitome of sleek, contemporary design. They offer a clean, unobtrusive look because their mounting hardware is completely hidden from view. This creates the illusion that the shelf is floating effortlessly on the wall, making it a fantastic choice for modern, minimalist, or Scandinavian interiors.
These shelves are perfect for displaying curated decorative items like vases, photo frames, or small sculptures. However, it’s crucial to consider their weight capacity. Since the support is internal, they are best suited for lighter objects. Proper installation into wall studs is essential to ensure stability and prevent sagging.
Bracketed Shelves: Classic Strength and Versatility
For those who need more robust storage, bracketed shelves are the ideal solution. Supported by visible brackets underneath, these shelves can handle significantly more weight, making them perfect for books, kitchenware, or heavier plants. The brackets themselves can also be a design element, with options ranging from simple, industrial metal to ornate, traditional wood.
This style offers versatility in both function and aesthetics. You can choose brackets that blend in with the wall or make a bold statement. The key is to ensure the brackets are securely anchored to the wall, providing a stable foundation for your items.
Material Matters: From Rustic Wood to Sleek Glass
The material of your shelf plays a huge role in its look and feel. Solid wood, like oak or walnut, offers a timeless, warm aesthetic perfect for traditional or rustic decor. For a more budget-friendly option, engineered woods like MDF or plywood can be painted or stained to match any color scheme.
For a touch of modern elegance, consider glass shelves. They create a sense of openness and are particularly well-suited for bathrooms or displaying delicate items. Metal shelves, often made of steel or aluminum, lend an industrial, edgy vibe and are incredibly durable, making them a great choice for kitchens or workshops.
Your Step-by-Step Guide to Flawless Installation
Installing a 45-degree angle corner shelf might seem daunting, especially if you’re dealing with non-standard wall angles. However, with the right tools and a methodical approach, you can achieve a professional-looking result. This guide will walk you through the process, ensuring your shelf is level, secure, and perfectly placed.
Before you begin, it’s crucial to gather all your tools. A successful installation depends on precision, and having everything you need on hand will make the process smoother and more efficient. Rushing to find a tool mid-project can lead to mistakes.
Step 1: Measure Twice, Install Once
Accurate measurements are the bedrock of a successful installation. First, confirm the angle of your corner. While you might assume it’s 45 degrees, older homes can have unpredictable angles. An angle finder or a carpenter’s square can help you determine the precise angle.
Next, decide on the height and size of your shelf. Use a tape measure and a pencil to mark where the top or bottom of the shelf will sit on both walls. Use a level to ensure your marks are perfectly horizontal across both walls—this is a critical step for a level shelf.
Step 2: Gather Your Tools and Materials
Having the right equipment is non-negotiable. Below is a table of essential tools and materials you’ll need for a typical floating shelf installation. Preparing these items in advance will streamline the entire process.
| Tool/Material | Purpose | Pro Tip |
|---|---|---|
| Tape Measure | For accurate wall and shelf measurements. | Use a locking tape measure to keep your measurements consistent. |
| Level | To ensure the shelf is perfectly horizontal. | A longer level (24 inches or more) will provide a more accurate reading. |
| Stud Finder | To locate wall studs for secure anchoring. | Mark the center of the stud for the strongest possible hold. |
| Drill with Bits | To drill pilot holes and drive screws. | Use a bit slightly smaller than your screw for a snug pilot hole. |
| Wall Anchors & Screws | For mounting in drywall where studs aren’t available. | Choose anchors rated for the weight of your shelf and its contents. |
| Pencil | For marking measurements and drill points. | A sharp pencil provides a more precise line. |
Step 3: Locate Studs and Mark Your Drill Points
The security of your shelf depends on what it’s attached to. Whenever possible, you should mount your shelf brackets or internal supports directly into wall studs. Use a stud finder to locate the studs along the wall where you plan to install the shelf and mark their locations with a pencil.
If a stud isn’t conveniently located, you will need to use drywall anchors. Hold your bracket or shelf up to your pencil marks on the wall and mark where you need to drill. This is a crucial moment to double-check that everything is level before making any holes.
Step 4: Drill Pilot Holes and Install Anchors
Once your drill points are marked, it’s time to drill. For mounting into studs, drill a pilot hole that is slightly smaller in diameter than your screws. This prevents the wood from splitting and makes it easier to drive the screw.
If you’re using drywall anchors, drill a hole that matches the size of the anchor. Gently tap the anchor into the hole with a hammer until it is flush with the wall. Do not force it, as this can damage the drywall.
Step 5: Mount the Shelf Securely
With your anchors or pilot holes ready, you can now attach the mounting hardware. For a floating shelf, this will be the hidden bracket. For a bracketed shelf, you’ll attach the visible supports. Hold the bracket in place and drive the screws through the bracket and into the anchors or studs.
Make sure the screws are tight, but avoid over-tightening, which can strip the screw or damage the wall. Once the hardware is secure, slide the shelf onto the bracket. Give it a gentle tug to ensure it’s firmly in place. Finally, step back and admire your perfectly installed 45-degree angle corner shelf.
Styling Your Corner Shelf: From Cluttered to Curated
Now that your shelf is installed, the fun part begins: styling it. A well-styled corner shelf can become a beautiful focal point in any room, but a poorly styled one can quickly look cluttered. The key is to create a balanced and visually appealing arrangement.
Start by choosing a theme or color palette. This will help guide your choices and create a cohesive look. Whether you’re aiming for a minimalist, bohemian, or farmhouse vibe, having a clear vision will make the styling process much easier.
Create Visual Balance with Varying Heights and Textures
To create a dynamic and interesting display, play with the height and texture of your objects. A common technique is to use the “visual triangle,” where you place three objects of varying heights in a triangular arrangement. This draws the eye upward and creates a sense of balance.
Incorporate a mix of textures to add depth. Combine smooth ceramic vases with rough-hewn wooden objects, or soft textiles with sleek metallic frames. This contrast will make your display more engaging and tactile.
Let There Be Light: Adding Illumination
Don’t underestimate the power of lighting. A small, battery-operated LED puck light placed discreetly on the shelf can highlight your favorite objects and create a warm, inviting glow. This is especially effective in darker corners of a room.
For a touch of whimsy, you can entwine a delicate string of fairy lights around your display. This is a clever trick if you’re looking for solutions on how to add ambiance without a nearby power source. The soft light will add a magical touch to your corner vignette.
Finishing Touches: To Paint or To Stain?
If you’ve purchased an unfinished wooden shelf, you have the opportunity to customize it perfectly to your decor. The choice between paint and stain depends on the look you want to achieve. Staining enhances the natural grain of the wood, offering a classic, warm appearance that works well in rustic or traditional settings.
Painting, on the other hand, provides a solid, opaque color that can either blend seamlessly with your wall or provide a bold, contrasting pop of color. To make the best choice, it’s wise to consult a comprehensive resource on the subject. A detailed guide on how to buy paint can offer valuable insights into different finishes and types, ensuring you select the perfect product for a durable and beautiful result.
Weighty Matters: Ensuring Your Shelf is Secure
A beautifully styled shelf is useless if it comes crashing down. Understanding weight capacity is paramount, especially for floating shelves. The strength of your shelf is determined by the shelf itself, the mounting hardware, and, most importantly, how it’s anchored to the wall.
Always check the manufacturer’s guidelines for weight limits. And remember, the type of hardware you use matters immensely. To truly understand the forces at play, it can be helpful to learn about the holding power of different fasteners. An in-depth look at how much weight different fasteners can support can provide a deeper appreciation for why choosing the right screws and anchors is so critical for a safe and secure installation.
Embrace the Angle: Reclaim Your Corners
Those once-awkward corners in your home no longer have to be a source of frustration. With the right 45 degree angle corner shelf, you can transform these challenging spaces into stylish and functional assets. From providing much-needed storage to creating a stunning decorative display, the possibilities are endless.
By following a careful installation process and paying attention to the details of styling and finishing, you can add a custom, high-end touch to your home. It’s a simple solution that proves even the most difficult spaces can be conquered with a little creativity and the right piece of hardware. So go ahead, measure that angle, and get ready to unlock the full potential of every corner in your home.