4 Curtain Panels on One Window: Your Secret to a Luxe Look
You’ve hung your new curtains, stepping back to admire your work. But something feels off. The window looks sparse, the fabric looks stretched, and the overall effect is disappointingly flimsy rather than luxurious and full.
This is a common frustration. The standard two-panel curtain package often fails to deliver the plush, designer look seen in magazines, especially on wider windows.
You'll Learn About
The Problem: Why Two Curtain Panels Often Fail
The core of the issue lies in a concept called curtain fullness. This is the ratio of the total fabric width to the width of your window. For a professionally styled look, you need at least double the width of the window in fabric, but standard packs rarely provide this.
On a wide window, two panels can look like bedsheets tacked to the wall. They lack the elegant, draping folds that create visual depth and a sense of luxury.
When Is Two Not Enough?
A two-panel setup is perfectly fine for very narrow windows. However, for standard to large windows, especially picture windows or sliding glass doors, it creates a meager appearance that cheapens the room’s decor.
You lose light-blocking capability, insulation, and the sound-dampening qualities that a fuller curtain provides. The window treatment becomes a weak point in the room’s design instead of a stunning feature.
Why 4 Curtain Panels on One Window is the Professional Solution
Using four curtain panels is the designer’s trick to instantly achieve a high-end, custom look without the custom price tag. This method immediately solves the problem of inadequate fullness and opens up a world of styling possibilities.
It allows you to create a rich, voluminous drape that makes the window a true focal point. This isn’t just about adding more fabric; it’s about fundamentally changing the window’s presence in the room.
The Definitive Fullness Upgrade
With four panels, you effortlessly achieve a fullness ratio of 2.5x to 3x, which is the standard for luxury drapery. This creates deep, elegant pleats and folds that hold their shape from the rod to the floor.
This added volume also dramatically improves functionality. You get superior light control, better thermal insulation to save on energy bills, and noticeable noise reduction from the outside.
Comparing 2 Panels vs. 4 Panels on a Standard Window
The difference is not just quantitative; it’s qualitative. Understanding the trade-offs makes the decision clear for anyone seeking a more polished look.
Let’s break down the practical differences you’ll experience when dressing a typical 70-inch wide window.
| Feature | Standard 2-Panel Setup | Upgraded 4-Panel Setup |
|---|---|---|
| Visual Fullness | Looks flat and stretched when closed. | Rich, deep folds and a luxurious appearance. |
| Light Control | Light gaps are common at the sides and center. | Provides superior room darkening or blackout. |
| Insulation | Minimal thermal barrier. | Creates a significant air pocket, improving energy efficiency. |
| Stack Back | Covers a large portion of the glass when open. | Panels compress tightly, maximizing natural light and view. |
| Styling Options | Limited to a single layer. | Enables layered looks (sheers + drapes) and color blocking. |
How to Hang 4 Curtain Panels on One Window: The Complete Guide
Successfully hanging four curtain panels requires a bit more thought than a standard setup, but the process is straightforward. The key is choosing the right hardware and planning your arrangement.
This ensures your window treatment is not only beautiful but also stable and functional for years to come.
Method 1: The Single Rod Technique
The simplest approach is to use one long, sturdy curtain rod. This method is perfect for creating a seamless wall of fabric when the curtains are closed.
The most critical factor here is rod strength and support. With the weight of four panels, a standard, flimsy rod will sag in the middle, ruining the entire look.
Invest in a high-quality rod with a diameter of at least 1 inch. Crucially, you must install a center support bracket directly into a wall stud to prevent sagging. For very wide windows, you may need two center support brackets.
Method 2: The Double Rod for Ultimate Versatility
A double curtain rod is the superior choice for creating a layered, multi-functional window treatment. This setup allows you to hang two panels on the back rod and two on the front rod.
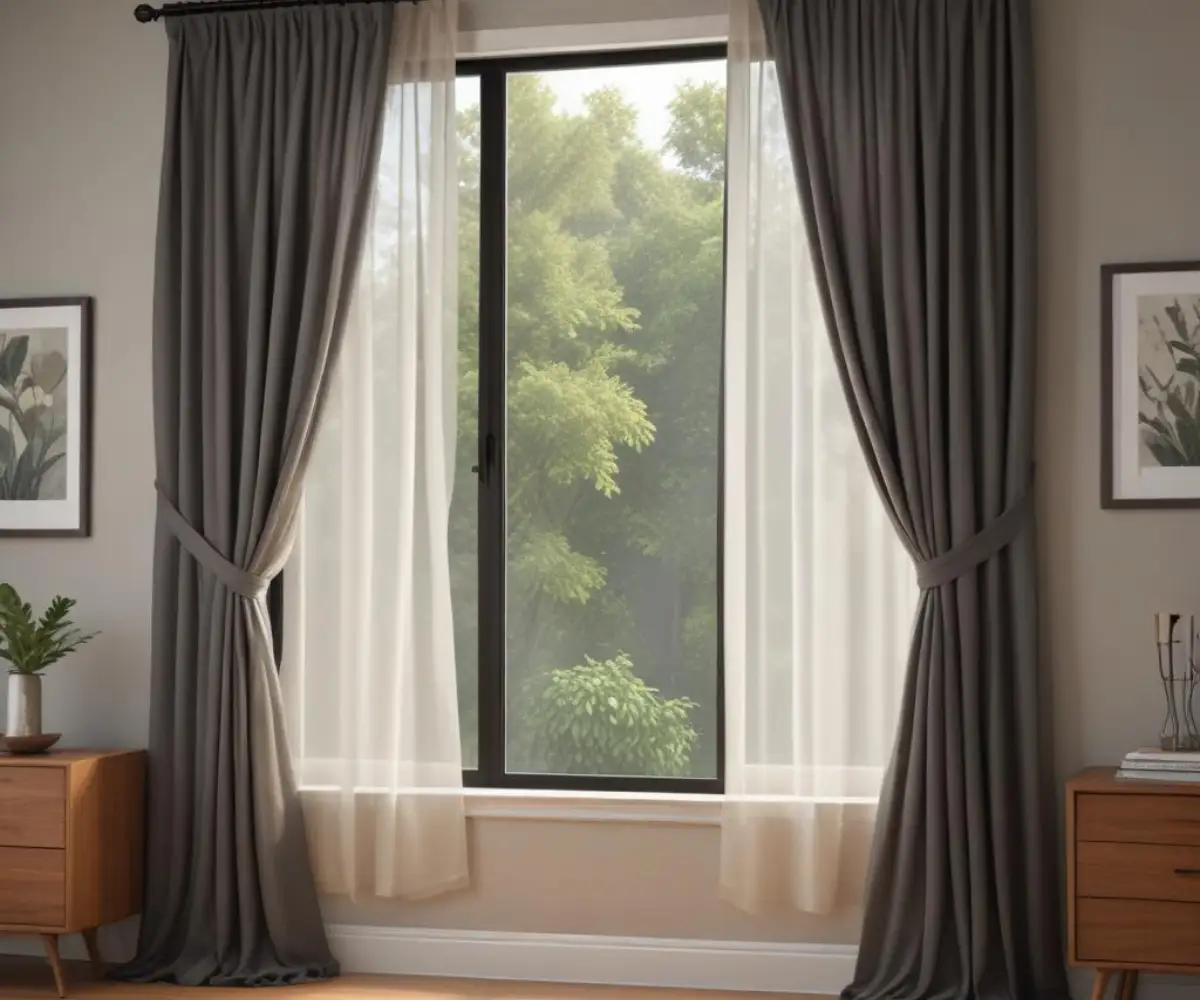
This is the classic designer configuration. Typically, you would hang two sheer or light-filtering panels on the inner rod for daytime privacy, and two heavier, decorative or blackout panels on the outer rod for nighttime and light control.
This gives you complete control over light and privacy throughout the day. It also adds incredible visual depth, making the window treatment look truly custom-made. When considering this, you can even explore pairing curtains with wood blinds for an even more textured appearance.
A Step-by-Step Installation Guide
Once you’ve chosen your method, it’s time to hang the curtains. Precision is key to achieving a professional result.
Follow these steps carefully to ensure your new four-panel setup looks perfect.
Step 1: Measure and Mark Your Bracket Positions
The golden rule is to hang your curtains high and wide. Install your curtain rod 4-6 inches above the window frame and extend it 6-10 inches past the frame on each side.
This technique makes the window appear much larger and allows the curtain panels to stack back onto the wall when open, maximizing your view and natural light. Measure precisely and use a level to ensure your bracket marks are perfectly even.
Step 2: Install the Rod and Brackets
Securely install the brackets using wall anchors if you cannot drill into a stud. Once the brackets are in place, you can place your rod.
For a single rod setup, slide all four panels onto the rod. For a double rod, slide your two sheer panels onto the back rod and your two main panels onto the front rod before setting them in the brackets.
Step 3: Arrange Your Panels for a Perfect Drape
How you arrange the panels makes all the difference. For a single rod, a common arrangement is to have the two center panels open and close, while the two outer panels remain stationary as decorative “side” panels.
For a double rod, the two back panels close to cover the window, and the two front panels can be either functional or purely decorative. Once hung, take time to “train” your drapes by arranging them into neat folds and loosely tying them for a few days to help them hold their shape.
Advanced Styling: Beyond the Basics
Four panels unlock creative possibilities that are impossible with just two. This is where you can truly personalize your space and add a unique design element that elevates the entire room.
Think beyond just adding fullness and consider how you can use the four panels to introduce color, texture, and sophisticated function.
The Art of Functional Zoning
A little-discussed benefit of the four-panel system is the ability to create “zones” of light control. By using two different types of panels on a single rod, you can achieve a highly customized effect without the need for a double rod.
For instance, hang two light-filtering linen panels in the center and two heavy velvet blackout panels on the ends. During the day, you can close the linen panels for soft, diffused light, and at night, pull the velvet panels over them for complete darkness and privacy.
Color Blocking and Texture Mixing
Create a bold, custom look by using two panels of a neutral color and two panels of a vibrant accent color. You could place the accent color on the two outer panels to frame the window or on the two inner panels for a surprising pop when the curtains are opened.
Similarly, you can mix textures for a rich, tactile experience. Pair a smooth silk with a nubby linen, or a heavy cotton with a delicate sheer to add another layer of design sophistication to your room.
Key Mistakes to Avoid with a 4-Panel Setup
While a four-panel arrangement is a powerful design tool, a few common mistakes can undermine the effect. Being aware of these pitfalls will ensure a flawless execution.
Paying attention to these details is what separates a DIY look from a professional installation.
1. Using a Weak or Undersized Rod
This is the most common failure point. Do not underestimate the weight of four curtain panels, especially if they are lined or made of heavy fabric like velvet. A sagging rod looks unprofessional and puts strain on your wall and brackets.
2. Forgetting the Center Support
Even a strong rod needs a center support bracket for any span over 60 inches. Forgetting this critical piece of hardware will inevitably lead to sagging over time. Always secure the center support firmly into a wall stud for maximum stability.
3. Skimping on the Stack Back
Remember to extend the rod well beyond the window frame. If you don’t account for “stack back”—the space the panels occupy when fully open—your curtains will block a significant portion of your window and obstruct your view, defeating the purpose of a beautiful window treatment.
Making the Final Decision
Choosing to use four curtain panels on a single window is a design decision that pays huge dividends in style, luxury, and functionality. It is the single most effective way to make off-the-shelf curtains look like a high-end, custom installation.
This approach isn’t just for grand living rooms; it can elevate a bedroom, dining room, or any space with a window that deserves to be a feature. While you consider the number of panels, it’s also worth asking broader questions like, are honeycomb shades outdated, to ensure your overall window strategy is cohesive and modern.
By investing in the right hardware and taking the time to install it correctly, you can create a window treatment that transforms your room from ordinary to extraordinary. And if you’re planning for multiple windows, understanding these principles can help you figure out how many curtain panels for 3 windows you might need to create a consistent look throughout your home.