3×12 Tile Trowel Size: Your Guide to a Perfect Installation
You’ve selected the perfect 3×12 tile for your backsplash or shower wall, envisioning a sleek, professional finish. However, the success of your project hinges on a small but critical detail: the size of your notched trowel. Choosing the wrong trowel is one of the most common and costly mistakes in any tile installation.
Using a trowel with notches that are too small will starve the tile of mortar, leading to poor adhesion and hollow spots. Conversely, a trowel that’s too large will create excessive squeeze-through, filling your grout lines with messy thinset. This guide will provide the definitive answer to ensure your 3×12 tiles are set perfectly the first time.
You'll Learn About
Why Trowel Size is So Critical for 3×12 Tiles
The primary function of a notched trowel is to apply a specific, consistent amount of mortar onto a surface. When you press a tile into these mortar ridges, they collapse and spread out, creating a uniform bed that bonds the tile to the substrate. The goal is to achieve at least 80-95% mortar coverage on the back of the tile.
The 3×12 tile size presents a unique challenge because of its length. These tiles are more prone to slight bowing or warpage from the manufacturing process than a smaller 3×6 tile. Using a trowel with insufficient notch depth can prevent the center of the tile from making full contact with the mortar, compromising the bond and creating lippage.
Square Notch vs. V-Notch: Which is Right for 3×12 Tile?
You’ll encounter two primary types of trowel notches: square and V-notch. While both can be used, one is generally better suited for the specific demands of a 3×12 tile installation.
Understanding the difference is crucial for a successful outcome. Each notch shape delivers mortar differently, which directly impacts the coverage and support your tile receives.
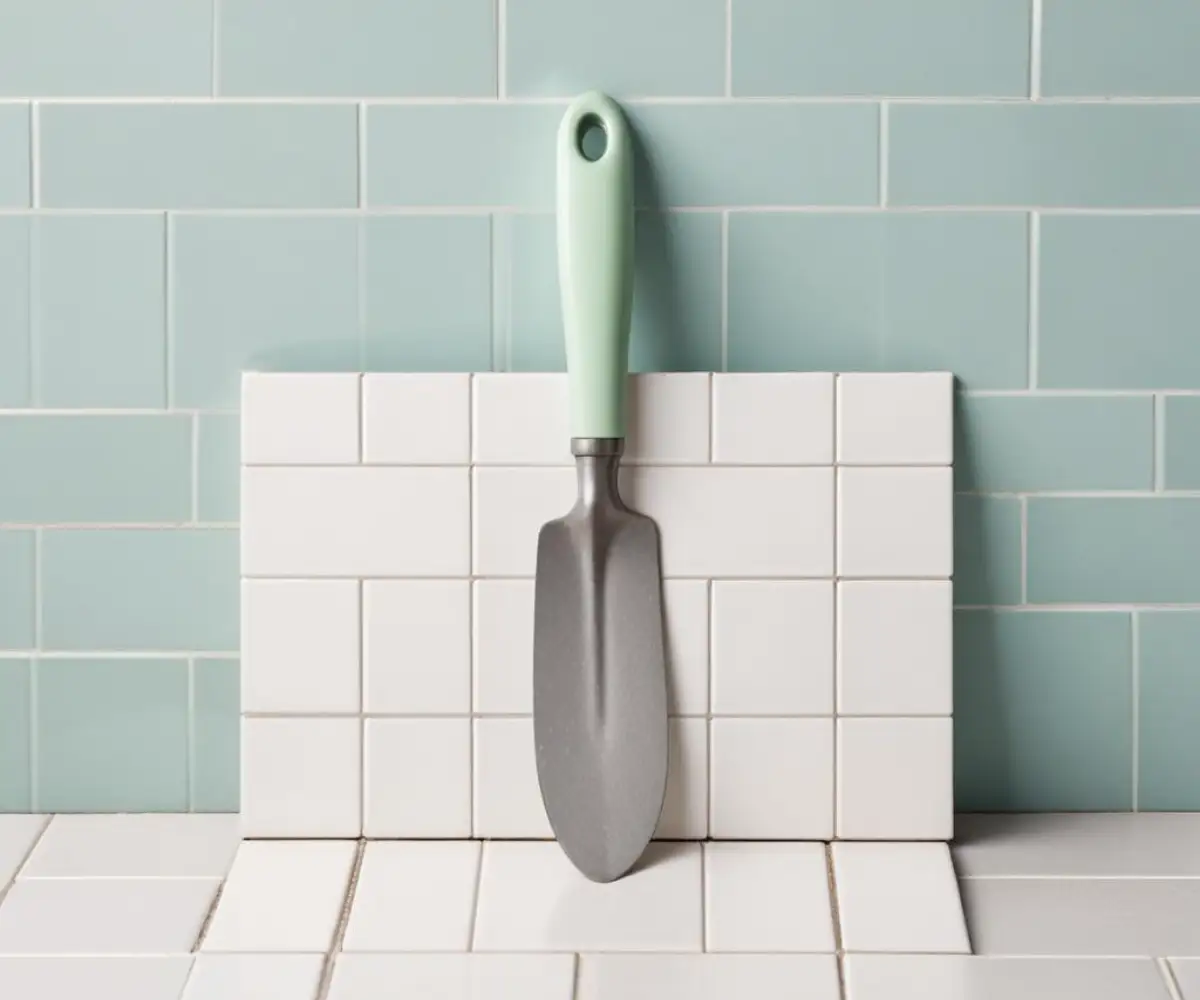
The Professional’s Choice: The Square-Notch Trowel
For most 3×12 tile installations, a 1/4″ x 1/4″ square-notch trowel is the recommended tool. The square notches leave taller, more substantial ridges of mortar. This provides the necessary height to accommodate any minor warping in the tile and ensures the tile bed fully collapses for maximum coverage.
If your wall is not perfectly flat, stepping up to a 1/4″ x 3/8″ square-notch trowel might be necessary. This slightly larger trowel gives you more mortar to work with, allowing you to build up low spots and achieve a flat, even tile surface without lippage.
When a V-Notch Trowel Might Suffice
A V-notch trowel, typically a 3/16″ V-notch, applies less mortar than its square-notched counterpart. This can be suitable for 3×12 tiles only if two conditions are met: the tile is exceptionally thin and the substrate is perfectly flat. However, because of the potential for tile warpage and less-than-perfect walls, the V-notch is often a riskier choice for this tile size.
The Definitive Trowel Recommendation for 3×12 Tile
To simplify your decision, here is a clear guide to selecting the right trowel. The flatness of your wall is just as important as the tile itself. Always check your substrate with a long level or straightedge before beginning.
Remember that these are general guidelines. Tile thickness and the texture on the back of the tile can influence your choice. For a more detailed comparison with large format tiles, see our guide on the trowel size needed for 12×24 tile.
| Substrate Condition | Recommended Trowel | Rationale |
|---|---|---|
| Perfectly Flat Wall | 1/4″ x 1/4″ Square-Notch | Provides ideal coverage for standard 3×12 tiles without excess mess. |
| Slightly Uneven Wall | 1/4″ x 3/8″ Square-Notch | Offers extra mortar to build up low areas and prevent lippage. |
| Perfectly Flat & Thin Tile | 3/16″ V-Notch | Sufficient for thin tiles on a flawless surface; less mortar squeeze-out. |
How to Guarantee Perfect Mortar Coverage Every Time
Selecting the right trowel is only half the battle. Your application technique is what ultimately determines the quality of the bond. Follow these pro-level steps to ensure a flawless, long-lasting installation.
Step 1: Inspect and Prepare Your Substrate
Before mixing your mortar, ensure your wall is flat, clean, and stable. Any movement or cracks in the substrate can transfer through to your new tile installation. For surfaces with minor cracks or for installations in areas prone to movement, using a high-quality crack isolation membrane is essential for preventing future problems.
Step 2: Master the “Burn and Comb” Method
First, use the flat side of your trowel to apply a thin, tight layer of mortar to the wall. This is called “keying in” or “burning” the thinset, and it ensures a powerful mechanical bond. Immediately after, apply more mortar and use the notched side of the trowel, holding it at a consistent 45-degree angle, to comb the ridges in a single direction.
Step 3: The Critical Tile Check
After setting your first few tiles, pull one off the wall and inspect the back. You should see that the mortar ridges have fully collapsed, covering at least 95% of the tile’s surface, especially in wet areas like showers. If you see empty voids or distinct trowel lines, you may need to use more pressure, adjust your trowel angle, or switch to a larger trowel.
Common Mistakes to Avoid With Your 3×12 Tile Installation
Even with the right tool, simple errors can derail your project. Be mindful of these common pitfalls to keep your installation on track and looking professional.
Mistake #1: Ignoring Tile Warpage
Never assume your tiles are perfectly flat. Check a few from each box by placing them face-to-face. If they rock, there is a bow. A larger square-notch trowel and periodically checking for lippage will be essential to manage this.
This attention to detail is just as important as deciding on aesthetic choices, such as whether to install your subway tile without spacers for a tighter look.
Mistake #2: Directional Troweling Matters
When installing a rectangular tile like a 3×12, always comb your mortar ridges parallel to the shorter side of the tile. This makes it easier for trapped air to escape when you set the tile, ensuring the ridges collapse properly for full coverage.
Mistake #3: Mortar Consistency is Off
Your thinset mortar should be mixed to a smooth, peanut-butter-like consistency. Mortar that is too thick will be difficult to spread and won’t collapse properly. Mortar that is too thin will slide down the wall and fail to hold the tile in place.
Final Thoughts: The Right Trowel is Non-Negotiable
For a successful 3×12 tile installation, the 1/4″ x 1/4″ square-notch trowel is your most reliable tool. It provides the right balance of mortar to achieve excellent coverage without creating a mess. Always remember to assess the flatness of your substrate and the specific characteristics of your tile, and be prepared to step up to a 1/4″ x 3/8″ trowel if needed.
By pairing the correct trowel with proper installation techniques, you can move beyond guesswork and achieve a durable, professional-quality tile finish that will stand the test of time.
Frequently Asked Questions
What is the recommended trowel size for a 3×12 tile?
For a standard thickness 3×12 tile, a 1/4″ x 1/4″ square-notched trowel is a common recommendation. If the tile is thinner (around 5mm), a smaller 1/8″ x 1/8″ square-notched trowel is suitable. For thicker stone or porcelain tiles (9-10mm), a 1/4″ x 1/4″ square or U-notch is recommended to ensure full contact.
Does tile thickness affect the trowel size I should use?
Yes, you should match the trowel’s notch size to the tile’s thickness, not just its dimensions. Thinner tiles require smaller notches to prevent thinset from squeezing up through the grout joints. Thicker or heavier tiles need a larger notched trowel to provide adequate mortar coverage for a strong bond.
What happens if my wall isn’t perfectly flat?
If your wall surface is not flat, it’s better to use a larger trowel, such as a 1/4″ x 1/4″ square notch or even a 1/4″ x 3/8″. A larger trowel applies more thinset mortar, which can help compensate for minor imperfections and prevent uneven tiles, known as lippage. However, the best approach is to flatten the wall as much as possible before tiling.
What’s the difference between a U-notch and a Square-notch trowel for this tile size?
Both trowel shapes are suitable for 3×12 tiles. A square-notch trowel applies slightly more mortar than a U-notch of the same size. Some installers find that the rounded ridges created by a U-notch trowel are easier to collapse, ensuring better coverage under the tile.
How much mortar coverage is required for 3×12 wall tiles?
For wall applications, industry standards suggest a minimum of 80% mortar coverage. In wet areas like showers or tub surrounds, you should aim for 95% coverage to ensure a durable and water-resistant installation. Proper coverage is crucial to prevent voids and potential tile failure.