3M Blue Tape Pulling Paint Off? Here’s the Shocking Reason Why
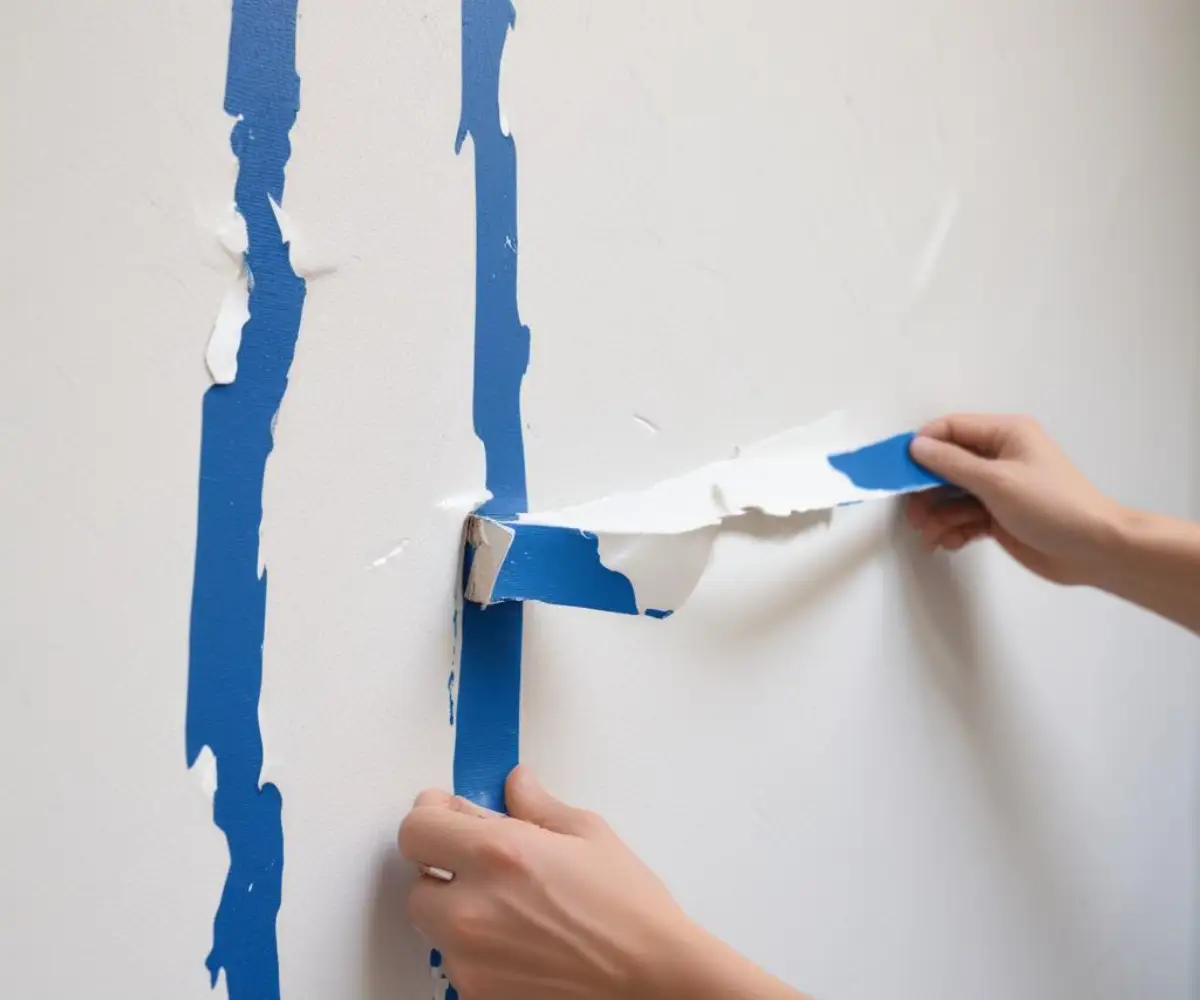
There are few things more frustrating than finishing a paint job, reaching for that roll of blue painter’s tape, and peeling it back only to see chunks of your fresh paint coming with it. That crisp, clean line you envisioned is now a jagged, damaged mess requiring tedious touch-ups. You used the right tape—the iconic 3M blue tape painters swear by—so what went wrong?
This common problem plagues DIY enthusiasts and even seasoned professionals alike. The truth is, while the tape itself is a critical tool, several underlying factors turn it from a helpful guide into a paint-peeling nightmare. Understanding these hidden culprits is the key to achieving the flawless finish you deserve.
Why Your Painter’s Tape is Betraying You: The Hidden Causes
When 3M blue tape pulls paint from a wall, it’s easy to blame the tape’s adhesive. However, the root of the problem often lies with the wall surface itself or the application and removal process. Several factors can conspire to create this frustrating outcome.
The condition of the underlying surface is paramount. If the wall has layers of old paint, poor adhesion between those layers can cause the tape to pull off more than just the top coat. Similarly, if the surface wasn’t properly cleaned of dust, grease, or grime before painting, the new paint may not have bonded securely to the wall, making it susceptible to peeling when the tape is removed.
The Critical Role of a Well-Prepared Surface
Think of painting as a layered system where each layer must bond perfectly to the one beneath it. If the initial surface is compromised, the entire system is weak. Dust and debris act as a barrier, preventing the paint’s resin from creating a strong mechanical bond with the wall.
Moisture is another significant factor. Painting on a surface that is not completely dry can lead to poor adhesion. This is especially common in humid environments or if the wall was recently cleaned and not given adequate time to dry. The trapped moisture can interfere with the paint’s curing process, resulting in a weak film that lifts easily.
Adhesion Aggressiveness: Not All Blue Tapes Are Created Equal
While we often refer to “3M blue tape” as a single product, there are actually various types with different levels of adhesion. Using a tape with an adhesive that is too strong for your specific surface is a common mistake. For instance, a multi-surface tape might be too aggressive for a freshly painted or delicate surface.
It is crucial to select the tape that matches your project’s needs. For freshly painted surfaces (that have cured for at least 24 hours), a delicate surface tape is the appropriate choice. These tapes are specifically designed with a lower-tack adhesive to prevent damage upon removal. Using the wrong tape is akin to using a sledgehammer to crack a nut—unnecessary force that leads to damage.
The Ultimate Prevention Playbook: A Step-by-Step Guide to Flawless Lines
Preventing painter’s tape from pulling off paint is not about a single secret trick but rather a systematic approach that begins long before you even unroll the tape. By following a series of deliberate steps, you can virtually eliminate the risk of paint peeling and ensure your project has a professional-quality finish.
Success lies in the details of preparation, application, and removal. Each phase plays a crucial role in the final outcome. Rushing any of these steps can compromise the integrity of your paint job, leading to the very problems you’re trying to avoid.
Phase 1: Impeccable Surface Preparation
The foundation of any great paint job is a clean, well-prepared surface. This is a non-negotiable step for ensuring proper paint adhesion. Start by thoroughly cleaning the walls to remove any dust, dirt, or oils that could interfere with the paint’s ability to bond.
A simple solution of mild soap and water is often sufficient for this task. After washing, rinse the walls with clean water and, most importantly, allow the surface to dry completely. Depending on the humidity and airflow, this could take several hours. Patience at this stage is a virtue that will be rewarded with a durable finish.
Phase 2: Mastering the Art of Tape Application
Once your surface is clean and dry, the next step is to apply the tape correctly. A common error is stretching the tape as it is being applied. This can cause it to lift or break, creating gaps where paint can seep underneath.
Apply the tape in short, overlapping strips, pressing down firmly as you go. To create a perfect seal, use a flexible putty knife or a credit card to smooth down the edge of the tape that will meet the paint. This process, known as “burnishing,” is critical for preventing paint bleed and ensuring a crisp line. Allow the tape to set for about 30 to 60 minutes before you begin painting. This gives the adhesive time to form a secure bond with the surface.
Phase 3: The Critical Timing of Tape Removal
When to remove the painter’s tape is a topic of much debate, but there is a general consensus among professionals. Do not wait for the paint to fully cure. If you do, the paint can form a hard film over the tape, and when you pull the tape, it can tear and lift the paint along with it.
The ideal time to remove the tape is when the paint is dry to the touch but not fully hardened. This is typically within an hour after your final coat of paint. Waiting too long is a primary cause of paint peeling. If you must wait and the paint has fully dried, use a sharp utility knife or a razor blade to lightly score along the edge of the tape. This will break the bond between the paint on the wall and the paint on the tape, allowing for a cleaner removal.
The Damage is Done: A Recovery Guide for Peeled Paint
Even with the best preparation, accidents can happen. If you find yourself with sections of peeled paint after removing your tape, don’t despair. With a bit of patience and the right technique, you can repair the damage and achieve a seamless finish.
The key to a successful repair is to address the issue promptly and methodically. Resist the urge to simply paint over the damaged area, as this will likely result in a noticeable patch. Proper preparation of the damaged spot is essential for a professional-looking repair.
Step 1: Assess and Prepare the Damaged Area
Your first step is to carefully inspect the peeled section. Use a small putty knife or a razor blade to gently remove any remaining loose or flaking paint around the edges of the damaged spot. The goal is to create a stable base for your repair.
Once the loose paint is removed, lightly sand the edges of the peeled area with fine-grit sandpaper. This will feather the edges and help the new paint blend in with the surrounding surface. After sanding, wipe the area clean with a damp cloth to remove any dust and allow it to dry completely.
Step 2: Patching and Priming for a Smooth Finish
If the tape has pulled off paint down to the bare drywall or plaster, you will need to apply a thin layer of spackling compound to fill the depression and create a level surface. Apply the spackle with a small putty knife, feathering the edges to blend with the wall.
After the spackle has dried completely, sand it smooth with fine-grit sandpaper. It is crucial to then apply a coat of primer over the patched area. Primer ensures that the new paint will adhere properly and that the sheen will match the rest of the wall. Without primer, the patched area may absorb the paint differently, resulting in a noticeable blemish.
Step 3: The Final Touch-Up
With the damaged area patched and primed, you are ready to apply the finish coat. Use a small, high-quality paintbrush to carefully apply the paint to the repaired area. It is best to use the same paint that was used on the rest of the wall to ensure a perfect color match.
Apply the paint in thin, even coats, allowing each coat to dry before applying the next if necessary. Feather the edges of the new paint into the surrounding area to create a seamless blend. Once the final coat is dry, the repair should be virtually invisible.
Choosing Your Weapon: A Guide to the Right Painter’s Tape
Not all painter’s tapes are suitable for every job. The market offers a variety of options, each designed for specific surfaces and conditions. Understanding the differences is key to selecting the right tape and avoiding paint damage.
The primary distinguishing factor among painter’s tapes is their adhesion level. This is often indicated by the color of the tape or explicitly stated on the packaging. Choosing the wrong adhesion level is one of the most common reasons for paint peeling. If your paint job involves various surfaces, you may need more than one type of tape.
| Tape Type | Recommended Surfaces | Adhesion Level | Clean Removal Time |
|---|---|---|---|
| Delicate Surface | Freshly painted surfaces (24+ hrs), wallpaper, faux finishes, primed wallboard | Low | Up to 60 days |
| Multi-Surface | Painted walls, wood, glass, metal | Medium | Up to 14 days |
| Rough/Uneven Surfaces | Brick, concrete, stucco, rough wood | High | Up to 5 days |
| Exterior Surfaces | Exterior wood, vinyl, aluminum, steel | Medium-High (UV Resistant) | Up to 7 days |
Beyond the surface type, consider the environmental conditions of your project. If you’re painting outdoors or in an area exposed to direct sunlight, you’ll need a tape with UV resistance. We’ve explored the challenges of temperature and adhesion in our article on whether painter’s tape is heat resistant.
For projects involving trim and windows, a high-quality tape is essential for protecting delicate surfaces. If you ever find yourself needing to remove errant paint, our guide on how to remove paint from aluminum window frames can be a lifesaver. And don’t forget the importance of a clean workspace; even unseen issues like dirt under your baseboards can impact your final result.
Advanced Techniques for a Flawless Finish
For those looking to elevate their painting skills, there are several advanced techniques that can help ensure you never have to deal with peeling paint again. These methods may require a bit more effort, but the results are well worth it.
One pro-level trick involves sealing the edge of the tape. After applying and burnishing your tape, apply a very thin coat of the base color (the color you are taping over) along the edge of the tape. This seals the edge, and if any paint does bleed under, it will be the same color as the surface, making it invisible. Allow this to dry before painting your new color.
The Gentle Heat Method for Stubborn Tape
If you have left the tape on for too long and are concerned about peeling, a little bit of heat can help. A hairdryer set to a low heat setting can be used to gently warm the tape. This softens the adhesive, making it easier to remove without damaging the paint underneath.
Hold the hairdryer several inches from the tape and move it continuously to avoid overheating any one spot. As you warm the tape, begin to slowly pull it back at a 45-degree angle. This technique requires patience but can be highly effective in preventing paint from lifting.
Ultimately, achieving a professional paint finish is a combination of using the right materials and employing the right techniques. By understanding the science behind paint adhesion and the common pitfalls associated with painter’s tape, you can approach your next project with confidence and achieve the clean, crisp lines you desire.