30-Inch Range in a 36-Inch Space? Your Ultimate Fix for That Awkward Gap!
You found the perfect 30-inch range with all the features you’ve ever wanted. There’s just one glaring problem: your kitchen has a gaping 36-inch cutout waiting for it. That means you’re left with a frustrating six-inch gap that can quickly turn your dream kitchen upgrade into a design nightmare.
This is a surprisingly common issue, especially in older homes or kitchens designed for larger, professional-style appliances. That extra space isn’t just an eyesore; it’s a trap for food crumbs, a potential safety hazard, and an all-around unfinished look. But don’t worry, you don’t have to live with it. There are several effective solutions to seamlessly and safely integrate your new 30-inch range.
You'll Learn About
Why You Have a 6-Inch Gap and Why It Matters
Understanding the problem is the first step to solving it. Oversized range openings are often a remnant of past kitchen designs where 36-inch ranges were more standard. Today, the 30-inch range is the most common size, offering a huge variety of models and features. This mismatch leaves many homeowners scratching their heads.
Letting that six-inch gap—three inches on each side—remain is not a viable option. It compromises the look and function of your kitchen, creating practical problems you’ll have to deal with every day.
The Problem with the Gap: More Than Just Looks
An open gap next to your range is more than just a cosmetic issue. It poses several functional and safety risks that need to be addressed. Ignoring the gap can lead to long-term problems.
Firstly, it’s a cleaning nightmare. Crumbs, grease, and liquids will inevitably fall into the space between your range and countertop. This creates a hard-to-reach area that can attract pests and develop unpleasant odors. Secondly, it can be a safety hazard, potentially exposing gas lines or electrical outlets and affecting the stability of the appliance.
Your Top 3 Solutions for a 30-Inch Range in a 36-Inch Space
Fixing the gap doesn’t have to be a massive undertaking. Depending on your budget, DIY skills, and desired aesthetic, you can choose from a few excellent solutions. Each approach offers a different balance of cost, complexity, and visual appeal.
From simple, ready-made kits to fully custom cabinetry, there’s a perfect fix for every kitchen. Let’s break down the most popular and effective methods to make your 30-inch range look like it was made for its 36-inch home.
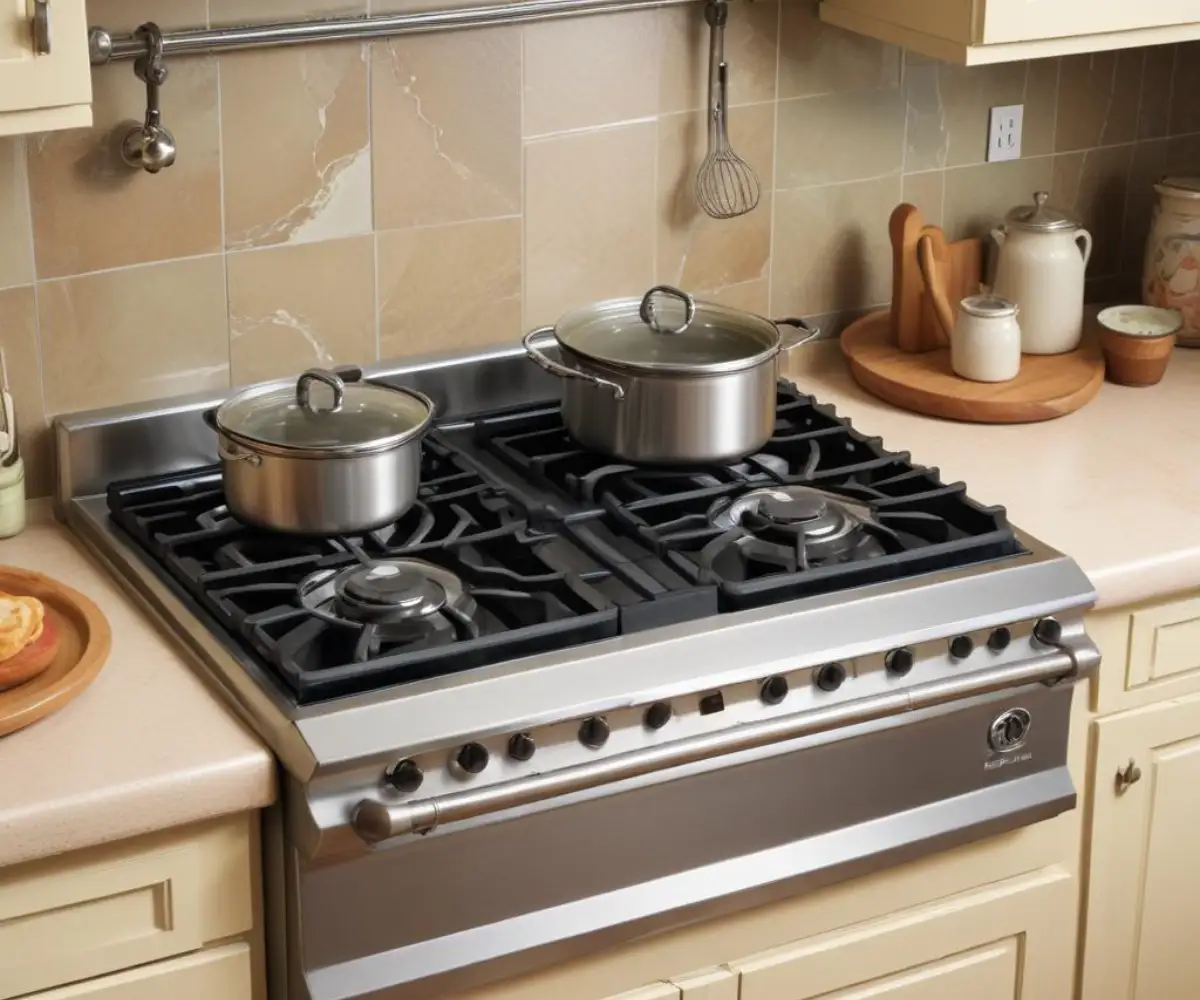
Solution 1: The Quick & Easy Fix – Range Filler Strips
The most straightforward and popular solution is to use range filler strips or gap covers. These are specifically designed kits, usually made of stainless steel or other metals, that cover the gap between your range and the countertop. They provide a clean, finished look with minimal effort.
Filler kits are available from appliance manufacturers and third-party sellers and come in various finishes like stainless steel, black, and white to match your range. Some kits are simple T-shaped strips that cover the countertop gap, while others are more comprehensive, covering the space down the front of the cabinet as well.
The primary advantage of this method is its simplicity and low cost. Most homeowners can install these kits in under an hour with basic tools. However, while functional, some people feel they can look like a patch rather than a truly integrated solution.
Solution 2: The Integrated Look – Custom Cabinetry or Shelving
For a truly seamless and high-end finish, custom cabinetry is the ultimate solution. This approach involves hiring a carpenter or cabinet maker to build narrow cabinets or filler panels that perfectly match your existing kitchen style. This is the most aesthetically pleasing option.
A fantastic functional choice is to install two narrow, 3-inch pull-out cabinets on either side of the range. These are perfect for storing spices, oils, and baking sheets, turning wasted space into a highly practical storage solution. Alternatively, custom-scribed wood filler panels painted or stained to match your cabinets can make the gap disappear completely.
While this is the most expensive option, it delivers a professional, built-in look that adds value to your kitchen. If you’re already planning other upgrades, understanding the potential costs is crucial. For instance, if you’re exploring different installations, looking into flooring installation costs can help you budget for a wider project.
Solution 3: The DIY Approach – Building Your Own Solution
If you are handy with tools and enjoy a good project, creating your own custom filler solution can be a rewarding and budget-friendly option. This could involve building simple wood boxes or shelves to flank the range, which can then be painted or stained to match your cabinetry.
When going the DIY route, safety is paramount. You must use non-combustible materials anywhere they might come into close contact with the range’s heat, especially around the cooktop and any rear ventilation. It’s critical to respect the manufacturer’s specified clearances to prevent a fire hazard.
Embarking on a DIY kitchen project often leads to other improvements. If you’re thinking about new countertops to go with your perfectly fitted range, be sure to check out reliable installer reviews, like these Lowe’s countertop installation reviews, before making a decision.
Critical Safety Considerations You Can’t Ignore
Regardless of which solution you choose, safety must be your top priority. Ranges, especially gas models, produce significant heat and require proper ventilation to operate safely. Ignoring manufacturer guidelines can lead to dangerous situations.
Always consult your range’s installation manual for specific clearance requirements from combustible surfaces. This is non-negotiable. Any filler material, custom cabinet, or DIY solution must not interfere with these clearances or block essential ventilation ports.
Heat and Combustible Materials
Gas and electric ranges have strict requirements for distance from side walls and overhead cabinets. Typically, there must be zero clearance below the cooktop surface, but specific clearances are required for walls above the counter height. Always check your appliance’s installation instructions for exact dimensions.
For any custom wood fillers, ensure they do not sit higher than the cooktop surface unless a non-combustible material like metal is used as a barrier. The area behind the range can also get very hot, so ensure any solution allows for proper airflow.
Comparing Your Options: What’s the Best Fit for You?
To help you decide, here is a quick comparison of the three main solutions. Consider your budget, timeline, and the final look you want to achieve in your kitchen.
| Solution | Average Cost | Skill Level Required | Aesthetic Appeal |
|---|---|---|---|
| Range Filler Strips | $50 – $200 | Beginner | Good to Very Good |
| Custom Cabinetry | $500 – $1500+ | Professional | Excellent (Seamless) |
| DIY Solution | $100 – $300 | Intermediate | Good to Excellent (Varies) |
Step-by-Step Guide: Installing Stainless Steel Filler Strips
For most people, a metal filler kit is the perfect balance of cost, ease, and appearance. Here’s a simple guide to get it done right.
1. Measure and Purchase: Measure the gap’s width and depth precisely. Purchase a kit designed for a 30-inch range, ensuring the finish matches your appliance.
2. Prepare the Area: Clean the sides of the range and the adjacent countertop and cabinets thoroughly to ensure a good fit and adhesion if required.
3. Position the Range: Slide the range perfectly into the center of the 36-inch opening, ensuring it is level and at the correct depth according to the manufacturer’s instructions.
4. Attach the Filler Strips: Most kits either rest on the countertop, held in place by friction, or attach with adhesive strips or small screws to the side of the cabinet or countertop. Follow the specific instructions included with your kit for a secure fit.
5. Make Final Adjustments: Ensure the strips are flush with the countertop and range surface, creating a smooth transition. Step back and admire your professional-looking installation.
Frequently Asked Questions (FAQ)
Here are answers to some common questions about dealing with an oversized range opening.
Can I just leave the gap open?
It is strongly recommended that you do not leave the gap open. As mentioned, it creates significant cleaning and safety issues. Filling the gap is essential for a functional and safe kitchen.
Where can I buy range gap fillers?
You can find range filler kits at major home improvement stores, appliance retailers, and online marketplaces like Amazon. Many range manufacturers, such as GE and Samsung, sell kits specifically designed for their models.
Will a filler strip perfectly match my stainless steel range?
In most cases, yes. Reputable brands offer finishes that are a very close match to standard appliance finishes. However, slight variations in grain and sheen can occur, but they are usually unnoticeable.
Is filling the gap a fire hazard?
It can be if done improperly with combustible materials. Always use metal filler strips or ensure any wood is kept within the safe clearance zones specified by the range manufacturer. Never use flammable materials like plastic or unrated silicone near the cooktop.
Your Kitchen Upgrade is Complete
That awkward six-inch gap doesn’t have to ruin your new kitchen centerpiece. With solutions ranging from simple filler strips to elegant custom pull-outs, you can easily bridge the space between your 30-inch range and 36-inch opening. By choosing the right method for your budget and style, you can achieve a safe, clean, and professional finish.
Successfully fixing this common problem is incredibly satisfying—almost as much as finally resolving other persistent household annoyances, like that small but irritating Luxe bidet toilet seat gap. Now you can enjoy your new appliance in a kitchen that looks truly complete.