2 Inch Mitered Edge: The #1 Flaw Hiding in Your Countertop
The 2-inch mitered edge countertop is a cornerstone of modern kitchen design. It delivers a substantial, luxurious look that feels custom-built, turning a simple island or perimeter counter into a statement piece.
But beneath that clean, sharp line lies a critical detail that many homeowners overlook—a detail that can mean the difference between a flawless finish and a countertop that fails years before its time. The secret isn’t just in the stone; it’s in the seam.
You'll Learn About
The Allure of the 2-Inch Mitered Edge: Why It’s So Popular
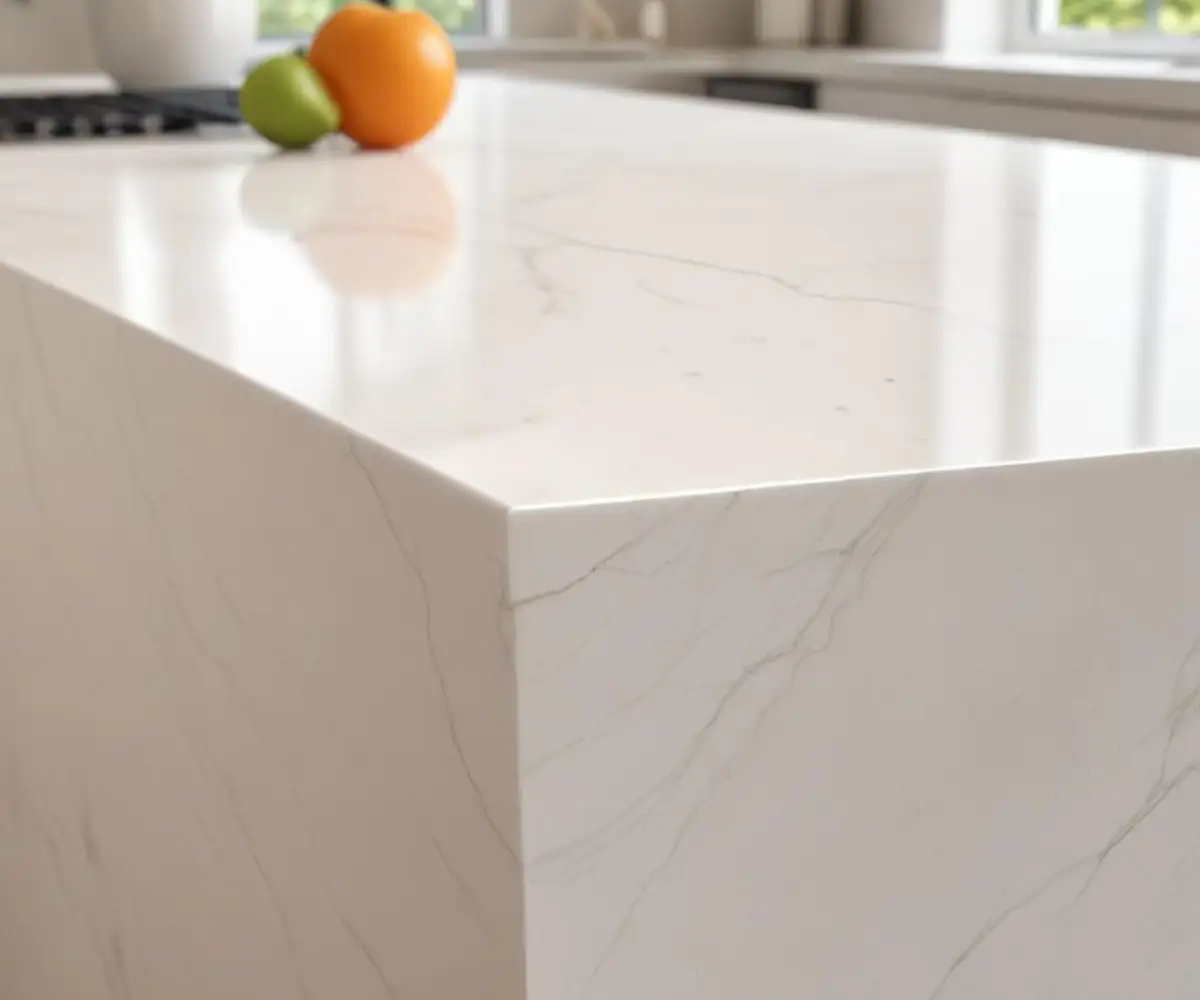
A mitered edge achieves the look of a thick, solid slab of stone without the immense weight and cost. Fabricators cut the top piece of the countertop and a separate apron piece at 45-degree angles. These two pieces are then joined together to form a perfect 90-degree corner, creating a seamless appearance.
This technique gives the impression of a single, solid 2-inch block of stone. The result is a bold, clean profile that works beautifully in contemporary, minimalist, and transitional kitchens. When done correctly, the pattern of the stone flows from the horizontal surface down the vertical edge, an effect that is especially stunning on materials with distinct veining like marble and certain granites or quartz.
The Hidden Problem: The Anatomy of a Mitered Seam Failure
The single greatest point of failure for a 2-inch mitered edge is the seam itself. This is not just an aesthetic issue of a visible glue line; it is a structural problem waiting to happen. The joint is held together by a high-strength epoxy, and its success depends entirely on precision cutting, perfect alignment, and unwavering support.
When a mitered seam fails, it can manifest as a visible gap, a hairline crack that collects grime, or even a complete separation of the apron from the countertop. The cause is almost always related to one of two factors: poor fabrication or inadequate support. Even the slightest imperfection in the 45-degree cuts will result in a gap that must be filled with excess epoxy, making the seam more noticeable from day one.
Why 2 Inches Demands Perfection
A 2-inch profile creates a specific amount of leverage on the mitered joint. Unlike a much thicker 4-inch mitered edge countertop, which has a larger surface area for bonding, the 2-inch edge has less room for error. Any flex in the countertop—caused by leaning on it, placing heavy objects, or even slight shifts in the cabinetry—puts immense stress on this fine joint.
This is where the hidden flaw truly lies: the subtop. A 2-inch mitered edge built from a standard 2cm or 3cm slab requires a plywood subtop for support. If this subtop is not perfectly level, continuous, and securely fastened to the cabinets, it will allow for micro-flexing. Over time, this constant, subtle movement will fatigue the epoxy bond, leading to a cracked or separated seam.
Material Matters: Not All Stones Are Equal for Mitered Edges
The material you choose significantly impacts the success of a 2-inch mitered edge. Some materials are more forgiving than others when it comes to creating an invisible seam.
- Engineered Quartz: Often the best choice for a flawless mitered edge. Its uniform pattern and color consistency make it easier for fabricators to create a nearly invisible joint. The lack of natural fissures also means it can be cut with extreme precision.
- Granite: Can be successfully mitered, but pattern matching is crucial. For extra thick granite countertops with complex patterns, the fabricator must use pieces from the same slab and align the grain perfectly for the “waterfall” effect.
- Marble: The most challenging material for mitered edges. Its softness makes it prone to chipping during cutting, and its distinct, often unpredictable veining requires masterful skill to align. A poorly matched vein at a mitered corner is a clear sign of amateur work.
The Ultimate Solution: Achieving a Flawless 2-Inch Mitered Edge
Avoiding a seam failure isn’t about avoiding the 2-inch mitered edge altogether. It’s about being vigilant and knowledgeable about the process. A perfect outcome requires a combination of a skilled fabricator, the right material, proper support, and meticulous installation.
Step 1: Choosing the Right Fabricator
This is the most critical step. A low-cost fabricator may cut corners on the precision, adhesive quality, or color matching needed for a perfect seam. When vetting a fabricator, do not proceed without seeing physical examples of their mitered edge work.
Ask them pointed questions: What kind of epoxy do they use? How do they ensure a perfect color match? How do they guarantee vein matching on natural stone? A confident, experienced professional will have clear answers and examples to back them up.
Step 2: Demanding the Perfect Material Match
For any stone with movement or veining, insist on a discussion about how the pattern will wrap around the edge. For a truly seamless look, the fabricator should use a “book-matched” technique, where two adjoining surfaces mirror each other. This is a premium service but is essential for high-end natural stones.
Even with quartz, ask how they will handle the pattern at the corner. Good fabricators use sophisticated software to plan cuts to ensure the pattern flows as naturally as possible, creating a beautiful and continuous look.
Step 3: Understanding Subtop and Support Requirements
Confirm with your contractor and fabricator that the subtop is sufficient. It should be a minimum of 5/8-inch plywood, perfectly level, and continuous across all cabinet tops. There should be no gaps or uneven surfaces that could cause the countertop to flex.
The cabinets themselves must be perfectly level and secured to the wall and each other. Any instability in the foundation will eventually translate to stress on the mitered seam. This is a crucial detail for achieving a countertop flush with cabinet design, where precision is everything.
Step 4: The Art of the Epoxy and Color Match
The final detail that separates a good job from a great one is the epoxy work. Skilled technicians use specially formulated adhesives that are mixed with pigments to perfectly match the stone’s color and translucency. After the adhesive cures, the seam should be polished to be perfectly flush with the stone surface.
A sloppy job will have excess, poorly colored epoxy that is either smeared or slightly raised. Run your fingers over the seam; it should feel as smooth as the rest of the countertop.
2-Inch Mitered Edge vs. Other Thick Countertop Styles
To understand its value, it helps to compare the 2-inch mitered edge to other common countertop edge styles. Each has its own aesthetic, cost, and key considerations.
| Edge Style | Appearance | Typical Cost | Key Consideration |
|---|---|---|---|
| 2-Inch Mitered Edge | Creates a seamless, solid-block look. Veins can “wrap” around the edge. | High | Requires a highly skilled fabricator for an invisible seam and proper subtop support. |
| Laminated Edge | A second strip of stone is glued underneath the edge. A visible seam line runs horizontally along the edge. | Medium | More affordable than mitered, but the seam is often visible and can interrupt stone patterns. |
| Solid 2-Inch Slab | A true, single slab of 2-inch (5cm) thick stone. No seams. | Very High | Extremely heavy, requiring reinforced cabinetry. Material availability is limited and very expensive. |
| Standard Eased Edge (3cm) | A simple, slightly softened square edge showing the slab’s natural 1.25-inch thickness. | Low (Standard) | A classic, clean look but does not provide the “thick” appearance. |
Is a 2-Inch Mitered Edge Worth the Investment?
Despite the potential pitfalls, a well-executed 2-inch mitered edge is absolutely worth the investment for homeowners seeking a high-end, custom look. It adds significant visual weight and a sense of luxury that can elevate the entire kitchen design. The cost is higher than a standard edge due to the additional labor and precision required, but it is a fraction of the price of a solid 2-inch slab.
The key is to view it not just as a style choice, but as a mark of craftsmanship. When you invest in a mitered edge, you are paying for the fabricator’s skill as much as the material itself. It is a detail that, when done right, speaks volumes about the quality of your entire kitchen renovation.
Final Checks Before Signing Off: Your Installation Day Checklist
On the day of installation, don’t be afraid to inspect the work closely before the installers leave. A reputable company will welcome your attention to detail.
- Inspect the Seam: Look at the mitered edge from multiple angles and in different lighting. Is the seam line hairline-thin and consistent?
- Check the Color Match: Does the epoxy color blend perfectly with the stone? Be wary of fillers that are too white or too dark.
- Feel the Edge: Run your hand along the corner. It should be perfectly smooth, with no bumps, gaps, or rough spots.
- Verify Pattern Alignment: If you have a veined stone, check that the pattern flows naturally from the top surface to the vertical apron.
A 2-inch mitered edge countertop is a beautiful design choice, but its perfection lies in the details that are often unseen. By understanding the critical role of the seam, insisting on a skilled fabricator, and ensuring proper support, you can avoid the hidden flaw and enjoy a stunning, durable countertop for years to come.