16×32 Ceiling Tiles: Your Secret to a High-End Look
Are you tired of the standard, uninspired look of typical drop ceilings? For years, homeowners and designers have been limited to basic 2×2 or 2×4 foot tiles, which often give rooms a dated, commercial feel. This common design problem leaves spaces feeling generic and fails to add any real character or architectural interest.
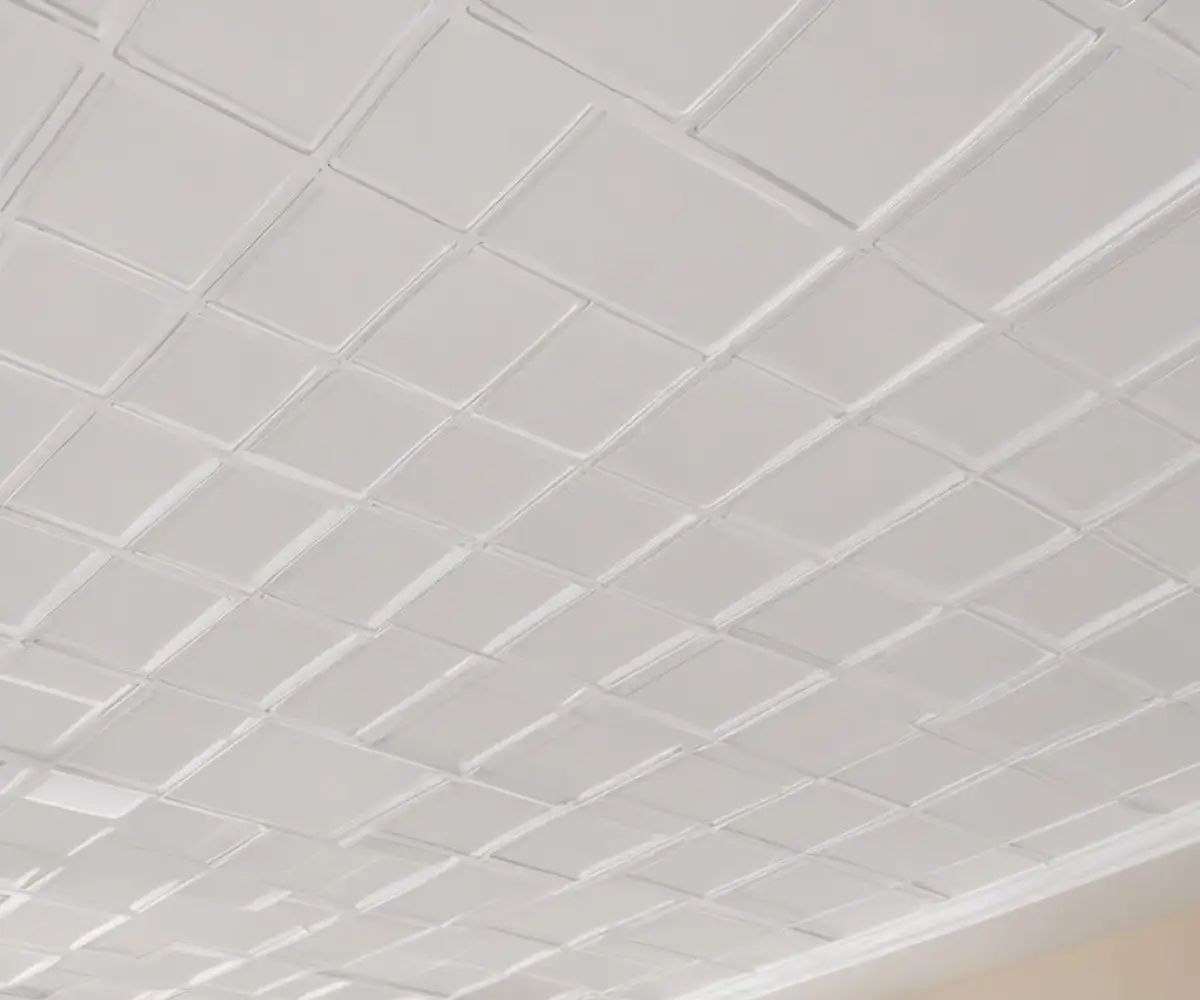
The solution lies in breaking away from these conventional sizes. Opting for a less common dimension, like 16×32 inch ceiling tiles, can dramatically transform a room from mundane to magnificent. This unique size offers a sophisticated and modern alternative that elevates the aesthetic of any space.
You'll Learn About
Why Choose 16×32 Ceiling Tiles? The Unseen Advantages
The choice of ceiling tile size is more than a practical decision; it’s a design choice that impacts the entire feel of a room. The 16×32 dimension provides distinct benefits that go far beyond what standard square tiles can offer, creating a more dynamic and visually appealing overhead space.
The Design Deception: Elongate and Elevate Your Space
One of the most powerful and often overlooked benefits of 16×32 tiles is their ability to influence spatial perception. The rectangular shape creates a sense of direction and flow. By orienting the longer side of the tile down the length of a room, you can make the space feel longer and more expansive.
This is particularly effective in hallways, basements, or any narrow area where you want to create an illusion of greater depth. The linear pattern draws the eye forward, breaking up the monotony of a plain ceiling and adding a subtle architectural element that enhances the room’s proportions.
Escaping the “Office Look”: A Modern Aesthetic
Standard 2×4 and 2×2 tiles are synonymous with commercial offices, schools, and institutional buildings. While functional, they do little to create a warm, inviting atmosphere in a home. 16×32 tiles offer a custom, high-end look that immediately sets your space apart.
This size provides a cleaner, more streamlined appearance that complements modern, transitional, and even traditional decor. It’s a sophisticated choice for finishing basements, creating home theaters, or updating living rooms with a touch of elegance that feels intentional and designer-approved.
Acoustic Performance and Material Variety
Beyond aesthetics, 16×32 tiles are available in a range of materials designed to improve a room’s functionality. Materials like fiberglass and mineral fiber offer excellent sound absorption, making them ideal for home theaters, music rooms, or any space where noise control is a priority. These acoustic tiles can significantly reduce echo and reverberation.
For areas prone to moisture, such as basements or bathrooms, PVC or vinyl tiles are a fantastic option. They are waterproof, washable, and resist mold and mildew growth. This makes them a durable and low-maintenance choice for challenging environments where you still want a polished look. In basements that may have issues with dampness, selecting the right tile material is as crucial as considering a product like mold remediation solutions for the walls.
Key Considerations Before You Buy
Choosing the right ceiling tile involves more than just picking a style. The size, material, and installation complexity all play a role in the final outcome. Understanding the differences between 16×32 tiles and more traditional options is key to making an informed decision that aligns with your budget and design goals.
The following table breaks down the key characteristics of popular ceiling tile sizes to help you compare them at a glance.
| Feature | 16×32 Tiles | 24×24 (2×2) Tiles | 24×48 (2×4) Tiles |
|---|---|---|---|
| Aesthetic Appeal | Modern, linear, elongating effect. | Classic, uniform, grid-like look. | Economical, common in commercial spaces. |
| Best For | Basements, home theaters, hallways, modern living spaces. | Smaller rooms, offices, retail spaces. | Large, open areas, garages, utility spaces. |
| Installation | Requires careful grid planning for optimal layout. | Straightforward installation in a standard grid. | Fewer tiles to install, covering large areas faster. |
| Design Impact | Creates a custom, high-end look and visual interest. | Can sometimes feel institutional if not styled well. | Can make residential rooms feel overly commercial. |
A Guide to Installing 16×32 Ceiling Tiles
Installing a 16×32 drop ceiling is a manageable DIY project, but success lies in meticulous planning. The non-standard size requires careful layout of the suspension grid to ensure a balanced look and minimal waste. Following a structured approach will lead to a professional-looking finish.
Step 1: Grid Planning and Layout is Crucial
Before installing anything, measure the room’s length and width. Create a detailed drawing of your ceiling to plan the grid layout. This will help you center the pattern, plan for border tiles, and determine where your main beams and cross tees will go. Aim for border tiles on opposite sides of the room to be equal in size for a symmetrical, balanced appearance.
Step 2: Installing the Suspension Grid
First, install the wall molding around the perimeter of the room at your desired ceiling height. Then, attach hanger wires to the ceiling joists above. The main beams of your grid will hang from these wires. Once the main beams are in place and level, you can snap in the cross tees to create the 16×32 inch openings for your tiles.
Step 3: Cutting and Fitting the Tiles
For a clean cut, place a tile on a flat surface and use a sharp utility knife with a straightedge. Score the tile firmly and then snap it along the scored line. For border tiles that need a tegular (recessed) edge, you will need to make a second series of cuts to replicate the factory edge so it sits correctly in the grid.
Design Inspiration: Where to Use 16×32 Tiles
The versatility of 16×32 ceiling tiles allows them to enhance a variety of spaces throughout the home. Their unique size and modern appeal can solve specific design challenges and elevate the overall ambiance, from the basement to the main living areas.
The Ultimate Basement Transformation
Basements often present design hurdles like low ceilings and visible ductwork. The linear nature of 16×32 tiles can make a low basement ceiling feel taller and the space feel more open. Choosing tiles with high light reflectance can also brighten up a naturally dark area, creating a more welcoming environment for a family room or guest suite.
Modernizing Your Home Theater or Living Room
In a home theater, acoustic performance is just as important as visual appeal. Acoustic 16×32 tiles can absorb sound, reduce echo, and improve the overall audio experience. Their sleek, modern look contributes to a cinematic atmosphere, making the space feel like a professional screening room.
A Sleek Finish for Garages and Workshops
A finished ceiling can transform a garage from a purely utilitarian space into a clean and functional workshop or extension of your home. PVC 16×32 tiles are an excellent choice here, as they are durable, moisture-resistant, and easy to clean. They provide a polished look while effectively concealing exposed insulation and joists.
Lighting Integration: A Bright Idea
Integrating lighting with a 16×32 grid requires some thoughtful planning, but the result is a clean, seamless look. Standard troffer lights designed for 2×2 or 2×4 grids won’t fit, which opens the door to more modern and flexible lighting solutions. Canless LED wafer lights are an excellent choice for this grid size.
These ultra-thin lights can be installed by cutting a hole directly into the tile, offering complete flexibility in placement. You can create a custom lighting layout that perfectly illuminates the room without being constrained by the grid’s dimensions. This approach allows for a sophisticated and fully integrated ceiling design.
Common Mistakes to Avoid
While installing 16×32 tiles is straightforward, a few common errors can compromise the final result. The most significant mistake is poor planning. Failing to create a detailed grid layout before you start can lead to an off-center design and uneven border tiles, which cheapens the look of the entire ceiling.
Another frequent issue is using the wrong cutting tools. A dull utility knife will tear the tile instead of cutting it, resulting in frayed, unprofessional edges. Always use a fresh, sharp blade and a sturdy straightedge for every cut to ensure clean lines and a perfect fit.
The Final Verdict
For those seeking to move beyond the ordinary, 16×32 ceiling tiles offer a compelling blend of modern style and functional performance. Their unique rectangular shape provides a powerful design tool to make spaces feel larger and more sophisticated. By breaking free from the standard square format, you can create a custom ceiling that adds genuine architectural character to your home.
Whether you are finishing a basement, designing a home theater, or simply want to escape the generic look of a standard drop ceiling, the 16×32 tile is a superior choice. It is a simple change that delivers a significant and lasting impact on the look and feel of your space.