12×24 Tile Staggered or Straight: The #1 Mistake to Avoid
Choosing a layout for 12×24 tiles seems simple, but it’s a decision that permanently alters the look and feel of your space. Many homeowners face paralysis, caught between the classic staggered (or running bond) pattern and the modern straight stack (or grid) pattern. Making the wrong choice can lead to a dated look, amplify floor imperfections, and even create installation nightmares.
The core of the problem isn’t just about aesthetics. It’s about understanding how a pattern interacts with your specific room, the tile itself, and the underlying subfloor. This guide will illuminate the critical factors you must consider, ensuring your tile project looks professional and stands the test of time.
You'll Learn About
Staggered vs. Straight: More Than Just Looks
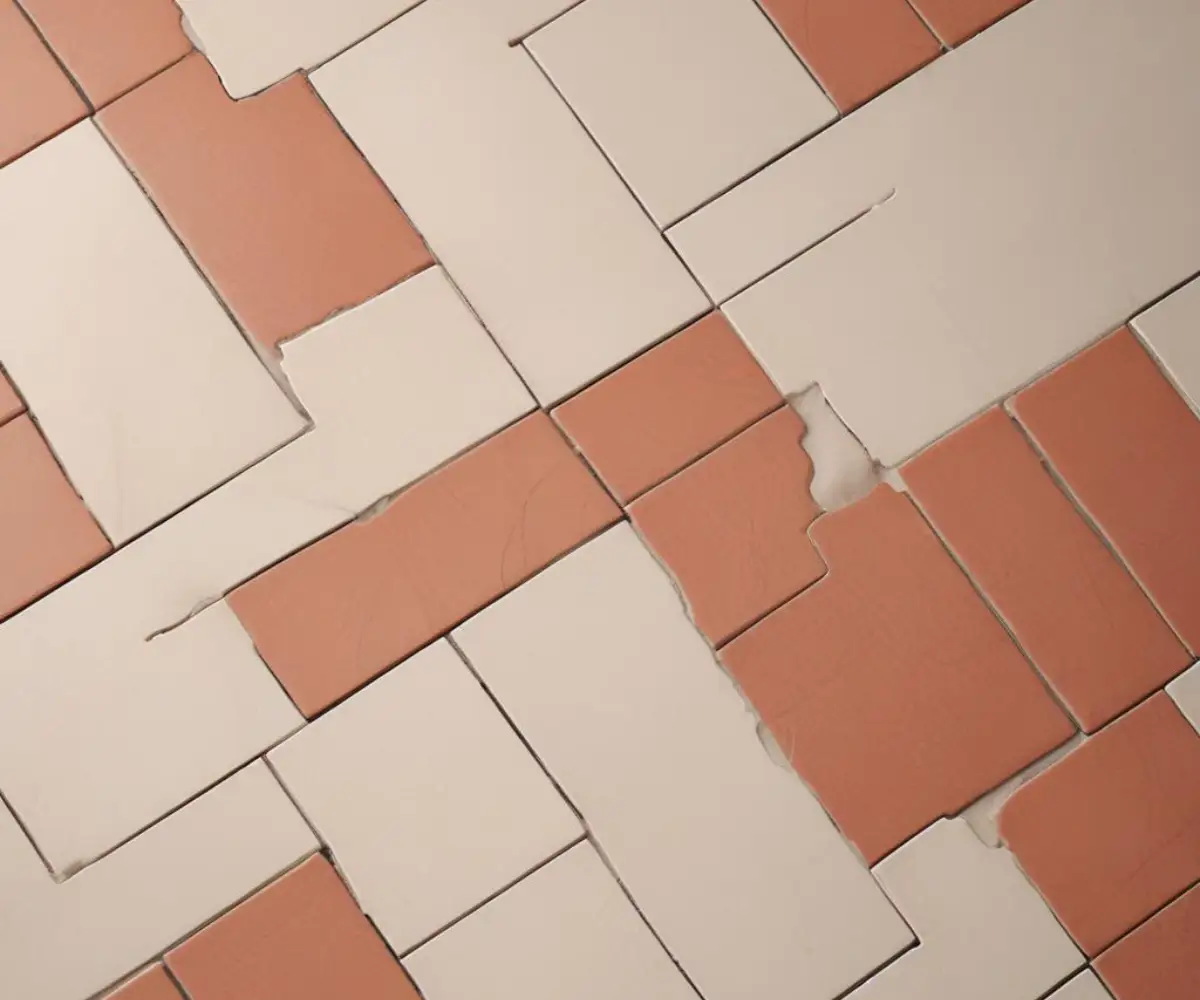
The debate between a staggered and straight layout goes far beyond personal preference. Each pattern has distinct functional and visual implications. A staggered layout, often seen as traditional, is incredibly effective at hiding subfloor imperfections and minimizing the appearance of tile lippage (uneven tile edges).
In contrast, a straight layout offers a clean, contemporary aesthetic that can make a room feel larger and more organized. However, it demands a near-perfectly flat subfloor and meticulous installation, as any slight variation will be immediately obvious. Understanding these fundamental differences is the first step toward making an informed decision.
The Hidden Enemy: Subfloor Imperfections
The single most important factor in this decision is the condition of your subfloor. No floor is perfectly level. A staggered pattern is far more forgiving of minor dips and humps because the offset lines break up the visual field, drawing the eye away from inconsistencies.
A straight grid pattern, with its continuous, unbroken grout lines, acts like a massive level checker across your entire floor. Every single imperfection, every slight height difference between tiles, will be highlighted by the grid. Before committing to a straight stack, you must assess and, if necessary, level your subfloor. Ignoring this step is a recipe for a deeply unsatisfying and unprofessional-looking result.
Understanding Tile Warpage and Lippage
Large format tiles, like 12×24, are rarely perfectly flat. They often have a slight “crown” or bow in the center, a natural result of the manufacturing process. This is known as warpage. When these tiles are laid in a 50/50 offset (a classic brick pattern), the highest point of one tile (the center) is laid next to the lowest point of the adjacent tile (the edge).
This alignment dramatically increases the risk of lippage, creating uneven edges that can be a tripping hazard and look terrible. To combat this, tile manufacturers overwhelmingly recommend a maximum 1/3 offset for staggered layouts. A 1/3 offset ensures the highest point of one tile is placed closer to the higher center of the next, significantly reducing lippage and creating a more stable, professional finish.
The straight stack layout avoids this specific issue, as all edges align. However, it requires precise thin-set mortar application to ensure each tile is perfectly level with its neighbors. Any inconsistency in the mortar bed will create lippage across the entire grid.
Decision Matrix: Choosing Your Ideal Layout
Selecting the right pattern requires a careful evaluation of your room, your tile, and your installation skill. This table breaks down the key considerations to help you choose wisely.
| Factor | Staggered Layout (1/3 Offset Recommended) | Straight Stack Layout |
|---|---|---|
| Aesthetic Style | Classic, Traditional, Transitional. Adds dynamic movement. | Modern, Contemporary, Minimalist. Creates a clean, grid-like look. |
| Room Size Perception | Can make a narrow space feel wider when tiles are laid across the width. | Can make a small room feel larger and more open due to clean, long lines. |
| Subfloor Forgiveness | High. Excellent at hiding minor subfloor imperfections and unevenness. | Low. Requires a very flat, level subfloor. Will highlight any dips or humps. |
| Lippage Risk | Lower, especially with a 1/3 offset. A 50/50 offset significantly increases risk. | Moderate. Dependent on installer skill and subfloor flatness. |
| Installation Complexity | Less complex for achieving a flat finish, but requires more cutting and planning. | More complex for achieving a flat, lippage-free surface. Less cutting involved. |
| Waste Factor | Typically higher due to more cuts required to start and end rows. Expect 15% waste. | Typically lower as fewer complex cuts are needed. Expect 10% waste. |
Installation Deep Dive: Executing Your Chosen Pattern
Once you’ve chosen a pattern, flawless execution is paramount. Both layouts present unique challenges that require careful planning and technique.
Mastering the Staggered Layout
The key to a successful staggered installation is consistency. The 1/3 offset is the industry standard for minimizing lippage and is strongly recommended. To achieve this with a 24-inch tile, your offset will be 8 inches. You will start a new row with a full tile, the next with a 16-inch cut piece (a 2/3 piece), and the third with an 8-inch cut piece (a 1/3 piece), and then repeat this sequence.
This method creates a visually pleasing, stair-step pattern that is far more stable and less prone to lippage than the outdated 50/50 split. While some might be tempted by the simplicity of an H-pattern flooring layout, the 1/3 offset is superior for large format tiles. A laser level is your best friend here, ensuring your starting lines are perfectly straight, as any error will be magnified down the line.
Perfecting the Straight Stack
The straight stack is a testament to precision. Its success hinges on two things: a flat subfloor and consistent grout lines. Before you even mix your mortar, you must use a long level or straightedge to find and fix any high or low spots on your subfloor with a leveling compound.
When setting the tile, pay close attention to the grout joints. Even a small deviation will disrupt the grid and look jarring. Using high-quality, uniform-size spacers is non-negotiable. It’s also critical to determine the right grout line size for 12×24 shower wall tile or floor tile before you start; a slightly larger grout line (e.g., 3/16 inch) can be more forgiving than a very narrow one.
The Overlooked Detail: Grout Color
Your grout color choice has a dramatic impact on the final look. For a staggered layout, using a grout color that closely matches the tile will help the pattern blend, creating a more subtle, monolithic look. A contrasting grout will highlight the pattern, making it a more prominent design feature.
For a straight stack layout, a contrasting grout color emphasizes the grid, enhancing the modern, geometric aesthetic. A matching grout color will create a seamless, unified surface. Consider how much you want the pattern itself to stand out when selecting your grout.
Avoiding Common Pitfalls and Costly Errors
A beautiful tile job can be ruined by simple, avoidable mistakes. The allure of saving money can be strong, but this is one area where cutting corners can lead to disaster. Hiring an unqualified installer is a significant risk.
Many homeowners turn to platforms like Craigslist for tile work, hoping to find a deal. However, this path is fraught with peril, from uninsured installers to shoddy workmanship that can cost thousands to fix. It’s crucial to vet any professional thoroughly, checking references and viewing past work before entrusting them with your project. Resisting the temptation of a cheap Craigslist tile work offer can save you from a major renovation headache.
The Psychological Impact of Pattern Direction
An often-overlooked aspect of tile layout is how it affects the perception of a room’s dimensions. The direction you run your tiles can make a space feel larger, smaller, wider, or narrower. This is a powerful tool in interior design.
If you have a long, narrow room, running the 24-inch side of the tile across the shorter dimension can create an illusion of width, making the space feel more balanced. Conversely, running the tiles lengthwise will accentuate the length, which can be effective in a hallway to draw the eye forward. The straight stack’s continuous lines are particularly effective at this, creating a strong directional pull.
The Final Verdict: Which Layout is Right For You?
Ultimately, the choice between a staggered and a straight layout for your 12×24 tiles is a balance of aesthetic desire, practical limitations, and budget. There is no single “correct” answer, only the answer that is correct for your specific project.
Choose a staggered (1/3 offset) layout if:
- You have a subfloor that is not perfectly level.
- You prefer a more traditional or transitional style.
- You want to minimize the risk of visible lippage.
- You are installing the tile in a narrow space and want to create a sense of width.
Choose a straight stack layout if:
- Your subfloor is verifiably flat and level.
- You desire a modern, clean, and minimalist aesthetic.
- You want to make a small room feel larger and more open.
- You have a highly skilled installer or are extremely confident in your own precision.
By carefully considering your subfloor’s condition, the inherent properties of large format tiles, and the specific look you want to achieve, you can move beyond the simple “staggered or straight” question. You can make a confident, informed decision that results in a beautiful, durable, and professional-looking tile installation that you’ll be proud of for years to come.