12×24 Tile Vertical or Horizontal: Avoid This #1 Layout Mistake
You’ve selected the perfect 12×24 tile for your shower renovation. But now you’re facing a decision that feels surprisingly permanent: should the tiles be laid vertically or horizontally? This single choice can dramatically alter the perception of your entire bathroom, and making the wrong call is the number one layout mistake homeowners make.
This isn’t just an aesthetic preference; it’s a strategic design tool. The direction you lay your tiles can make a low ceiling feel taller, a narrow shower feel wider, or a modern design feel cohesive. Getting it wrong can leave your space feeling cramped, disproportionate, or simply “off.”
You'll Learn About
The Illusion of Space: Why Your Tile Direction Matters More Than You Think
The core of the vertical vs. horizontal debate lies in how our eyes perceive lines. Long, continuous lines guide our vision, creating powerful illusions of space and dimension. Understanding this principle is the key to making a confident decision for your shower.
Horizontal layouts draw the eye from side to side, creating a sense of width and expansiveness. In contrast, vertical layouts pull the eye upward, giving the impression of height and grandeur. Choosing the right orientation means working *with* your bathroom’s existing dimensions to enhance them, not fight against them.
The Case for Vertical 12×24 Tile Layouts
Opting for a vertical tile orientation is a popular choice for homeowners looking to achieve a contemporary, spa-like feel. This layout offers distinct advantages, particularly in bathrooms with specific dimensional challenges.
Creating the Illusion of Height
The primary benefit of a vertical layout is its ability to make ceilings appear higher. By drawing the eye upward, these tiles can visually stretch the walls, making a standard 8-foot ceiling feel taller and more spacious. This is an incredibly effective trick for smaller bathrooms or shower stalls that might otherwise feel confined.
If your shower has a low ceiling, a vertical installation is one of the most powerful tools at your disposal to counteract that feeling of being boxed in. The upward momentum of the pattern creates a sense of airiness and openness.
A Modern, Spa-Like Aesthetic
There is an undeniable modern elegance to vertically stacked tiles. The clean, parallel lines offer a crisp and orderly appearance that aligns perfectly with minimalist and contemporary design styles. This layout can evoke the feeling of a serene waterfall or the clean lines of bamboo, transforming your shower into a modern retreat.
This sleek look pairs exceptionally well with simple, high-quality fixtures and minimalist decor. It provides a striking backdrop without overwhelming the space with complex patterns.
The Overlooked Grout Advantage
Here is an element that is rarely discussed: water flow. In a shower, water naturally runs downward. With vertical grout lines, water has a more direct path to the drain, which can potentially mean less soap scum and mineral deposit buildup along horizontal grout joints.
This subtle advantage can make long-term cleaning and maintenance slightly easier. When considering your grout, think about how the direction impacts upkeep. Your choice between 1/8 vs 3/16 grout lines will also play a role, as wider lines may collect more residue regardless of orientation, but the vertical path remains a benefit.
When to AVOID a Vertical Layout
A vertical layout isn’t always the right answer. In a very tall but extremely narrow shower, running the tiles vertically can exaggerate the height to an uncomfortable degree. This can create a “tunnel” or “elevator shaft” effect, making the space feel more constricting and claustrophobic.
The Case for Horizontal 12×24 Tile Layouts
The horizontal layout is a timeless classic for a reason. It offers a sense of stability and has its own set of visual tricks to make a space feel larger and more inviting.
Making Your Shower Feel Wider
A horizontal tile layout is the go-to solution for making a narrow shower feel wider. The strong horizontal lines guide the eye from left to right, visually pushing the walls apart. This creates a powerful illusion of spaciousness in a compact footprint.
If you have a standard tub-shower combination or a narrow walk-in shower, laying your 12×24 tiles horizontally can make the entire area feel more open and less cramped. It’s a classic technique that consistently delivers results.
A Timeless, Traditional Appeal
Horizontal tile patterns, especially in an offset or “running bond” layout, evoke a classic, familiar feeling. This orientation provides a sense of calm and stability, grounding the space. It’s a versatile choice that works well with a wide range of design styles, from traditional to transitional.
This layout can also complement other design elements in the bathroom, such as the clean, horizontal lines of a modern vanity or the grounded presence of certain plumbing fixtures, like exposed shower plumbing on a glass wall, which often have a strong horizontal component.
The Hidden Installation Challenge
One critical factor with large format horizontal tiles is the potential for “lippage”—a condition where one edge of a tile is higher than the adjacent one. This is often caused by slight bows or curves in the center of the tile, a common characteristic of large rectangular tiles. When laid in a 50/50 offset (brick pattern), the highest point (the center) of one tile aligns with the lowest point (the edge) of the tile above it, exaggerating any unevenness.
Because of this, most manufacturers and tile standards recommend a 1/3 offset for large format tiles. Proper wall preparation and the use of a tile leveling system are absolutely essential to avoid this issue with a horizontal layout.
Vertical vs. Horizontal 12×24 Tile: A Head-to-Head Comparison
| Feature | Vertical Layout | Horizontal Layout |
|---|---|---|
| Primary Visual Effect | Makes ceilings feel higher. | Makes the shower feel wider. |
| Best For | Bathrooms with low ceilings or small showers needing a sense of height. | Narrow bathrooms or tub-showers needing a sense of width. |
| Aesthetic Feel | Modern, contemporary, spa-like. | Classic, traditional, stable. |
| Grout Line Consideration | Water flows down vertical lines, potentially easier to clean. | Grout lines can interrupt water flow, may require more frequent cleaning. |
| Potential Downside | Can create a “tunnel effect” in very narrow, tall spaces. | Can make low ceilings feel even lower; higher risk of visible lippage. |
Beyond Direction: The Critical Role of Pattern
The orientation of your tile is only half the story. The pattern, or bond, you choose will also have a massive impact on the final look. The two most common patterns for 12×24 tiles are the stacked bond and the offset bond.
The Stacked Bond: Clean and Contemporary
In a stacked bond, the tiles are aligned perfectly in a grid pattern. This creates clean, uninterrupted lines that emphasize the direction you’ve chosen. A vertical stacked bond delivers a very modern, graphic look, while a horizontal stacked bond feels sleek and orderly.
The Offset/Running Bond: Classic and Forgiving
In an offset bond, the tiles are staggered, similar to a brick wall. This pattern is more traditional and is excellent at hiding minor imperfections in the wall or tile. Crucially, for 12×24 tiles, a 1/3 offset is the industry standard. A 1/2 offset (classic brick pattern) is often discouraged by manufacturers because it can accentuate bowing in the tiles, leading to lippage.
The Unspoken Factor: How Grout Changes Everything
Your grout choice can either highlight or hide your layout pattern, completely changing the final look. This decision goes beyond simple color matching; it’s about defining the visual language of your shower walls.
Using a grout color that matches your tile will create a more monolithic, seamless appearance. The individual tiles blend together, emphasizing the overall texture and color of the surface rather than the pattern itself. This is a great choice for a subtle, sophisticated look.
Conversely, using a contrasting grout color makes the pattern pop. The grid of grout lines becomes a dominant design element, boldly highlighting your choice of a vertical or horizontal layout. While this can be a stunning look, like a classic marble tile with white grout, be aware that it also draws more attention to the grout lines, which can be more challenging to keep pristine over time.
Making the Final Decision: A 3-Step Action Plan
Feeling confident in your choice is paramount. Follow these simple, actionable steps to move from indecision to a clear plan that you can execute with your installer.
Step 1: Measure Your Space & Define Your Goal
Before you do anything else, take precise measurements of your shower. What is the ceiling height? What is the width? Now, write down your primary goal. Is it to “make the ceiling feel taller” or to “make the shower feel wider”? Having this clear objective will anchor your decision.
Step 2: Create a Dry-Fit Mockup
This is the most critical step that most people skip. Take 6 to 8 of your actual tiles and lay them out on the floor just outside the bathroom. First, arrange them in a vertical pattern (either stacked or 1/3 offset). Step back and take a picture.
Next, rearrange the same tiles in a horizontal 1/3 offset pattern. Step back and take another picture. Comparing these two photos side-by-side will give you a powerful visual reference and often makes the right choice immediately obvious.
Step 3: Consider Your Fixtures and Finishes
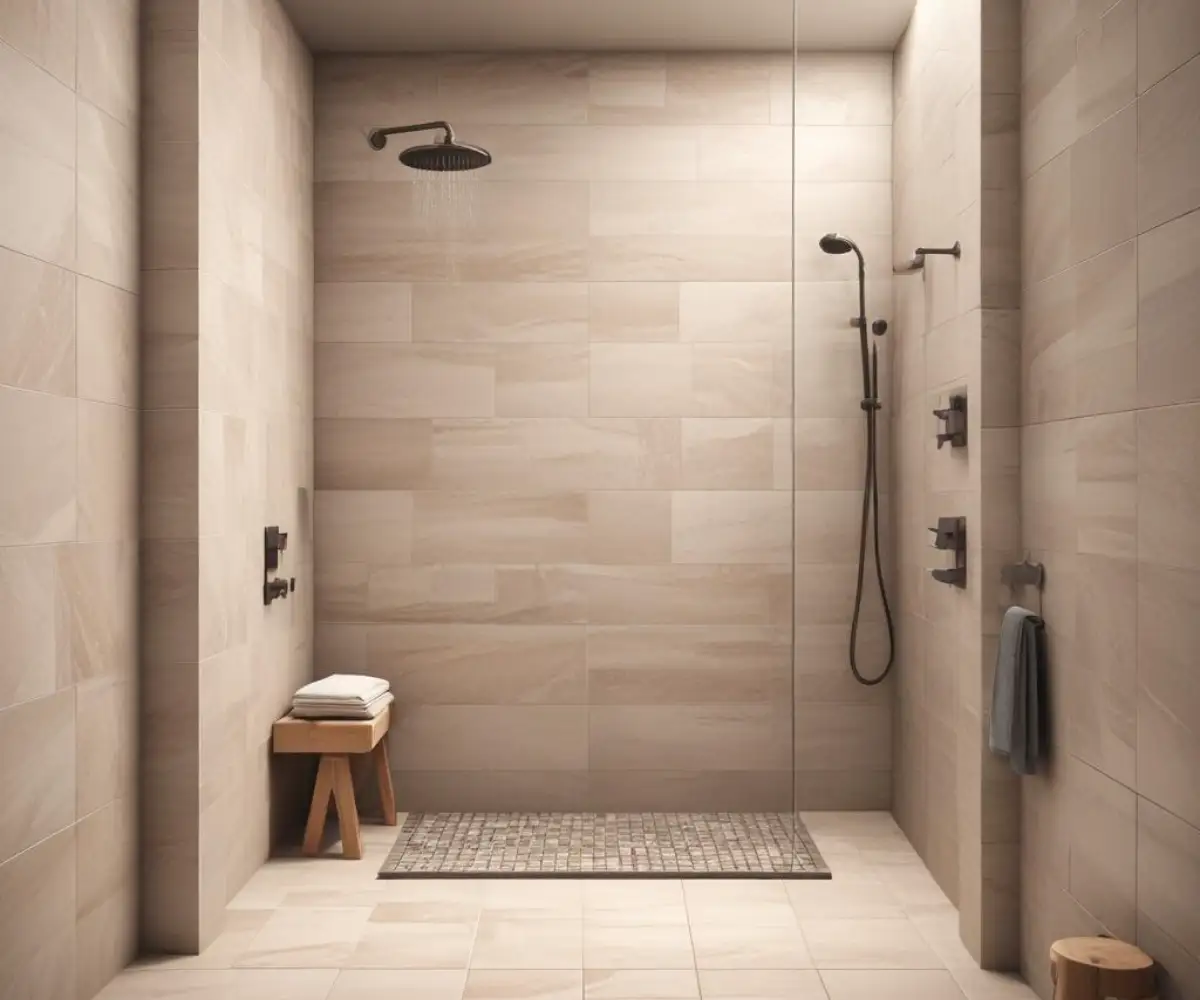
Look at your shower fixtures. A tall, rain-style shower head might be complemented by a vertical tile layout. A wide shower niche might look more integrated with a horizontal layout. Consider how the lines of the tile will interact with these permanent elements to ensure a cohesive final design.
The Verdict: Is There a “Right” Answer?
Ultimately, there is no single “right” answer, but there is a “right” answer for *your* bathroom. The costly mistake isn’t choosing vertical over horizontal; it’s choosing an orientation that works against the natural dimensions and goals of your space.
By understanding the visual effects, considering the technical aspects like offset patterns, and performing a simple dry-fit mockup, you can make an informed choice. You can move forward confidently, knowing your new shower will not only be beautiful but will also feel as spacious and well-designed as possible.