11.5 x 7.5 Vent Cover Can’t Be Found? Your Search Ends Here
There are few home improvement tasks more frustrating than searching for a non-standard part. You’ve measured, checked local hardware stores, and searched online, only to find that the 11.5 x 7.5 vent cover you need seems nearly impossible to locate.
This specific, slightly unusual dimension can feel like a major roadblock. But replacing your vent cover is about much more than just aesthetics; it’s a critical component of your home’s HVAC system, efficiency, and air quality.
You'll Learn About
Why Precision Matters: The Hidden Dangers of an Improperly Sized Vent Cover
Choosing the wrong size vent cover, even one that’s off by just a fraction of an inch, is more than just a cosmetic issue. It can lead to a cascade of problems that affect everything from your energy bills to the air you breathe. A poorly fitting cover undermines the very purpose of your ventilation system.
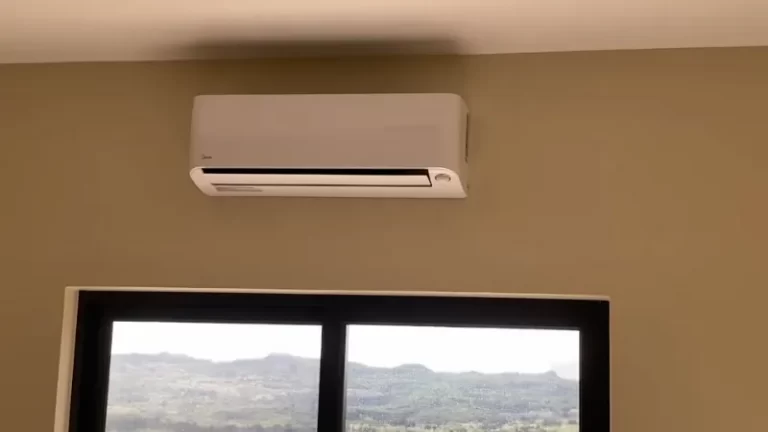
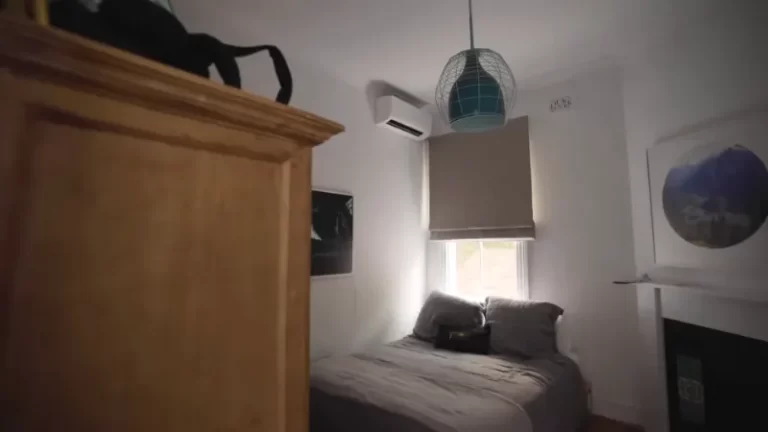
Compromised Airflow and HVAC Strain
Your HVAC system is engineered to deliver a specific volume of air through ducts of a certain size. An incorrectly sized 11.5 x 7.5 vent cover can obstruct this airflow, creating backpressure. This restriction forces your furnace or air conditioner to work harder to push air into the room, leading to increased wear and tear on the blower motor and other components. Over time, this unnecessary strain can lead to premature system failure and costly repairs.
The Unseen Energy Leaks
A vent cover that doesn’t fit the duct opening perfectly will inevitably have gaps. These gaps allow conditioned air—the warm or cool air you’ve paid to produce—to leak into wall cavities instead of circulating into your room. This energy loss means your HVAC system has to run longer to achieve the temperature set on your thermostat, directly leading to higher utility bills. According to the U.S. Department of Energy, leaky ducts can reduce heating and cooling system efficiency by as much as 20 percent.
Aesthetic Nightmares and Wall Damage
Beyond the functional issues, a poorly fitting vent cover simply looks unprofessional and unfinished. Gaps can collect dust and debris, creating unsightly stains on your walls or ceiling. Moreover, an unsecured or vibrating cover can damage the surrounding drywall over time. If you’ve ever dealt with vent covers falling out of the ceiling, you know how frustrating and damaging a poor fit can be.
The First Step to a Perfect Fit: How to Measure Your Duct Opening
To ensure you purchase the correct vent cover, accurate measurement is non-negotiable. Many homeowners make a critical mistake at this stage that leads to ordering the wrong size.
The Golden Rule: Measure the Hole, Not the Old Cover
Do not measure your old vent cover. The overall dimensions of the old cover include its outer frame or flange, which is not the measurement you need. You must measure the actual duct opening in the wall, ceiling, or floor.
Follow these simple steps:
1. Use a screwdriver to remove the existing vent cover.
2. With a reliable tape measure, measure the width and the height of the hole.
3. Write down the measurements, typically with the width first (e.g., 11.5 inches wide x 7.5 inches high).
4. Measure a second time to confirm accuracy. This simple step can save you the headache of returns and delays.
What If Your Measurement Isn’t Exactly 11.5 x 7.5?
Older homes, in particular, can have slight variations in duct opening sizes due to settling or construction quirks. If your opening measures something like 11.75 x 7.75 inches, a standard 11.5 x 7.5 cover is likely designed for a nominal duct of that size and will fit. The cover’s inner frame (the part that fits into the duct) is typically slightly smaller than the listed size to ensure it slides in easily.
Choosing Your 11.5 x 7.5 Vent Cover: Materials and Styles
Once you have your precise measurements, you can focus on selecting a vent cover that meets your functional needs and complements your home’s decor. The material and style you choose will impact durability, performance, and appearance.
Material Breakdown: What’s Best for Your Home?
The material of your vent cover is crucial for longevity and performance, especially depending on its location. High-moisture areas like bathrooms or kitchens have different requirements than a dry living room.
Poorly ventilated, humid areas can sometimes encourage moisture-related issues. If you notice dampness or musty smells around your vents, it’s important to investigate further to prevent problems like mold; understanding how to properly use products to combat this, such as knowing the facts about Drylok and mold, can be crucial in maintaining a healthy home environment.
| Material | Pros | Cons | Best For |
|---|---|---|---|
| Stamped Steel | Durable, strong, widely available, often most affordable. | Can rust in moist environments, may bend under impact. | General use in walls and ceilings in low-moisture areas. |
| Aluminum | Lightweight, naturally rust-proof. | Softer than steel, can be more expensive. | Bathrooms, kitchens, basements, and coastal homes. |
| Plastic/Polymer | Inexpensive, completely waterproof and rust-proof. | Can become brittle and yellow over time, may look less premium. | High-moisture areas where budget is a primary concern. |
| Wood | Offers a high-end, custom look; can be matched to flooring or trim. | Susceptible to warping from moisture and temperature changes. | Living rooms and bedrooms, particularly to match hardwood floors. |
Style and Functionality: More Than Just Looks
Different vent cover designs offer different functionalities, primarily related to airflow control. Understanding these styles helps you choose one that is not only attractive but also effective.
Louvered or Multi-Shutter Damper: This is one of the most common and functional styles. It features adjustable fins (louvers) that allow you to direct airflow—up, down, left, or right. This control is invaluable for optimizing room comfort, such as directing warm air downwards in winter and cool air upwards in summer.

Stamped Face Grille: These have a fixed, punched-out pattern and are typically the most basic and affordable option. While they lack adjustability, they often provide excellent, unrestricted airflow. They are a great “set it and forget it” choice for rooms where directional airflow is not a priority.
Linear Bar Grille: Featuring clean, straight lines, this style offers a modern and minimalist aesthetic. The wide bars allow for high-volume airflow, making them an excellent choice for both supply and return air vents in contemporary homes.
The Expert Secret: Understanding Airflow Dynamics
While size, material, and style are primary considerations, two often-overlooked factors can dramatically impact your comfort and your home’s acoustics: free area and noise production. Understanding these concepts elevates your choice from a simple replacement to a true home upgrade.
Beyond Dimensions: The Concept of “Effective Free Area”
The “Effective Free Area” (EFA) refers to the total open space on a vent cover through which air can actually pass. A heavily louvered 11.5 x 7.5 vent cover will have a lower EFA than a simple stamped grille of the exact same dimensions. This is critical because a lower EFA can increase air velocity, which might be perceived as stronger airflow but can also create noise and increase static pressure in your ductwork.
When choosing a cover, especially for a return vent that pulls large volumes of air, opt for a design with a high EFA, like a linear bar or simple stamped grille, to ensure your HVAC system can “breathe” easily. It’s helpful to understand the whole system, and knowing where floor vents lead can give you a better appreciation for how air moves through your home.
The Acoustic Impact of Your Vent Cover
A vent cover can be a surprising source of household noise. Whistling, hissing, or humming sounds are common when a vent cover restricts airflow or is not securely fastened. The material itself also plays a role; thin, stamped steel can vibrate and create a humming noise, whereas a heavier cast aluminum or plastic cover might dampen sound more effectively.
Step-by-Step Installation Guide for Your 11.5 x 7.5 Vent Cover
Proper installation is the final, crucial step to ensure your new vent cover performs optimally and looks great. This is a simple DIY task that requires only basic tools.
Tools and Preparation
Before you begin, gather your tools. You will likely need a screwdriver (usually a Phillips head) and the screws that came with your new vent cover. For a cleaner job, have a cloth handy to wipe down the area around the vent opening. For safety, it’s a good practice to turn your HVAC system off at the thermostat.
Removing the Old Cover
Carefully unscrew the old vent cover from the wall or ceiling. Be mindful of any paint or caulking that might have sealed the edges; you may need to gently score this with a utility knife to prevent peeling the paint off the wall. Once the screws are removed, the old cover should come off easily.
Installing the New Cover
Position your new 11.5 x 7.5 vent cover over the duct opening, making sure its inner frame fits inside the hole and the outer flange sits flush against the wall. Align the screw holes on the cover with the existing holes in the wall. Insert the screws and tighten them until the cover is snug. Do not overtighten, as this can crack the plastic on the cover or damage the drywall behind it.
Troubleshooting Common Post-Installation Problems
Sometimes, even with careful installation, minor issues can arise. Here’s how to address the most common problems.
Annoying Whistling or Hissing Noises
A high-pitched whistle is almost always caused by high-velocity air moving through a restricted space. First, check if your vent cover has an adjustable damper and ensure it is fully open. If the noise persists, it could be that the louver design is too restrictive for the airflow in that specific duct. You may need a cover with a higher Effective Free Area.
Reduced Airflow to the Room
If the room feels stuffier after installing the new cover, your new model likely has a more restrictive design or a lower EFA than the old one. Ensure the damper is fully open. If that doesn’t solve the problem, a simpler, more open grille design may be necessary to restore proper air circulation.
The Cover Doesn’t Sit Flush with the Wall
If there’s a gap between the cover’s flange and the wall, it’s often due to warped drywall or debris trapped behind it. Remove the cover and check for any lumps of old paint, caulk, or drywall mud. Scrape the area clean and try reinstalling. If the wall itself is uneven, you may need to apply a thin bead of paintable caulk around the edge for a seamless look.
Your Vent Cover Is More Than a Lid—It’s a System Component
Finding the right 11.5 x 7.5 vent cover might seem like a small detail, but it’s an investment in your home’s efficiency, comfort, and appearance. By measuring correctly, selecting the appropriate material and style, and installing it properly, you do more than just cover a hole. You ensure your HVAC system operates as intended, save money on energy bills, and give your space a clean, finished look.